Exploded View
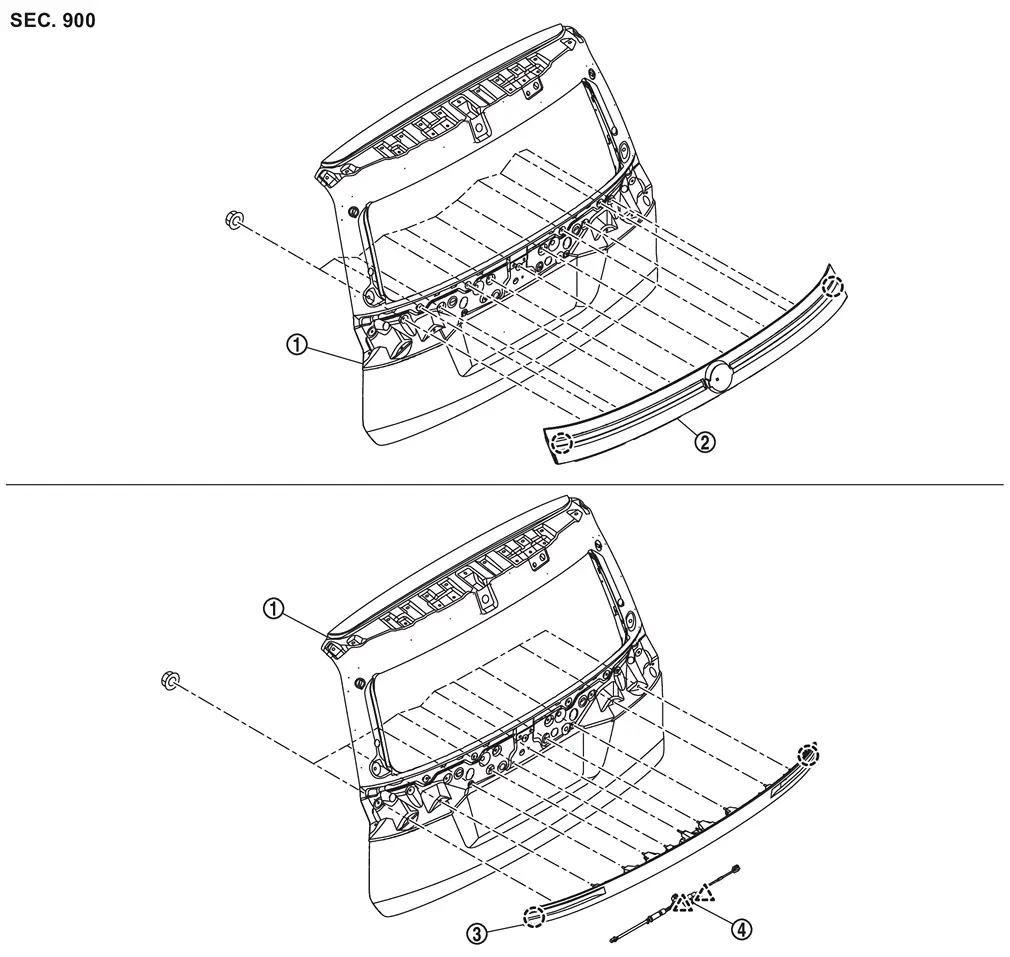
 |
Back door panel |  |
Back door finisher upper |  |
Back door finisher |
 |
Back door opener switch | ||||
 |
: Clip | ||||
 |
: Pawl | ||||
Removal and Installation
REMOVAL
CAUTION:
Never damage the back door panel.
Remove back door trim. Refer to Removal and Installation.
Disconnect harness connectors.
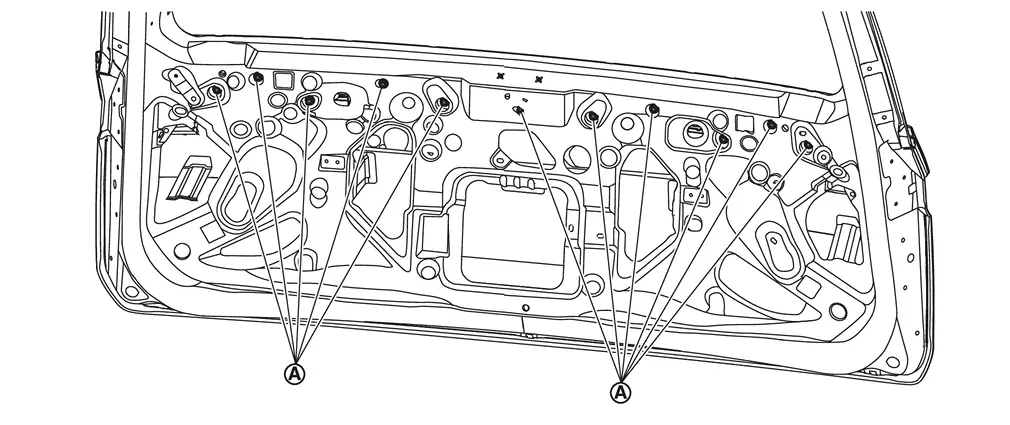
Remove mounting nuts  .
.
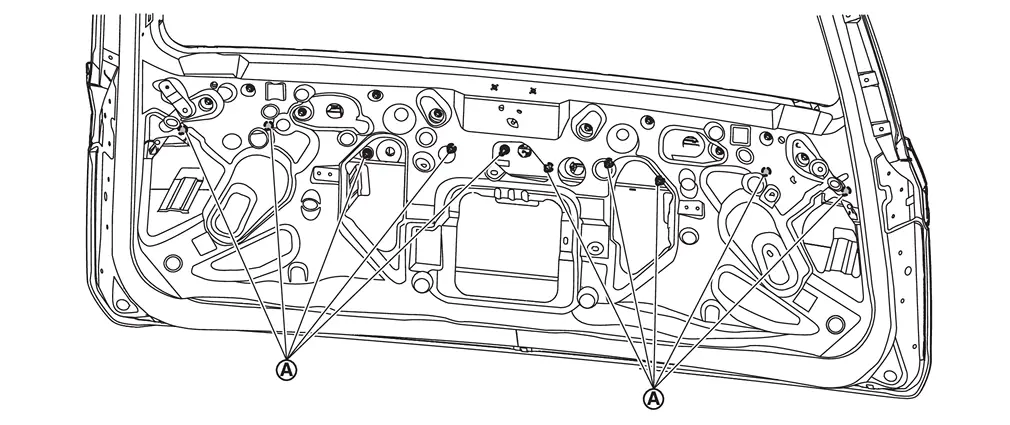
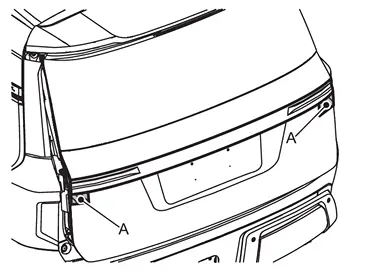
Apply protective tapes (A) on the parts to protect it from damage.
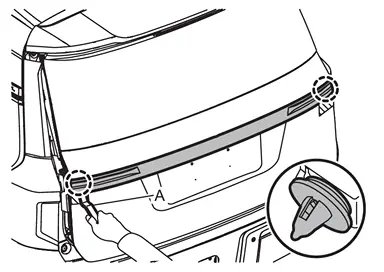
Disengage fixing clips using remover tool (A).
|
: Clip |
Disconnect harness connectors, and then remove back door finisher.
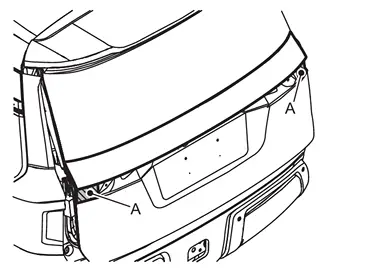
Remove mounting nuts .
Apply protective tapes (A) on the parts to protect it from damage.
Disengage fixing clips using remover tool (A), and then remove back door finisher upper.
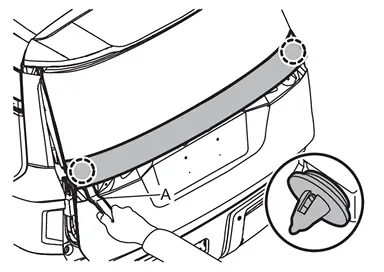
|
: Clip |
INSTALLATION
Install in reverse order of removal.
Other materials
Drive Belt Auto Tensioner and Idler Pulley
Exploded View
Idler pulley
Drive belt auto-tensioner
: N·m (kg-m, ft-lb)
: vehicle front
Removal and Installation
WARNING:
Jacking up or lift up the vehicle may the vehicle height to go down which cause a personal injury and/or damage to the air suspension component parts. ...
Squeak and Rattle Trouble Diagnoses
Work Flow
CUSTOMER INTERVIEW
The customer may not be able to provide a detailed description or the location of the noise. Attempt to obtain all the facts and conditions that exist when the noise occurs (or does not occur).
If there is more than one noise in the vehicle, perform a diagnosis and re ...
Front Door Woofer
Removal & Installation
REMOVALRemove the front door finisher. Refer to Removal and Installation.
Disconnect front door woofer harness connector.
Remove the front door woofer mounting screws , and then remove the front door woofer .
INSTALLATIONInstallation is the reverse order of removal. ...