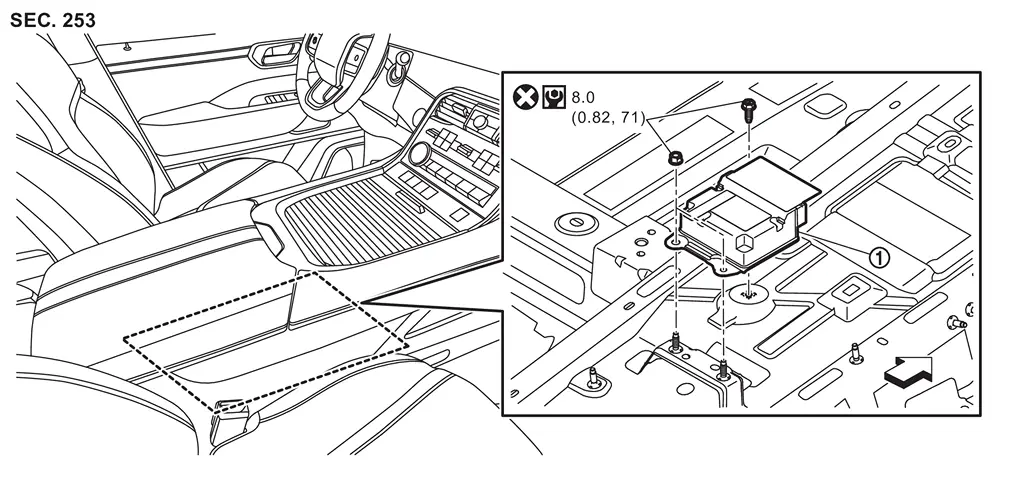
Exploded View
 |
Diagnosis sensor unit | ||||
| : vehicle front | |||||
 |
: Always replace after every disassembly. | ||||
 |
: N·m (kg-m, in-lb) | ||||
Removal and Installation
WARNING:
Always observe the following items for preventing accidental activation.
-
Before servicing, ignition switch OFF, disconnect 12V battery negative terminal and wait for 3 minutes or more (discharges electricity held in the additional power supply circuit of the air bag diagnosis sensor unit). Refer to Precautions for Removing Battery Terminal.
-
Before disconnecting the air bag diagnosis sensor unit harness connector, be sure to disconnect each harness connector of the air bag modules, seat belt pre-tensioners and lap pre-tensioner to prevent air bag deployment by static electricity and seat belt pre-tensioner operation.
-
Never use air tools or electric tools for servicing (prevents the air bag diagnosis sensor unit from activating unexpectedly due to vibration).
-
When replacing the air bag diagnosis sensor unit, always check with the parts department for the latest parts information. Installing an incorrect air bag diagnosis sensor unit may or may not cause the air bag warning lamp to illuminate and may cause incorrect deployment of the supplemental air bags and seat belt pre-tensioners in a collision resulting in serious personal injury or death.
REMOVAL
Disconnect connector of all air bag modules, seat belt pre-tensioners, and lap pre-tensioners.
-
Driver air bag module: Refer to Removal & Installation.
-
Passenger air bag module: Refer to Removal & Installation.
-
Driver knee air bag module: Refer to Removal and Installation.
-
Passenger knee air bag module: Refer to Removal and Installation.
-
Front side air bag module: Refer to Removal & Installation.
-
Front center air bag module (with front center air bag module models): Refer to Removal & Installation.
-
Curtain air bag module: Refer to Removal & Installation.
-
Pre-tensioner seat belt: Refer to Removal & Installation.
-
Lap pre-tensioner: Refer to Removal & Installation.
Remove front center console assembly. Refer to Removal and Installation.
Remove AV control unit. Refer to Removal & Installation.
Disconnect diagnosis sensor unit harness connectors.
Remove diagnosis sensor unit mounting bolt and nuts, and then remove diagnosis sensor unit.
CAUTION:
-
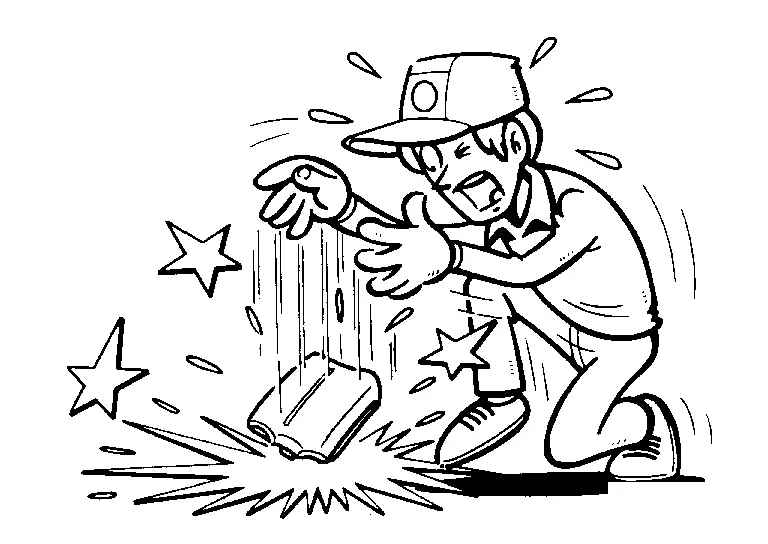
To prevent damage to the diagnosis sensor unit, never impact it
-
Replace air bag diagnosis sensor unit if it is dropped or sustains an impact.
-
Replace air bag diagnosis sensor unit of deployed driver air bag module, deployed passenger air bag module, deployed driver knee air bag module, deployed passenger knee air bag module, deployed front side air bag module, deployed front center air bag module (with front center air bag module models), deployed curtain air bag module, deployed seat belt pre-tensioner and deployed lap pre-tensioner.
INSTALLATION
Note the following items, and then install in the reverse order of removal.
CAUTION:
-
Never reuse mounting bolt and nuts after removal, replace with new one.
-
Never damage the harness while installing.
-
Be sure to perform ADDITIONAL SERVICE WHEN REPLACING AIR BAG DIAGNOSIS UNIT when replacing air bag diagnosis sensor unit. Or not doing so, air bag diagnosis sensor unit control function does not operate normally. Refer to Work Procedure.
-
After installation is completed, perform self-diagnosis using CONSULT and confirm if the system is normal. Refer to Work Flow.
-
After the work is completed, check that no system malfunction is detected by air bag warning lamp.
Other materials
Intake Manifold
Exploded View
Intake manifold
Manifold absolute pressure sensor
Gasket
Electric throttle control actuator
Water hose 1
Clamp
Water hose 2
EVAP hose 1
EVAP canister purge volume control solenoid valve
EVAP hose 2
EVAP resonator
EVAP hose 3
Bracket 1
Bracke ...
Automatic Back Door Close Switch Assembly
Removal and Installation
REMOVALRemove automatic back door switch finisher. Refer to Removal and Installation.
Disengage automatic back door close switch assembly fixing pawls using a remover tool (A), and then remove automatic back door close switch assembly from automatic back door switch finishe ...
Front Door Hinge
Removal and Installation
REMOVALRemove front door assembly. Refer to Removal and Installation.
Remove front door hinge mounting bolts, and then remove front door hinge.INSTALLATIONNote the following items, and then install in the reverse order of removal.CAUTION:
Before installation, check the fro ...