Inspection
WARNING:
-
Jacking up or lift up the vehicle may the vehicle height to go down which cause a personal injury and/or damage to the air suspension component parts. Refer to Precaution for when Jacking and Lifting Up the vehicle with Electronic Air Suspension System.
LOOSENESS OF CONNECTED PART
Check each fixing bolt and nut for looseness using torque wrench. For each tightening torque, refer to followings;
Refer to Exploded View.
BACKLASH OF JOINT PART
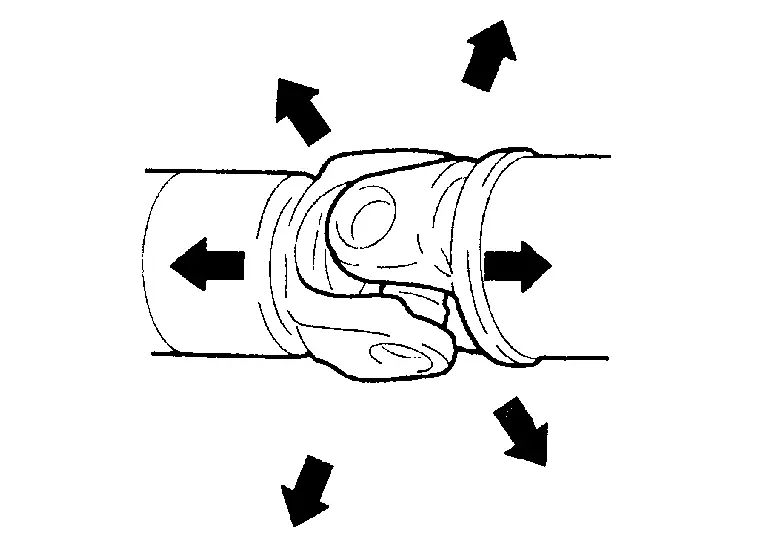
Move the joint of propeller shaft up and down and from side to side (axial direction of shaft and right angle to shaft) to check that the joint has no backlash extremely. If the joint has a malfunction, remove propeller shaft and perform inspection.
APPEARANCE AND NOISE
Check propeller shaft tube surface for dents or cracks. If malfunction is detected, replace propeller shaft assembly.
VIBRATION
If vibration is present at high speed, adjust the propeller shaft phase first.
Check the propeller shaft for bend and damage. If damaged, replace propeller shaft assembly.
Perform a cruise test drive to check the propeller shaft for runout. If vibration occurs, separate propeller shaft at final drive companion flange; then change the phase between companion flange and propeller shaft by the one bolt hole at a time and install propeller shaft.
If vibration is still detected, measure propeller shaft runout after removing it. Refer to Inspection.
Other materials
Basic information
WARNING
Failure to strictly follow all safety warnings and operating instructions
related to the Intelligent Driver Alertness system in the Nissan Armada may result
in serious injury or fatal accidents.
The Nissan Armada I-DA system is designed исключительно as a driver assista ...
Basic information
WARNING
Never attempt to lift two wheels of the Nissan Armada off the ground
while the engine is running and shift the transmission into any drive or reverse
position. This improper procedure may cause severe drivetrain damage or unexpected
vehicle movement, potentially leading to serio ...
Third Seat Belt Retractor
Removal and Installation
REMOVALSeat Belt Retractor (LH and RH)Remove third seat assembly. Refer to Removal and Installation.
Remove anchor plate mounting anchor bolt .
Remove shoulder anchor.Remove back pillar garnish. Refer to Removal and Installation. Remove shoulder anchor mounting anchor bolt ...