
Nissan Armada 2025-2026 Service and Repair Manual: Removal and Installation
WARNING:
- Jacking up or lifting up the vehicle may the vehicle height to go down which cause a personal injury and/or damage to the air suspension component parts. Refer to Precaution for when Jacking and Lifting Up the Vehicle with Electronic Air Suspension System (With electronic air suspension).
- When checking under the vehicle or inside wheel house, always turn OFF the electronic air suspension function with the vehicle unladen and normal height, since the suspension may accidentally move and it can lead to personal injury. Refer to Precaution for Electronic Air Suspension System (With electronic air suspension).
REMOVAL
CAUTION:
Remove front heater outlet pipe assembly. Refer to Removal and Installation.
Remove front heater pipe assembly. Refer to Removal and Installation.
Disconnect 12V sub battery harness 1 connectors  ,
,  ,
,  , and
, and  (with 12V sub battery models).
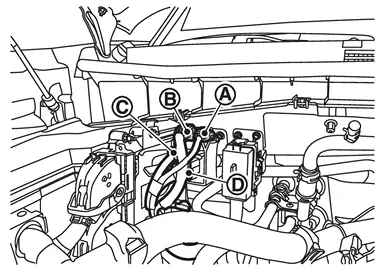
Disengage fixing clip, and then move 12V sub battery harness 1 to secure work space (with 12V sub battery models).
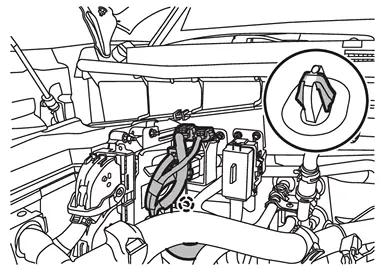
 | : Clip |
Disconnect low-pressure flexible hose from low-pressure pipe. Refer to Removal and Installation.
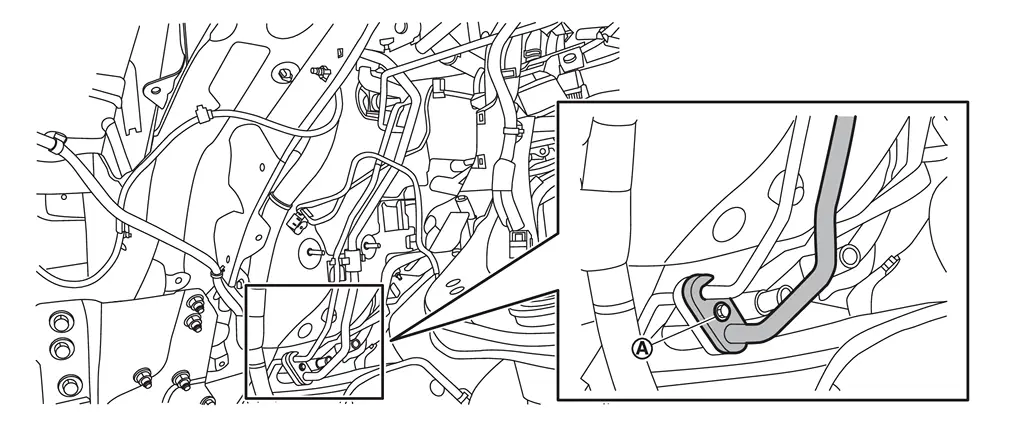
Remove low-pressure pipe mounting nuts .
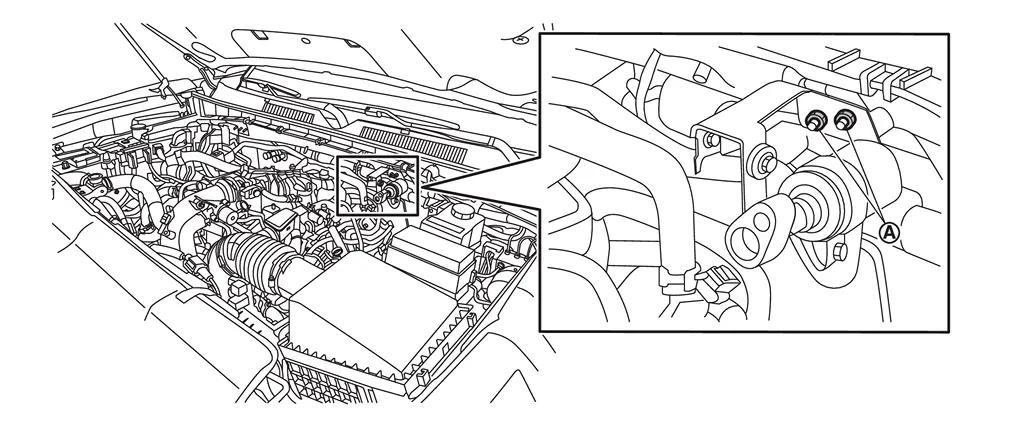
Remove mounting bolt , and then disconnect low-pressure pipe from front expansion valve.
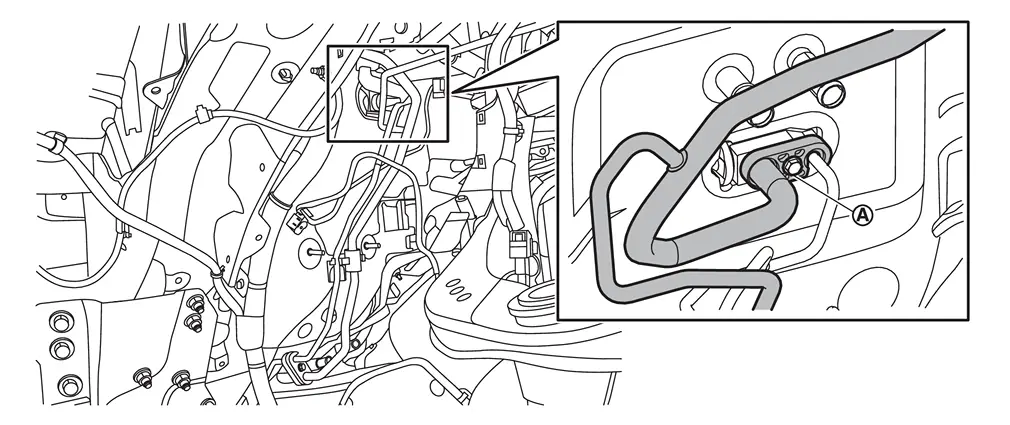
Remove mounting bolt , and then disconnect low-pressure pipe from rear cooler pipe assembly.
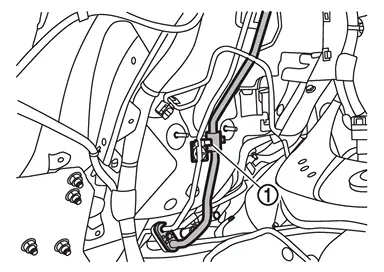
Remove low-pressure pipe from tube clip 2  .
.
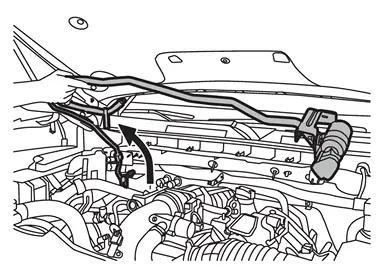
Remove low-pressure pipe from vehicle.
INSTALLATION
Note the following items, and then install in the reverse order of removal.
CAUTION:
To prevent leakage of refrigerant, replace the O-ring with a new one. Apply a coat of compressor oil to the O-ring prior to installation.


Other materials:
Exploded View
Headlining assembly Personal lamp Personal lamp bracket : Pawl : Vehicle front ...
Conclusion
When repairing a frame deformed by a collision, every body repair technician must always keep in mind that the original frame performance of the vehicle (running performance and anti-collision safety) should be restored so as to offer the maximum customer satisfaction. For that purpose, we hope that ...
Commercial Service Tools
Tool name Description Drift
a: 61.0 mm (2.402 in) dia.
b: 56.3 mm (2.217 in) dia.
Installing front oil seal Drift
a: 68.0 mm (2.677 in) dia.
b: 47.0 mm (1.850 in) dia.
Installing rear oil seal Drift
a: 68.6 mm (2.701 in) dia.
b: 58.0 mm (2.283 in) dia.
Installing input oil seal Power tool
...

0.0053