
Nissan Armada 2025-2026 Service and Repair Manual: Removal and Installation
REMOVAL
Remove front heater & cooling unit assembly. Refer to Removal and Installation.
Remove front heater core. Refer to Removal and Installation.
Remove front expansion valve. Refer to Removal and Installation.
Disconnect front mode door motor harness connector  .
.
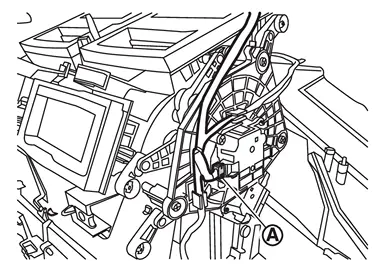
Remove sub harness from front heater & cooling unit.
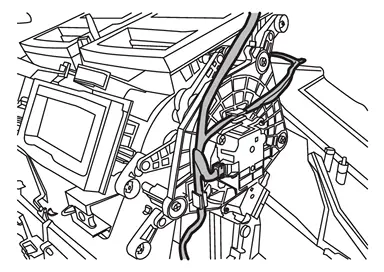
Disconnect front air mix door motor (driver side) harness connector .
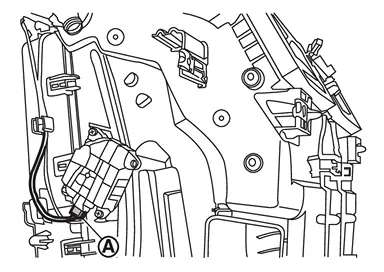
Remove front heater & cooling unit fixing screws .
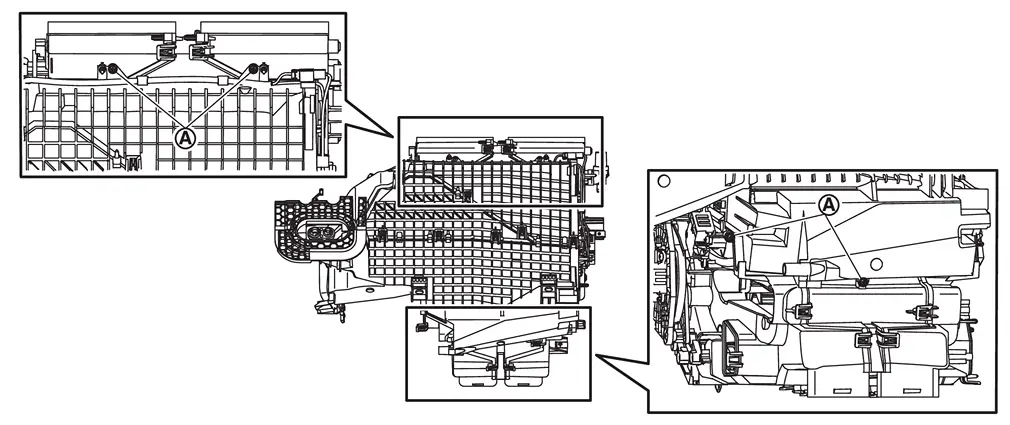
Disengage fixing pawls, and then remove front heater & cooling unit from front case assembly.
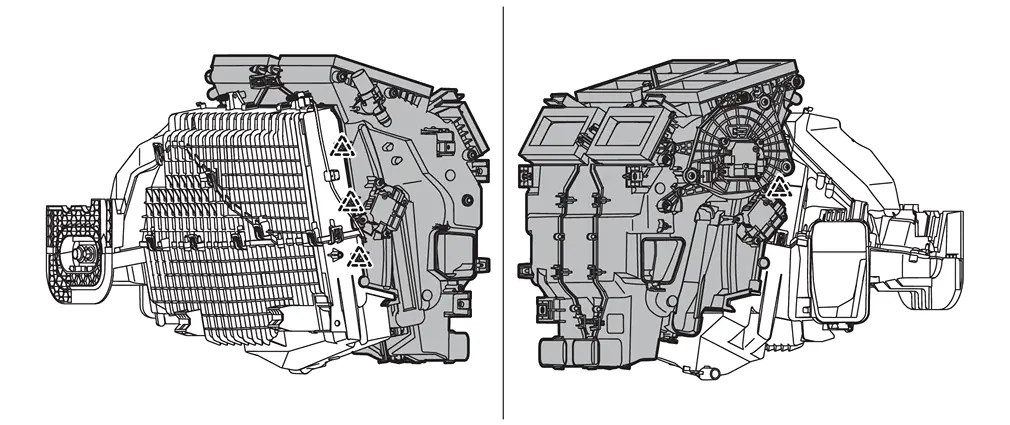
 | : Pawl |
Remove intake sensor from front evaporator. Refer to Removal and Installation.
Remove front case upper fixing screws .
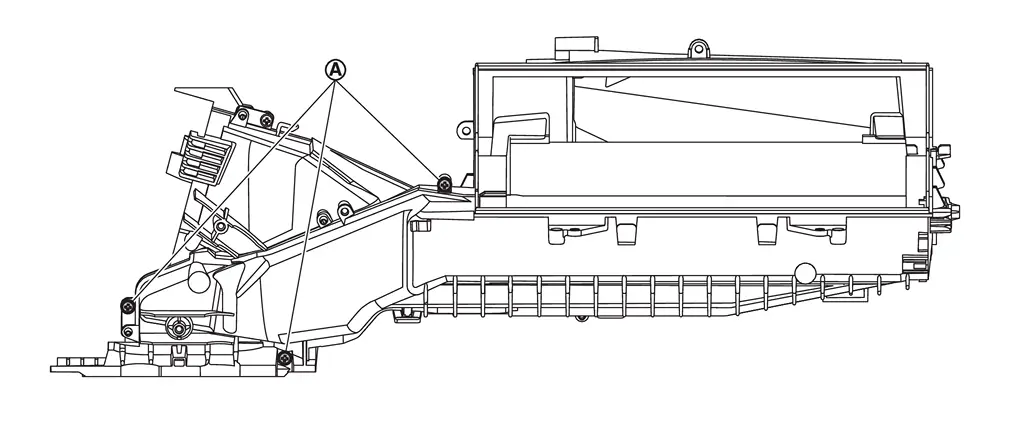
Disengage fixing pawls, and then remove front case upper from front case lower assembly.
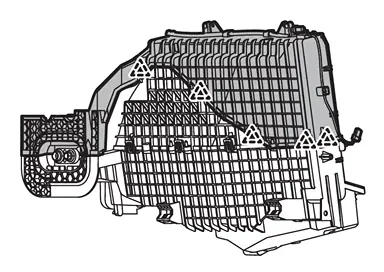
| : Pawl |
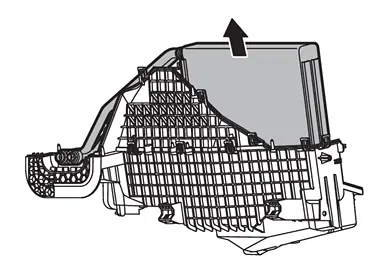
Remove front evaporator from front case lower assembly.
INSTALLATION
Note the following items, and then install in the reverse order of removal.
CAUTION:
The air conditioning evaporator should never be repaired or replaced with a part from another vehicle. To replace a damaged or leaking evaporator, use only a new genuine NISSAN replacement part or equivalent.
After installing a new evaporator, adjust the compressor lubricant level. Refer to Lubricant Adjusting Procedure for Components Replacement Except A/C compressor.
 NOTE:
NOTE:
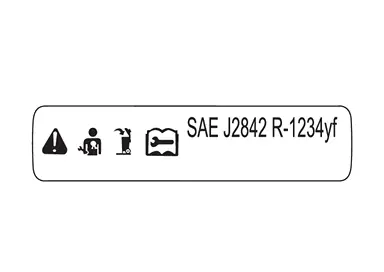
This label indicates that the evaporator complies with SAE J2842.
 Front Evaporator
...

Other materials:
Exploded View
Off Road Models
Fender protector Spring nut Fender clip Grommet N·m (kg-m, in-lb)
City Models
Fender protector Spring nut Fender clip Grommet N·m (kg-m, in-lb) ...
Removal and Installation
WARNING:
REMOVAL
Drain gear oil. Refer to Draining.
Remove rear propeller shaft from final drive. Refer to Removal and Installation (2WD) or Refer to Removal and Installation (4WD).
Remove drive shafts. Refer to Removal and Installation.
Remove rear supension member stay. Refer to Removal and Insta ...
Disassembly and Assembly
DISASSEMBLY
Remove side shaft assembly. Refer to Disassembly and Assembly.
Remove differential assembly. Refer to Disassembly and Assembly.
While holding companion flange with the flange wrench (A) (commercial service tool), remove drive pinion lock nut.
Put matching mark on the end of drive pini ...

0.0048