
Nissan Armada 2025-2026 Service and Repair Manual: Removal and Installation
CAUTION:
- Never damage the roof panel.
- Two workers are required for removal or installation in order to prevent damage.
- Never bend headlining assembly when removing or installing.
REMOVAL
CAUTION:
Remove front pillar garnish (LH and RH). Refer to Removal and Installation.
Remove following parts of front pillar LH (if equipped).Disconnect harness connector  .
.
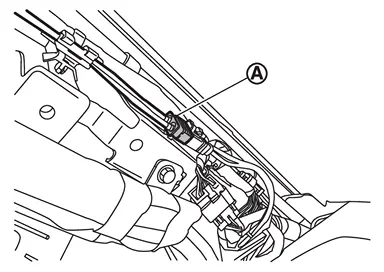
.
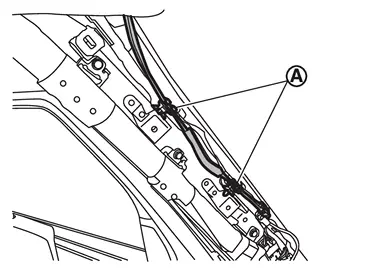
Remove center pillar upper garnish (LH and RH). Refer to Removal and Installation.
Remove luggage side upper finisher (LH and RH). Refer to Removal and Installation.
Remove harness at the rear of headlining assembly (if equipped).Disconnect harness connector .
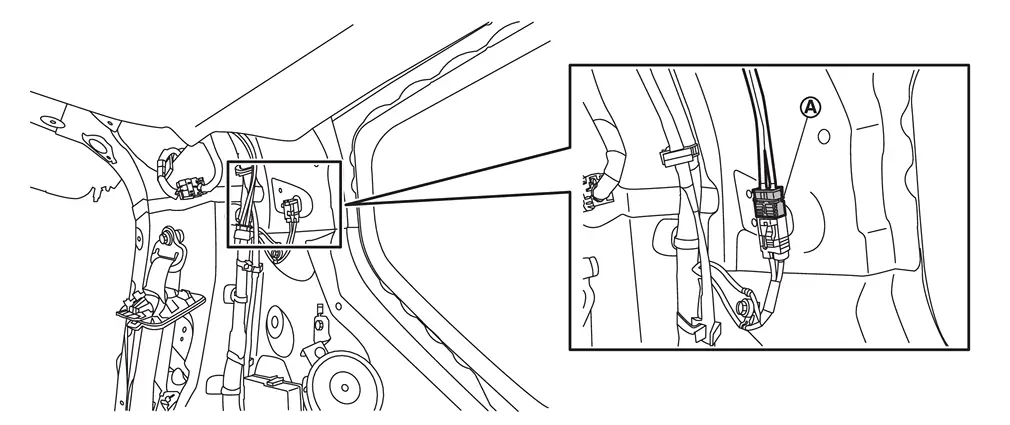
.
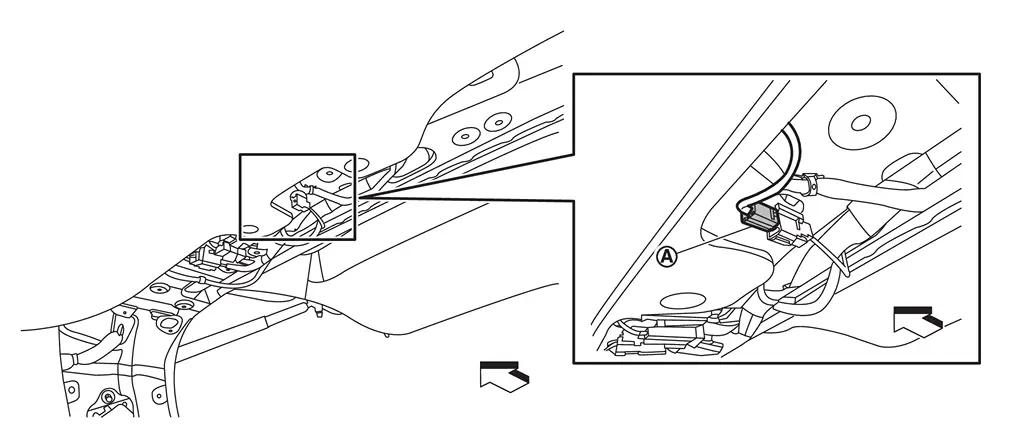
 | : Vehicle front |
Remove map lamp assembly. Refer to Removal and Installation.
Remove cover of front camera. Refer to Removal and Installation.
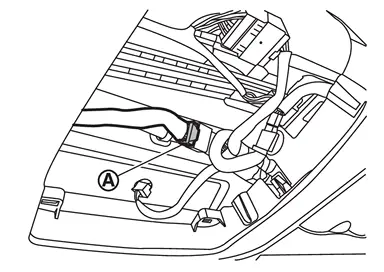
Disconnect harness connectors of headlining assembly.Disconnect harness connector from inside mirror. Remove harness from harness clip .
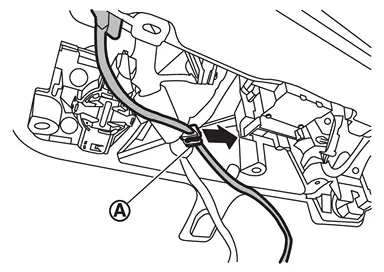
of headlining assembly.
Remove all assist grips.Disengage assist grip cap fixing pawl using a remover tool (A), and then remove assist grip cap.
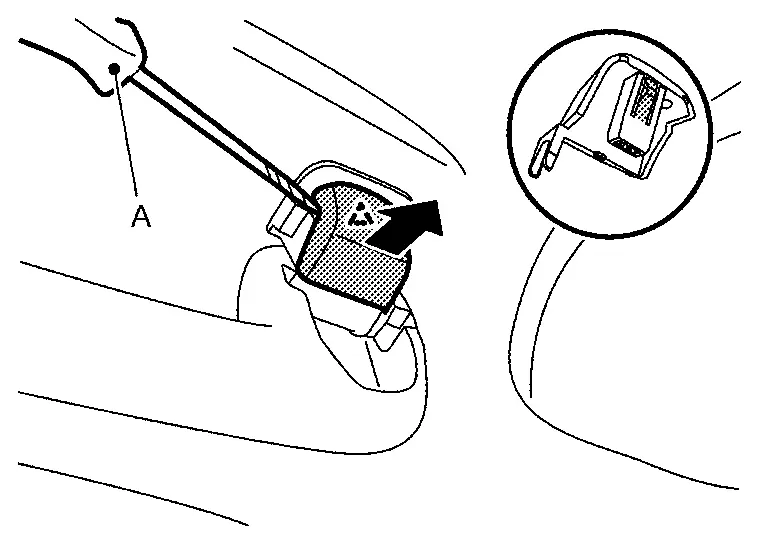
 | : Pawl |
Remove sun visor assembly (LH and RH).Disengage sun visor cover fixing pawls using a remover tool (A), and then remove sun visor cover.
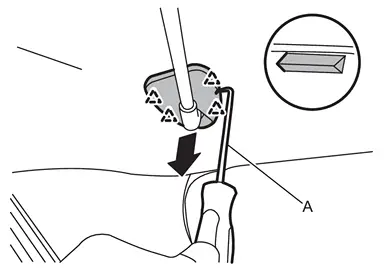
| : Pawl |
Disengage sun visor holder fixing pawls according to numerical order 1→2 indicated by arrows as shown in the figure, and then remove sun visor holder (LH and RH).
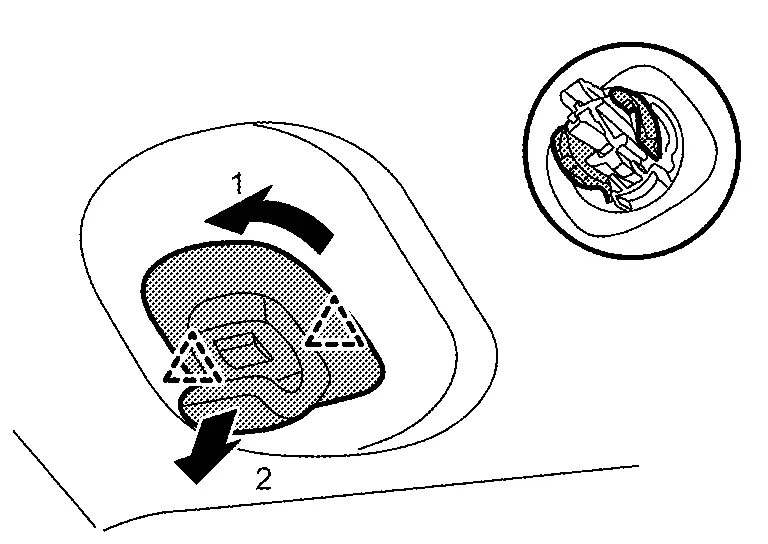
| : Pawl |
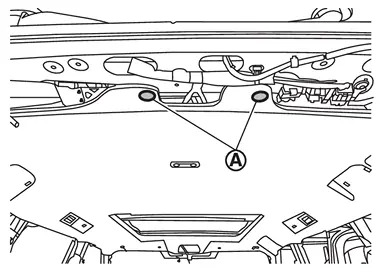
Remove fixing clips at the rear end of headlining assembly.
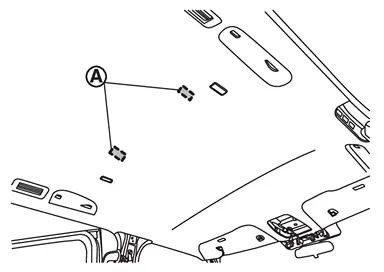
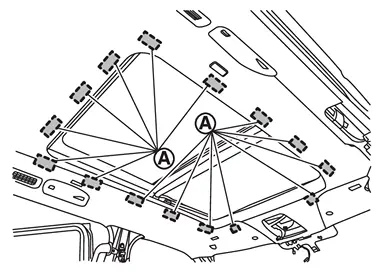
Detach dual-lock fasteners between headlining assembly and roof panel.
Without moonroof models
With moonroof models
CAUTION:
To prevent damage to headlining assembly, never pull on the headlining base material when remove the dual-lock fasteners.
Remove headlining assembly according to direction indicated by arrow as shown in the figure.
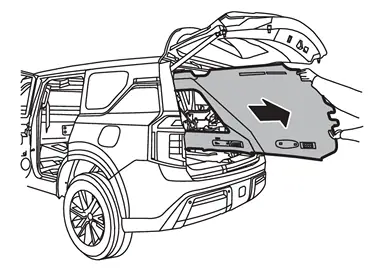
CAUTION:
Apply protective tape to the portion where contact may occur during work.
Disengage trim fastener fixing pawls using a remover tool (A), and then remove trim fasteners  (with moonroof models).
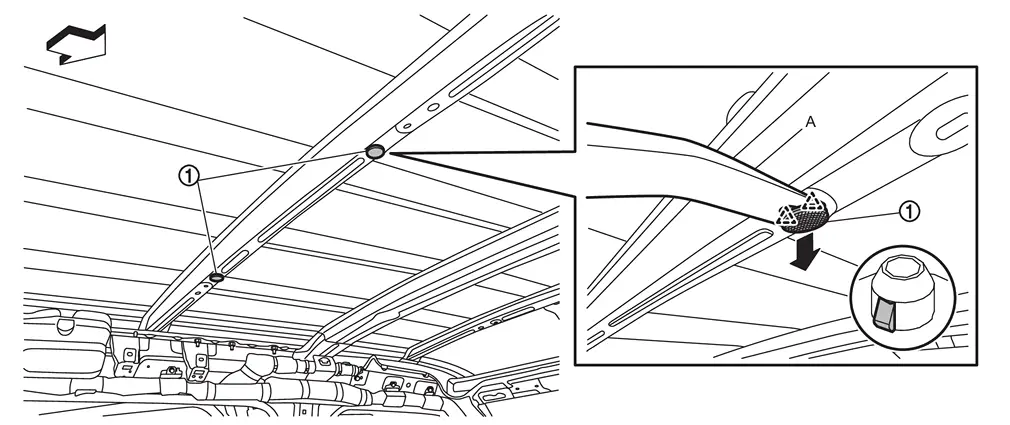
| : Pawl |
| : Vehicle front |
INSTALLATION
Note the following items, and then install in the reverse order of removal.
CAUTION:
When installing headlining, start by installing both sun visor holders and headlining fixing clips in order to keep the headlining in position.
Be careful that the surface is not wrinkled when installing.
When installing assist grip, install metal clip
to assist grip cap  , and then install to the body panel.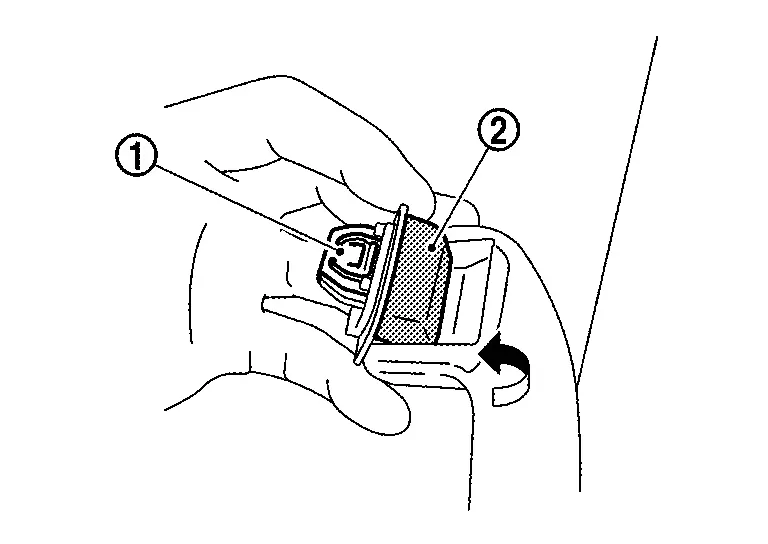
After installing the sun visor assembly, make sure that the caution label is in the orientation shown when the sun visor assembly is retracted. (For the caution label of driver's seat, when it is equipped.)
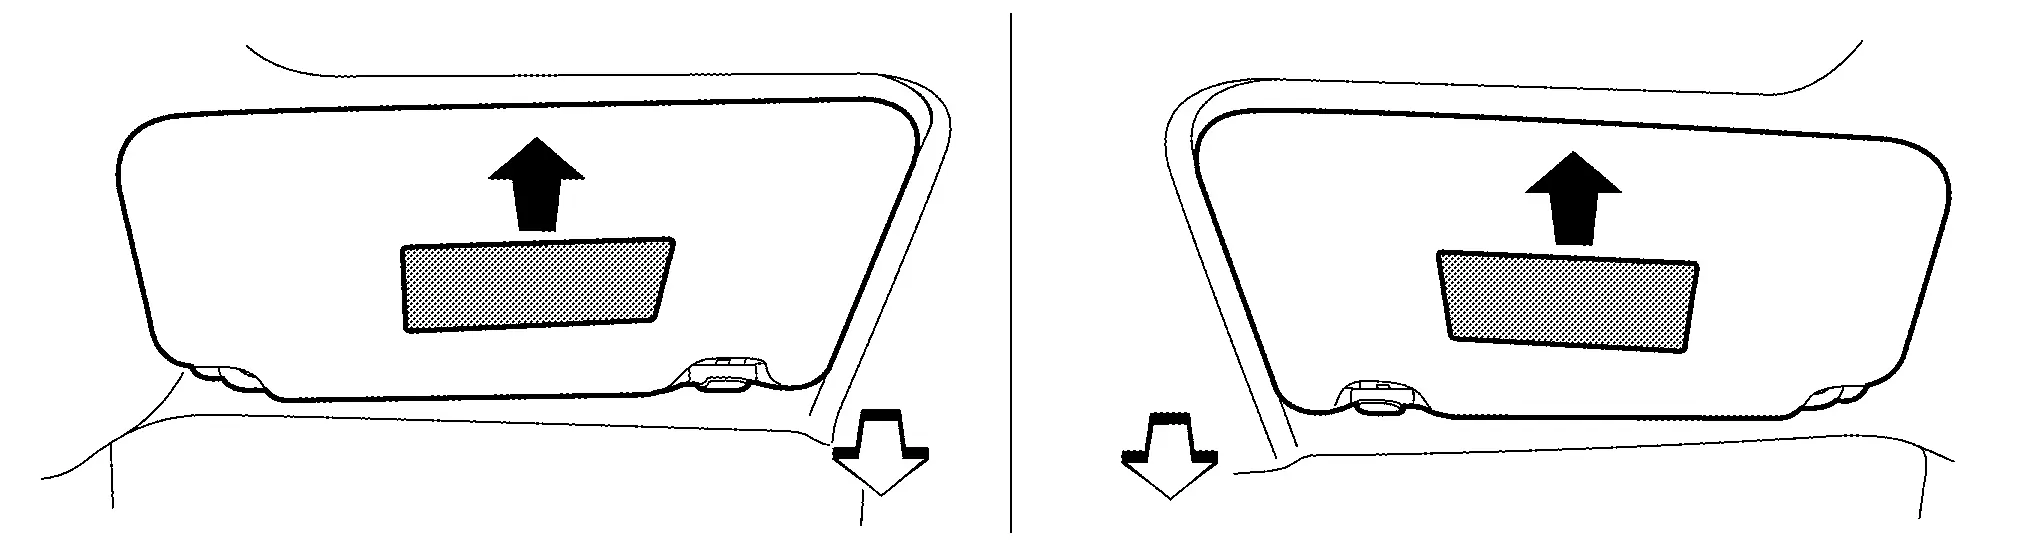

: Caution label upward : Vehicle front
 Headlining
...

Other materials:
Precautions for Removing Battery Terminal
NOTE:
NOTE:
NOTE:
The removal of 12V battery may cause a DTC detection error.
HOW TO DISCONNECT 12V BATTERY TERMINAL
Disconnect 12V battery terminal according to instruction described below.
Open the hood.
Turn ignition switch to the ON position.
Turn ignition switch to the OFF position with the d ...
Precaution for when Jacking and Lifting Up the Vehicle with Electronic Air Suspension
System
WARNING:
When jacking up or lift up the vehicle, always turn OFF the electronic air suspension function with the vehicle unladen and normal height, since the suspension may accidentally move and it can lead to personal injury.
When removing the air suspension component parts, always follow the remov ...
How to enable/disable the RCTA system
Vehicle information display
Steering-wheel-mounted controls (right side)
Follow these steps to activate or deactivate the Nissan Armada RCTA system:
1. Press the
button until the "Settings" menu appears in the vehicle information display, then
confirm using the scroll di ...

0.0068