Exploded View
With ProPILOT ASSIST 2.1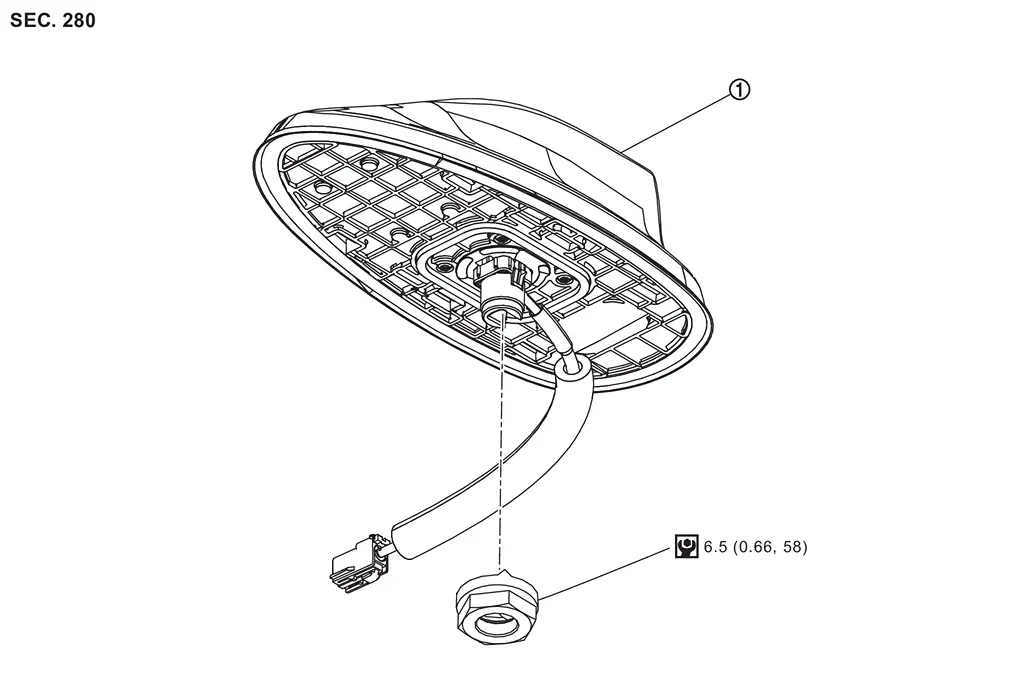
 |
Roof antenna | ||||||
 |
: N·m (kg-m, in-lb) | ||||||
Without ProPILOT ASSIST 2.1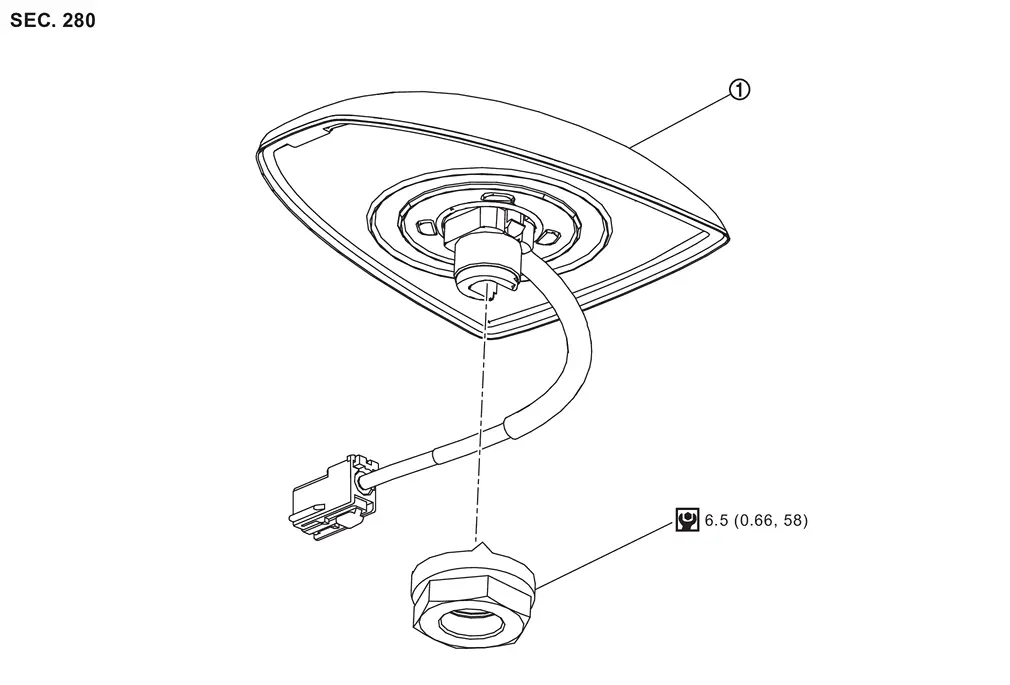
|
Roof antenna | ||||||
|
: N·m (kg-m, in-lb) | ||||||
Removal & Installation
REMOVAL
Remove the headlining assembly. Refer to Removal and Installation.
Remove the roof antenna harness connector.
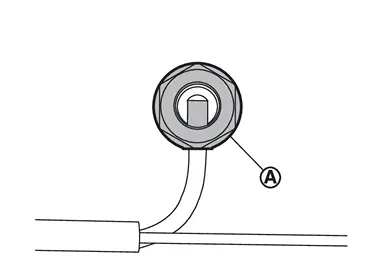
Remove roof antenna mounting nut  , and then remove roof antenna.
INSTALLATION
Install in the reverse order of removal.
CAUTION:
-
Be careful about tightening torque. If the tightening torque becomes loose, the antenna sensitivity will deteriorate, and if it becomes excessive, the roof panel may be deformed.
CAUTION:
Without ProPILOT ASSIST 2.1
-
Be sure to replace the washer during installation (it cannot be reused).
-
If the antenna holder is cracked or damaged, be sure to replace the antenna holder as well.
Other materials
How to switch the display
With the ignition switch in the ON position, the Nissan Armada Intelligent Around
View Monitor can be activated either by pressing the CAMERA/
button or by shifting the transmission into the R (Reverse) position.
Once activated, the Nissan Armada system automatically presents different split- ...
Rear Door Striker
Removal and Installation
REMOVALRemove TORX bolts, and then remove rear door striker.INSTALLATIONNote the following items, and then install in the reverse order of removal.CAUTION:
Never reuse TORX bolt. Always replace it with a new one when it is removed.
Before tighten rear door striker mounti ...
Spark Plug
Inspection
WARNING:
Jacking up or lift up the vehicle may the vehicle height to go down which cause a personal injury and/or damage to the air suspension component parts. Refer to Precaution for when Jacking and Lifting Up the vehicle with Electronic Air Suspension System.
INSPECTION AFTER REM ...