Special Service Tools
The actual shapes of TechMate tools may differ from those of special service tools illustrated here.
|
Tool number (TechMate No.) Tool name | Description | |
|---|---|---|
|
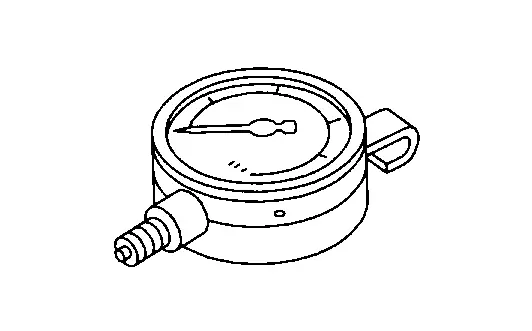
ST25051001 (NI-25695-1) Oil pressure gauge |
|
Measuring oil pressure Maximum measuring range: 2,452 kPa (25 kg/cm2, 356 psi) |
|
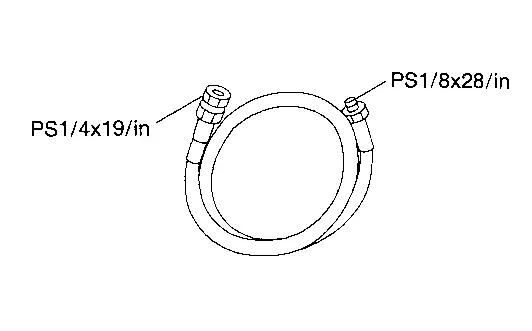
ST25052000 (NI-25695-2) Hose |
|
Adapting oil pressure gauge to oil pan (upper) |
|
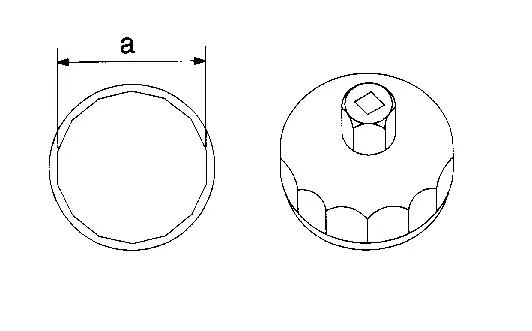
KV10115801 (NI-38956) Oil filter wrench |
|
Removing and installing oil filter a: 64.3 mm (2.531 in) |
Commercial Service Tools
| Tool name | Description | |
|---|---|---|
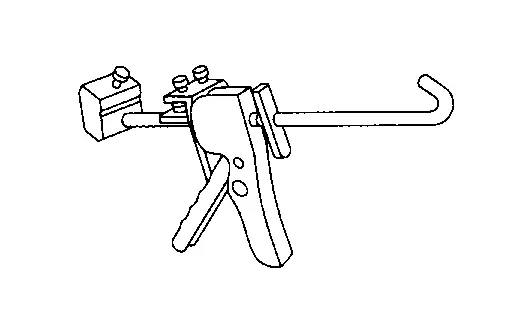
| Tube presser |
|
Pressing tube of liquid gasket |
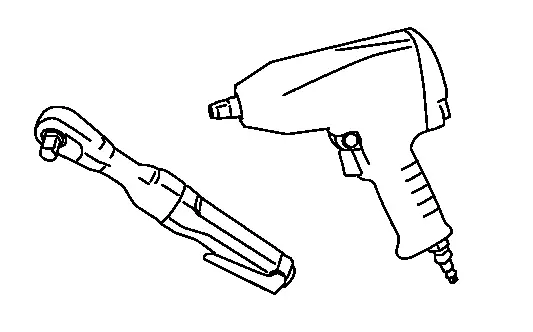
| Power tools |
|
Loosening nuts and bolts |
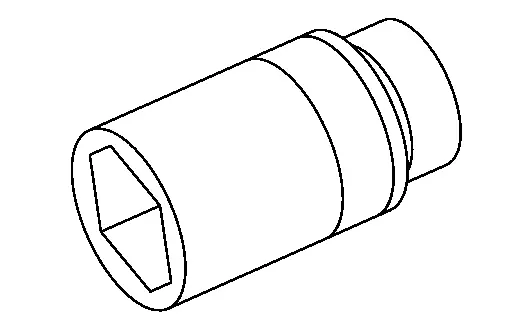
| Deep socket |
|
Removing and installing oil pressure sensor 27 mm (1.06 in) |
Lubricant or/and Sealant
| Name | Description | Note |
|---|---|---|
| Three Bond 1386G or 1211 | Oil pressure sensor | — |
Other materials
Front Final Drive: R180a Tools and Preparation
Preparation
Special Service Tools
The actual shapes of the TechMate tools may differ from those of the special service tools illustrated here.
Tool number
(TechMate No)
Tool name Description
KV10111100
(NI-37228)
Seal cutter
Removing carrier cover
ST30720000
(NI-25405)
Drift
a: 77 mm (3 ...
Front Wheel Hub and Knuckle
Inspection
WARNING:
Jacking up or lift up the vehicle may the vehicle height to go down which cause a personal injury and/or damage to the air suspension component parts. Refer to Precaution for when Jacking and Lifting Up the vehicle with Electronic Air Suspension System.
COMPONENT PARTMake s ...
Rear A/c Control
Exploded View
Refer to Exploded View.
Removal and Installation
REMOVALRemove front center console rear finisher assembly. Refer to Removal and Installation.
Remove fixing screws , and then remove rear A/C control assembly.
Remove fixing screws , and then remove rear A/C control from rear A/C contr ...