
Nissan Armada 2025-2026 Service and Repair Manual: EVAP CANISTER : Removal & Installation
WARNING:
REMOVAL
EVAP canister
Remove spare tire. Refer to Removal & Installation.
Disconnect EVAP control system pressure sensor harness connector  and vent hose 4
  from EVAP canister
  .
.
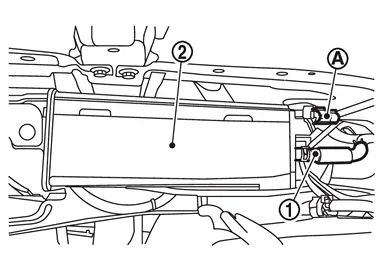
Disconnect EVAP canister vent control valve harness connector and vent hose 1 from EVAP canister .
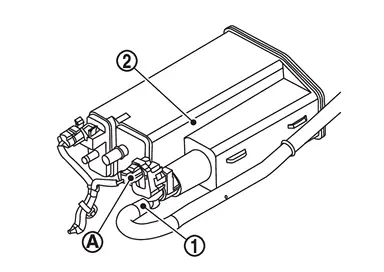
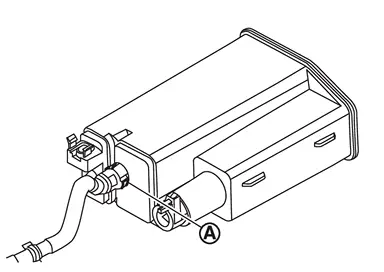
Hold the sides of connector, push in tabs and pull out vent tube.
Remove mounting bolt and mounting nut  of bracket 1, and remove bracket 1 and EVAP canister as a set from the vehicle
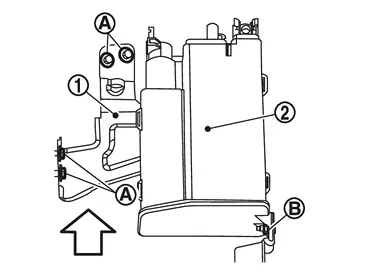
 | : Vehicle front |
 NOTE:
NOTE:
The EVAP canister vent control valve and EVAP control system pressure sensor can be removed without removing the EVAP canister.
Remove EVAP canister from bracket 1.
Canister filter
Remove vent hose 1 and vent hose 2 from canister filter  .
.
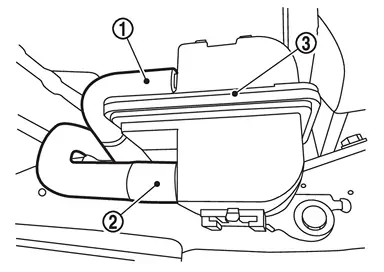
Remove canister filter from b racket 3.
Remove vent hose 1 and vent hose 2 from the vehicle if necessary.
INSTALLATION
Install in the reverse order of removal.
NOTE:
Tighten EVAP canister mounting bolt to the specified torque.
 Hydraulic Layout
EVAP canister purge volume control solenoid valve EVAP resonator EVAP line Fuel line Fuel tank Fuel filler neck EVAP canister ...
 Disassembly and Assembly
DISASSEMBLY
Disengage the pawl and turn EVAP canister vent control valve counterclockwise.
: Lock : Unlock
Remove the EVAP canister vent control valve.
ASSEMBLY
Assemble in the reverse order of ...
Other materials:
Removal and Installation
REMOVAL
Remove front seat cushion trim and pad. Refer to Disassembly and Assembly.
Disengage fixing pawls and then remove front seat cushion blower motor.
: Pawl
Disengage front seat cushion blower motor harness fixing clip.
Disconnect front seat cushion blower motor connector and then remove fro ...
Removal and Installation
CAUTION:
Never damage the roof panel.
REMOVAL
CAUTION:
Fully open back door.
Release roof rear garnish portion of back door weather-strip. Refer to Removal and Installation.
Release connector tongue of third seat belt retractor from roof rear garnish.
Remove luggage room lamp. Refer to Removal and I ...
Special Service Tools
Tool number
(TechMate No.)
Tool name Description ST3127S000
(NI-25765-A)
Preload gauge
Measuring rotating torque of ball joint KV401110S0
( - )
Rear shock absorber service kit
KV40111000
(NI-53363)
Soket 18
KV40111100
(NI-53362)
Rod lock handle
Shock absorber mounting braket
Loosening piston ...

0.005