
Nissan Armada 2025-2026 Service and Repair Manual: Inspection
INSPECTION AFTER REMOVAL
Appearance
Check the following items, and replace the part if necessary.
Front lower link and bushing for deformation, cracks or damage.
Boot of ball joint for cracks or damage, and also for grease leakage.
Ball Joint Inspection
Manually move ball stud to confirm it moves smoothly with no binding.
Swing Torque Inspection
Move the ball joint at least ten times by hand to check for smooth movement.
Hook spring balance (A) at groove. Confirm spring balance measurement value is within specifications when ball stud begins moving.
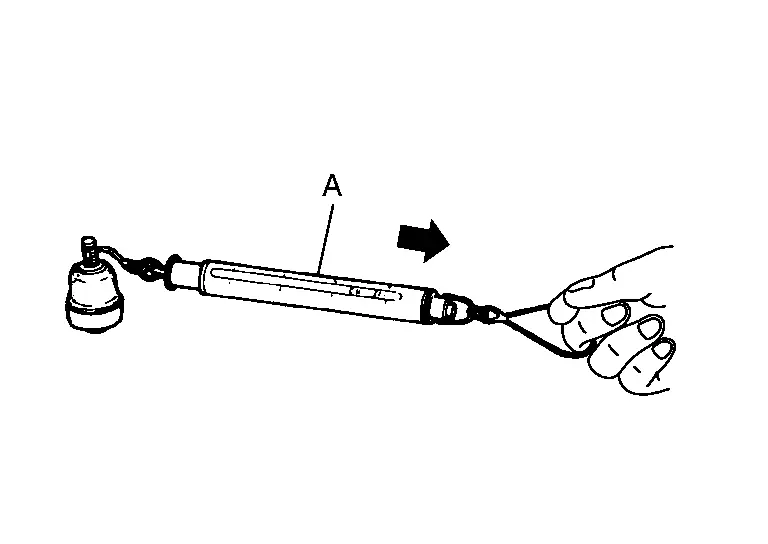
| Swing torque | : Refer to Ball Joint. |
If swing torque exceeds the standard range, replace front lower link.
Rotating Torque Inspection
Move the ball joint at least ten times by hand to check for smooth movement.
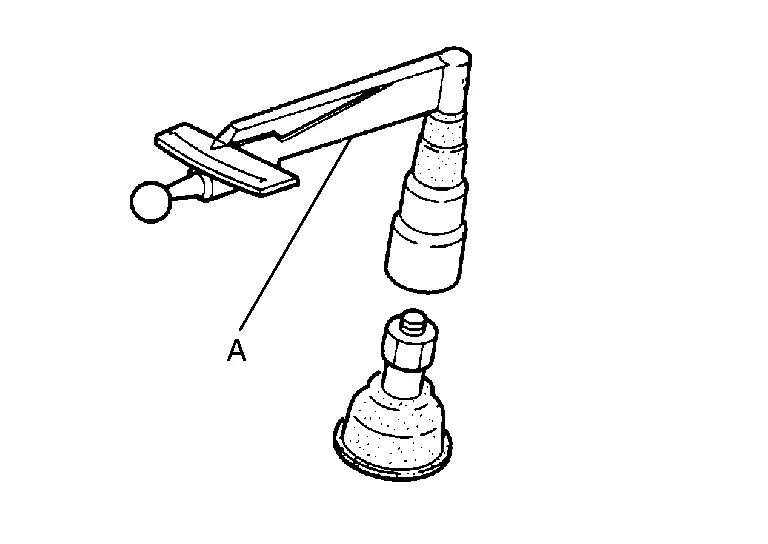
| Rotating torque | : Refer to Ball Joint. |
If rotating torque exceeds the standard range, replace front lower link.
Axial End Play Inspection
Move the ball joint at least ten times by hand to check for smooth movement.
Move tip of ball stud in axial direction to check for looseness.
| Axial end play | : Refer to Ball Joint. |
If axial end play exceeds the standard range, replace front lower link.
INSPECTION AFTER INSTALLATION
Without Dynamic Digital Suspension and Electronic Air Suspension
Check wheel alignment. Refer to Inspection.
With Dynamic Digital Suspension and Electronic Air Suspension
Confirm to close the hood.
Always check for the air leakage with soapy water.
Check wheel alignment. Refer to Inspection.
 Removal and Installation
REMOVAL
Without Dynamic Digital Suspension and Electronic Air Suspension
Remove tires. Refer to ROAD WHEEL TIRE : Removal & Installation.
Remove wheel sensor and harness connector. Move wheel sens ...

Other materials:
PRECAUTIONS FOR REMOVING BATTERY TERMINAL : Precautions
When disconnecting the battery terminal, pay attention to the following.
Always use a 12V battery as power source.
Never disconnect battery terminal while engine is running.
When removing the 12V battery terminal, turn OFF the ignition switch and wait at least 30 seconds.
For vehicles with the engi ...
Removal and Installation
REMOVAL
Remove front door finisher. Refer to Removal and Installation.
Remove front door module assembly. Refer to Removal and Installation.
Remove front door outside handle bracket. Refer to Removal and Installation.
Remove front door lock assembly mounting TORX bolts.
Disengage front door lock ass ...
Lubricant or/and Sealant
Name Description Note Nissan multi-purpose Special Grease No. 2 Clevis pin of brake pedal — MOLYKOTE® AS880N or siliconebased grease Front brake Molykote is a registered of Dow Corning Corporation MOLYKOTE® 7439 Front brake Molykote is a registered of Dow Corning Corporation Rubber ...

0.0056