
Nissan Armada 2025-2026 Service and Repair Manual: Light Stand
Over the years the light system has evolved from a single neon to multi lines and then to the reflector type light.
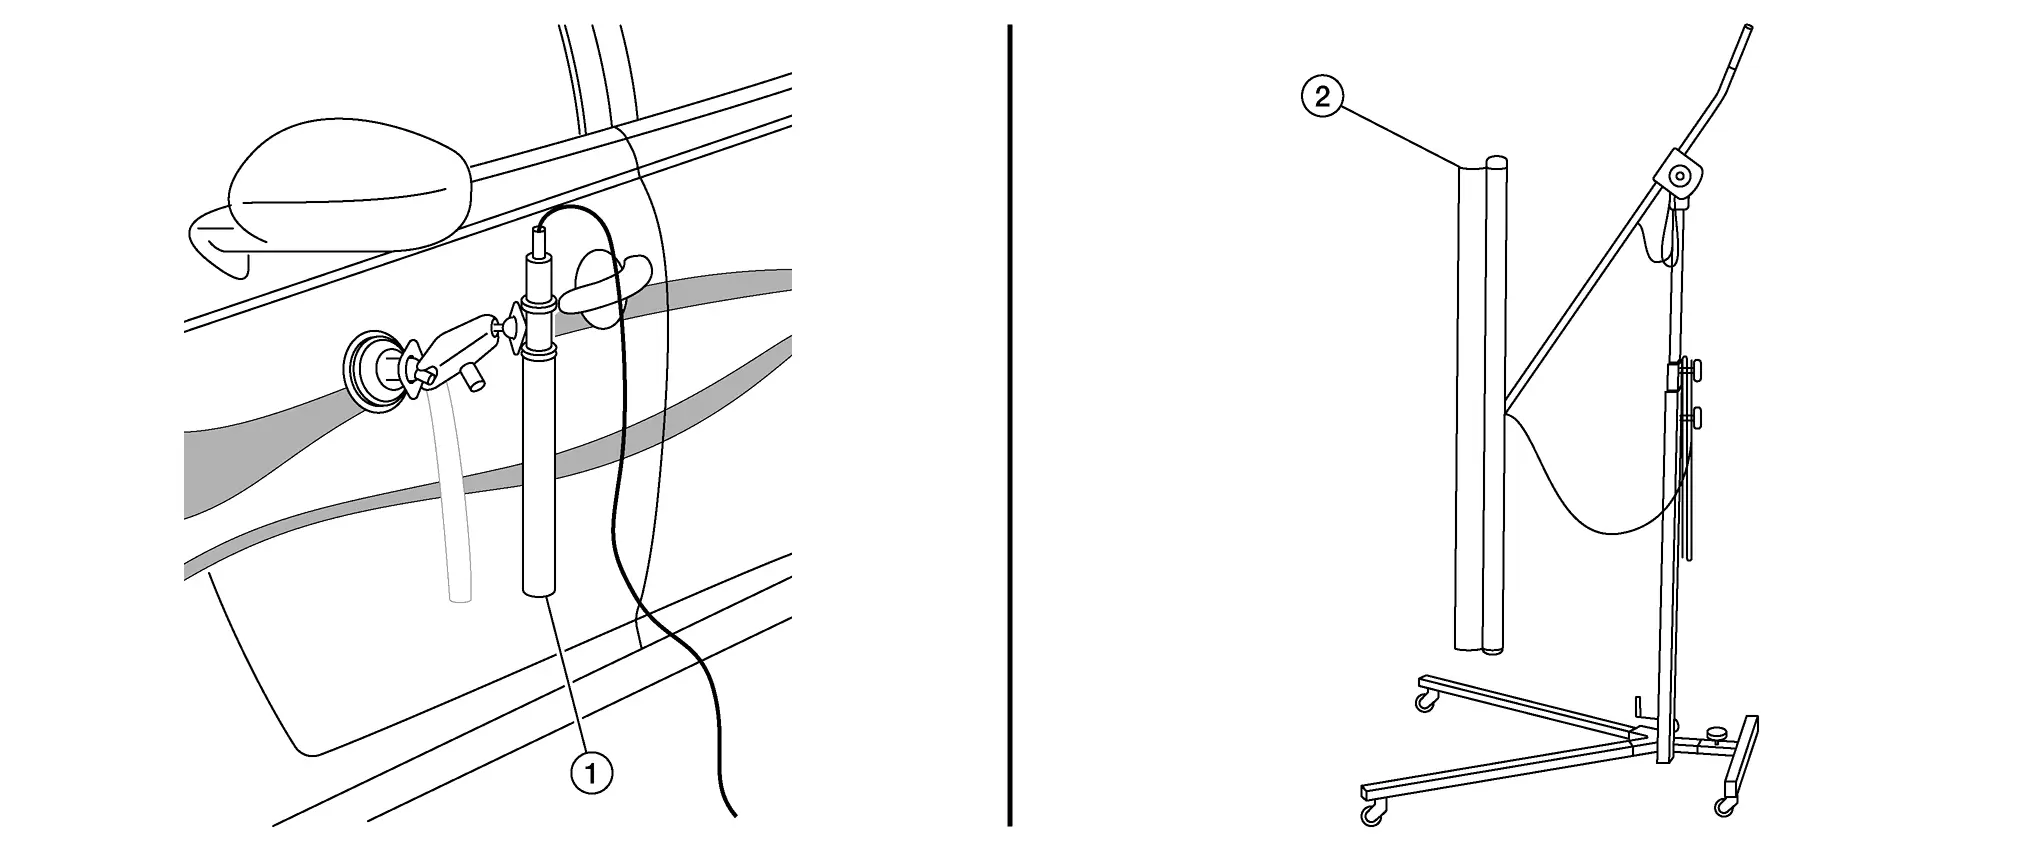
| Small Light (1) | Large Light (2) | ||
| Advantage | Disadvantage | Advantage | Disadvantage |
|
|
|
|
Most professionals use a large light because of its many advantages.
Light Position: 3 Points
There are several aspects to consider in setting up the light. This is the main problem area for beginners. It looks easy but it is not. We are looking at three aspects in the setting up, which are crucial to the success of a proper repair.
Distance (Angle)
Beginners often place the light too close.
There is no precise distance for the positioning. In a repair the light should always be positioned in two distances. First close, to see the tool a little better and also to be able to see into the dent. Although if the dent is to deep or big the center of the damage can’t be seen in the light reflection.
Normal distance: First position
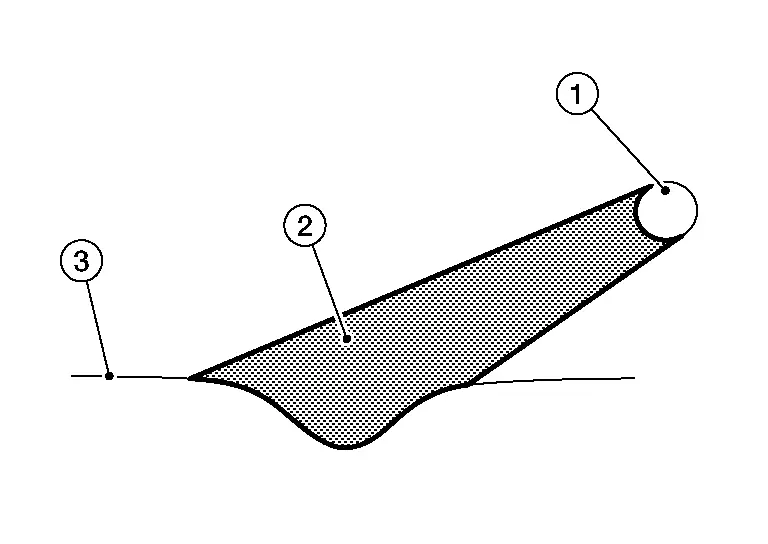
1 :Light source 2 :Light 3 :Surface Finishing distance: Second position for the finish
In the finishing stages of the repair the light should be moved to the distance, as this will show the minor imperfections and the general area much better.
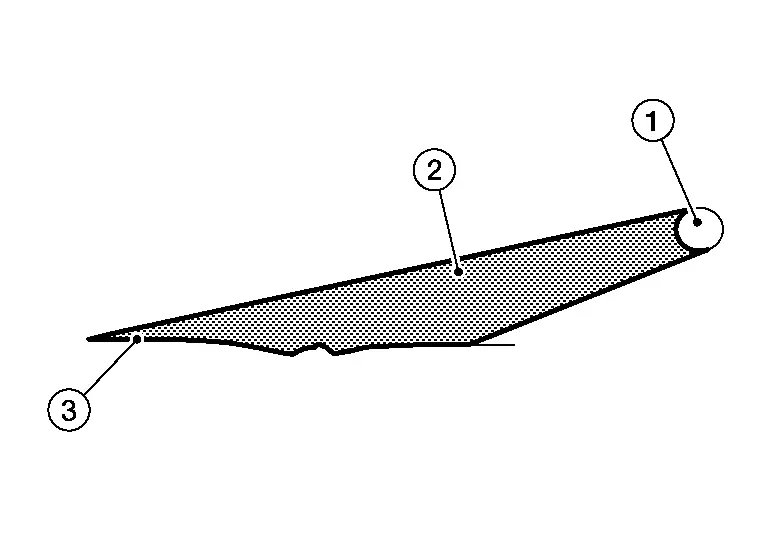
1 :Light source 2 :Light 3 :Surface 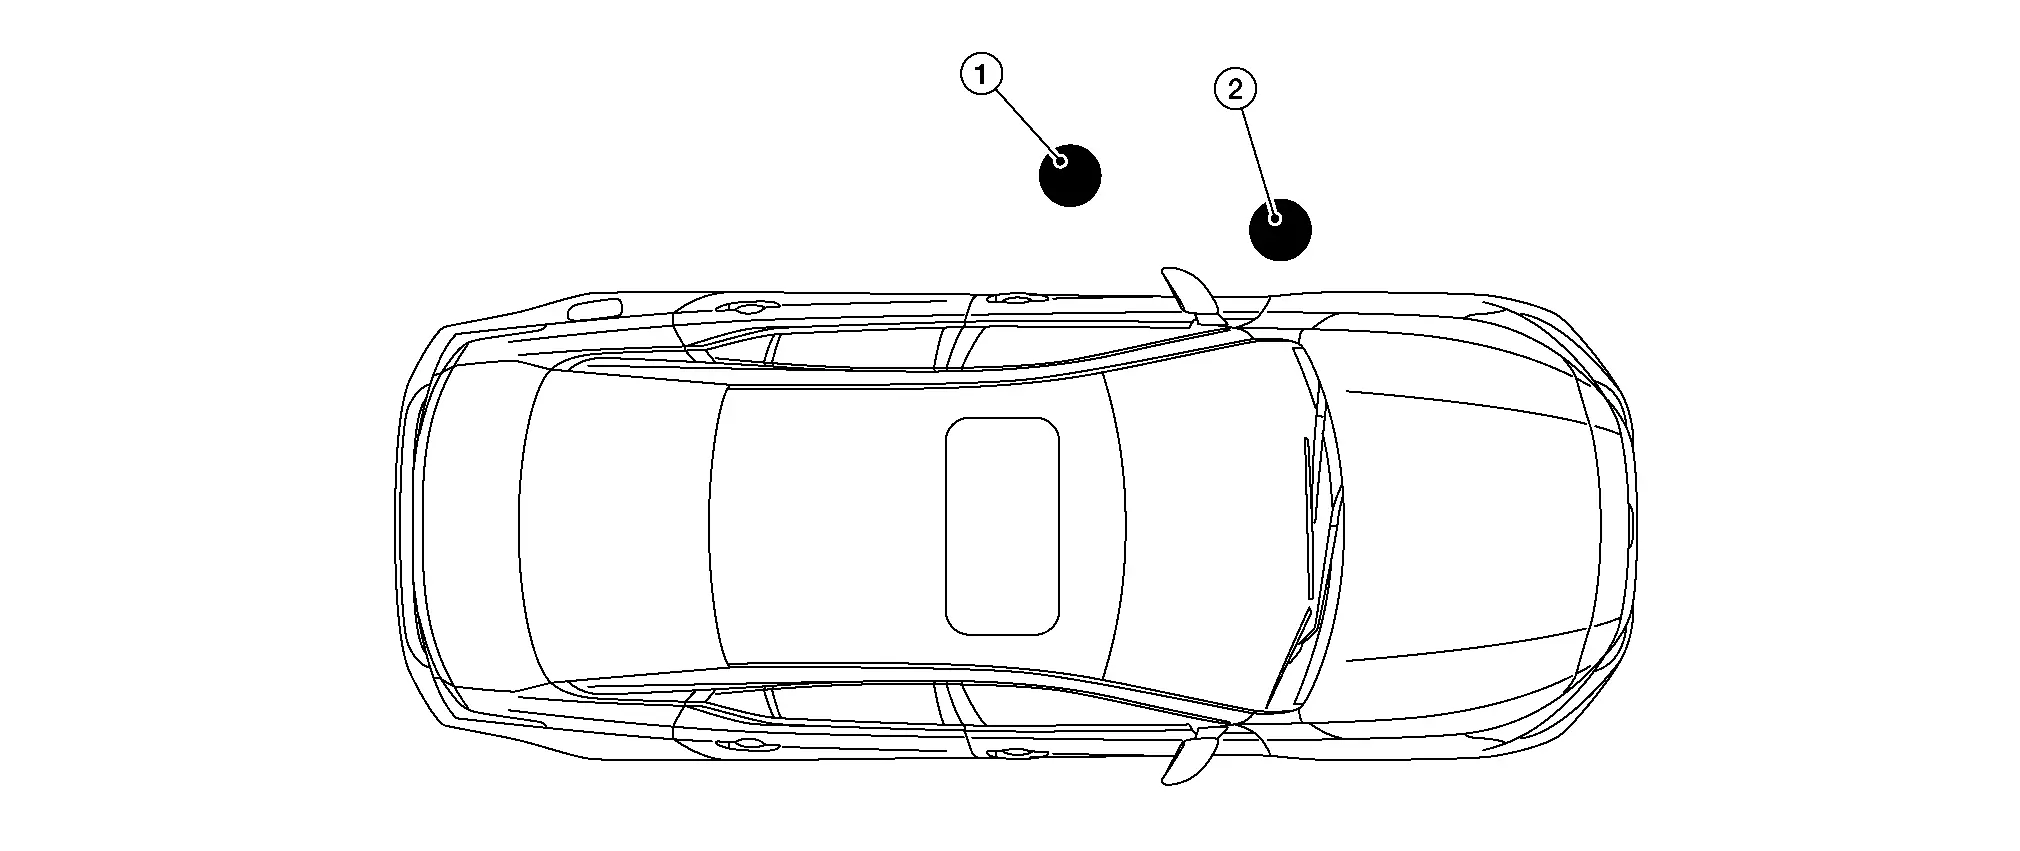
1 :Normal or start position 2 :Finishing position
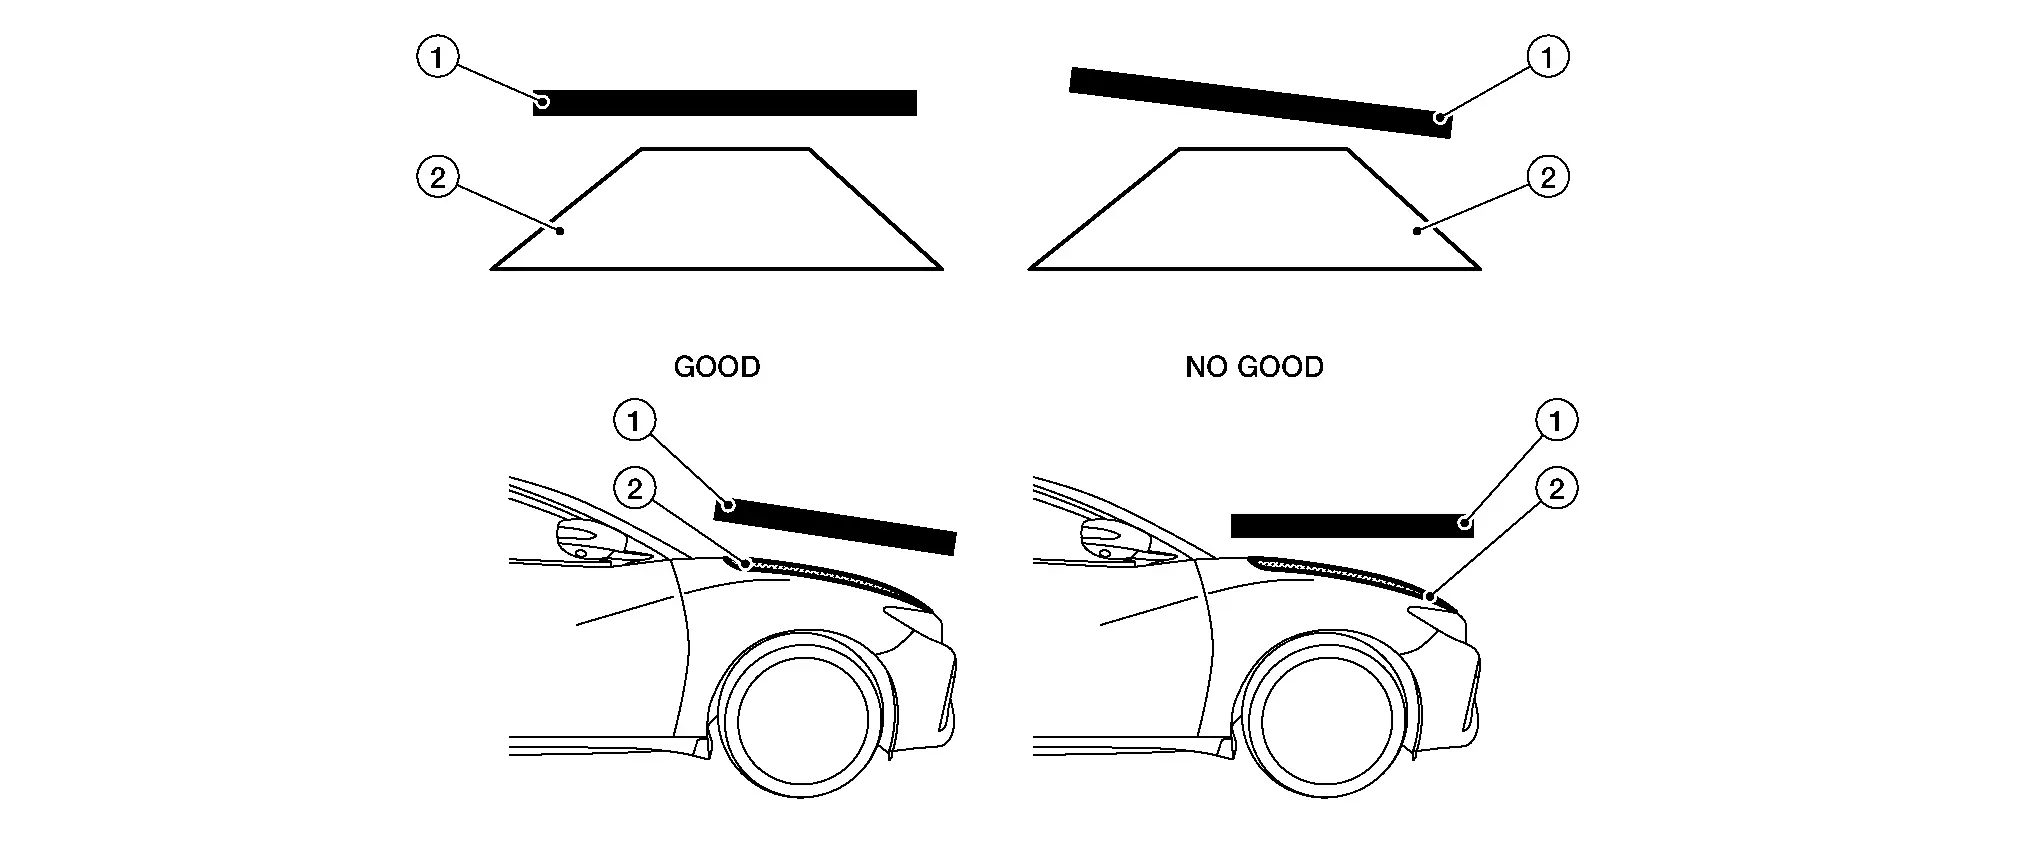
Light Position Parallel
Always make sure the light (1) is parallel to the surface (2) which you are repairing.
Top or flat surface
Side or curved surface
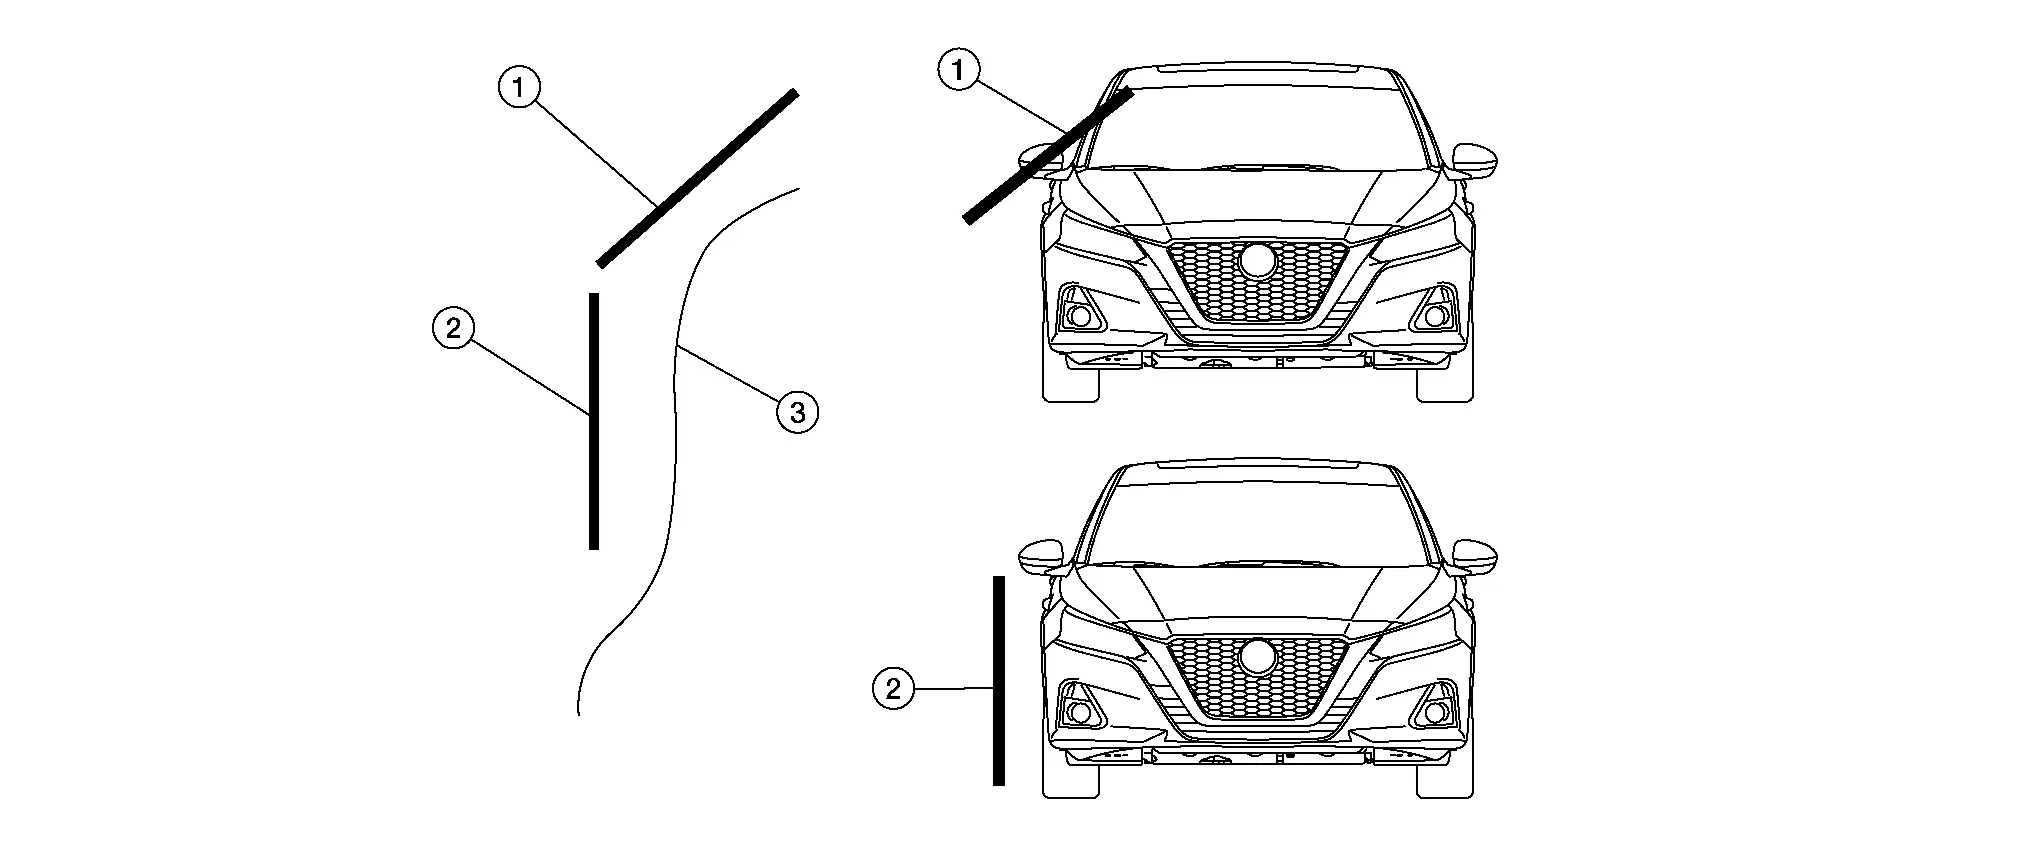
1 :Light source on a curved surface 2 :Light source on a side surface 3 :Surface
It is ideal if the light system being used is easily adjustable to be able to match the contour of the car body.
Consider which way the metal is bent.
If the panel or area is flat it doesn’t matter from which direction the dent is repaired.
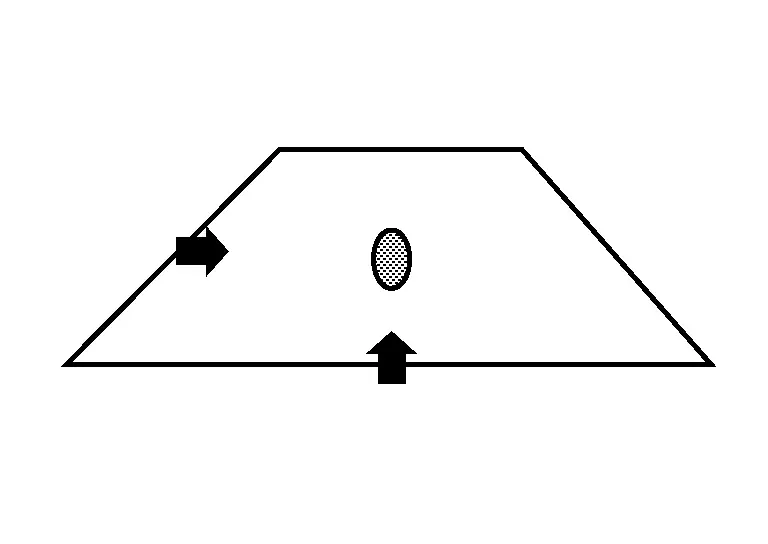
But if the panel (1) or area is bent it is important to work perpendicular to the bend. The reason for this is that from the front, the dent (2) can’t be seen well with its full size.
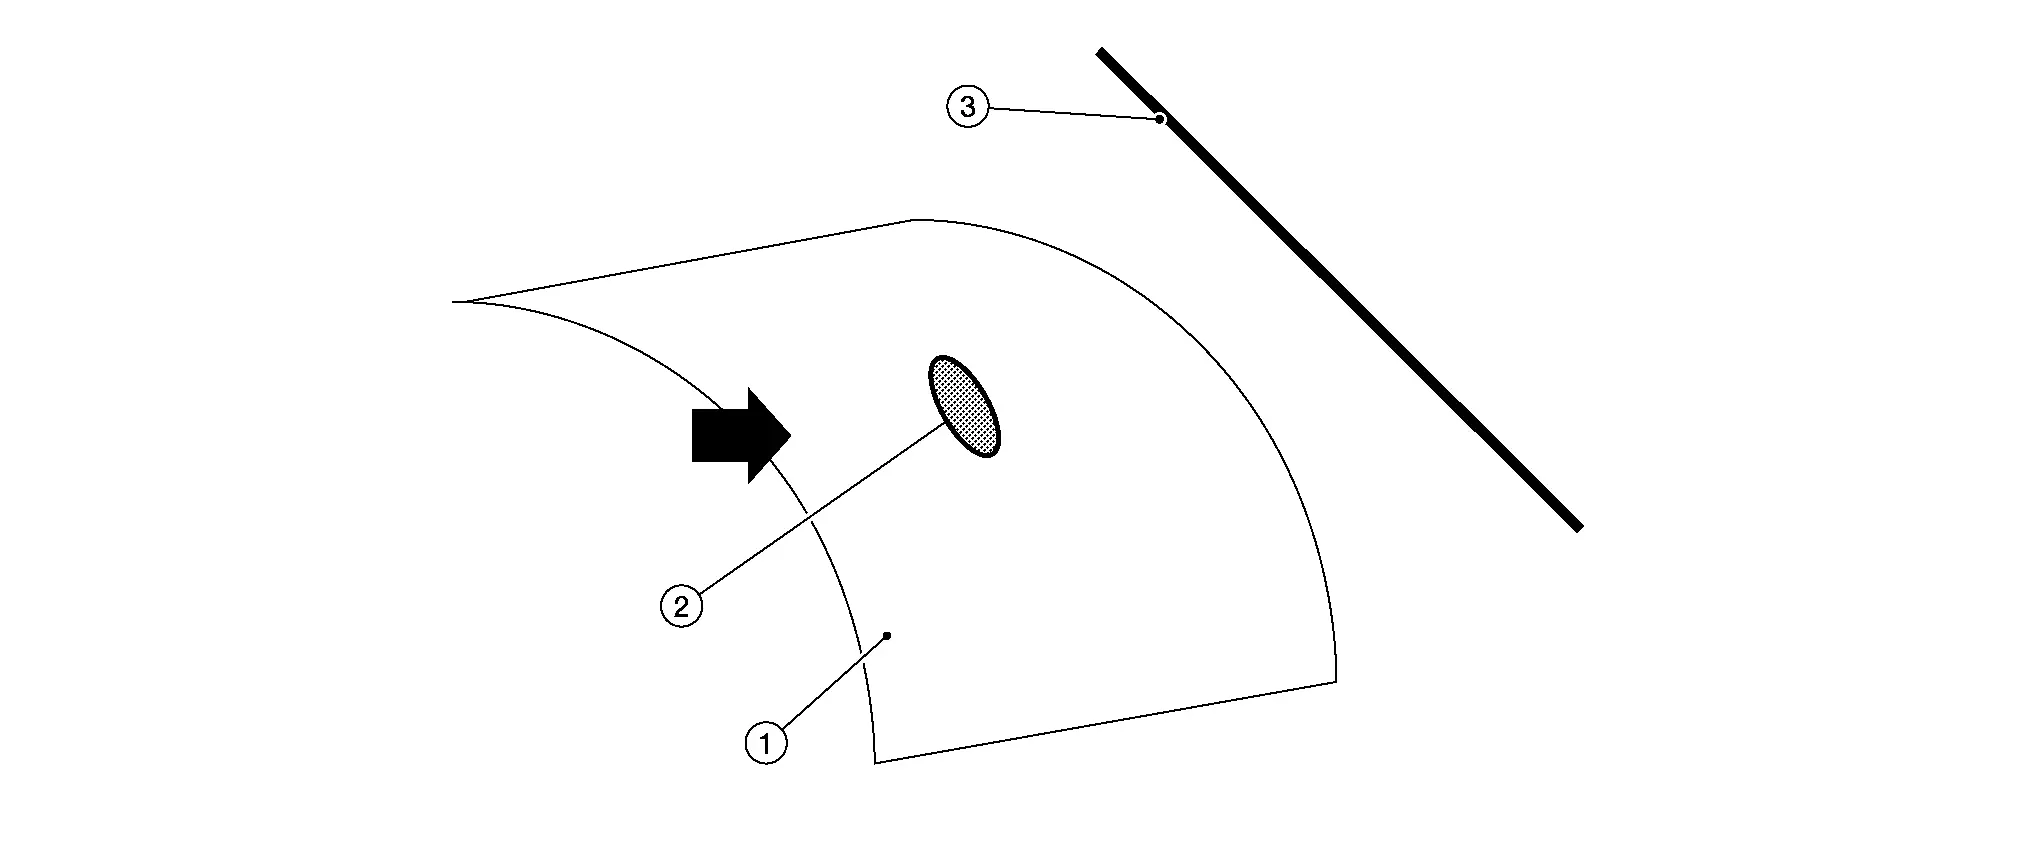
3 :Light source Light Position Crisscross
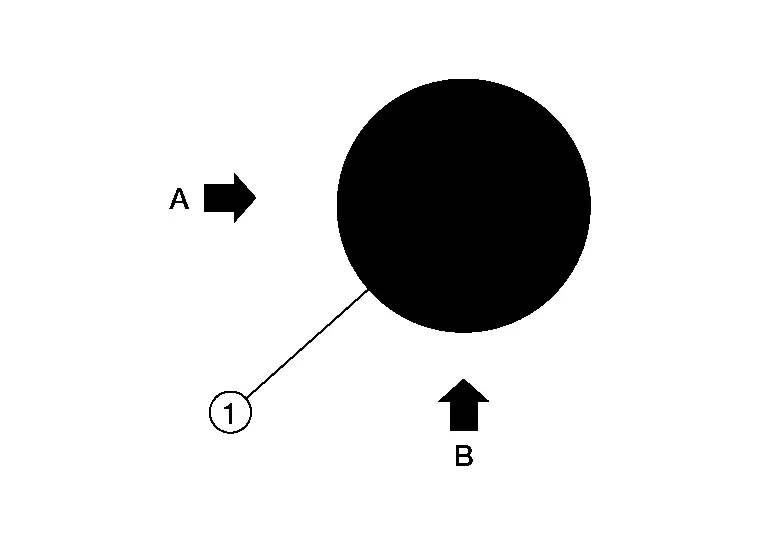
It is always important to work the dent (1) from two angles (A and B). This is mainly the case for top panels like the hood, roof and trunk. The reason for this is that the dent can’t be seen completely from one side. Therefore you first work from one side. This is normally done with a light position with a normal angle (A) and you fix the dent up to 80%. Then you change to angle (B), ideally 90°, and finish the dent from the other side keeping the light at a distance.
 Confirmation of The Panel
It is not possible to correct all convex/concave portions in paintless dent repair.
Whether or not the parts need to be removed/installed, and tools that can be inserted must be checked for each repai ...
 Selection of Repair Tools
Tools for paintless dent repair are hammers, spoons, dollies and punches. Some popular hand tools for paintless dent repair and application examples are described below.
Choose suitable tools to repa ...
Other materials:
Remote Engine Start Function Does Not Operate
Engine does not start when operating REMOTE ENGNE START button of Intelligent Key or telematics function of the smartphone. .
NOTE:
Check that vehicle is under the condition shown in “Conditions of vehicle� before starting diagnosis, and check each symptom.
CONDITIONS OF VEHICLE (OPERATING CONDI ...
Precautions for Removing Battery Terminal
NOTE:
NOTE:
NOTE:
The removal of 12V battery may cause a DTC detection error.
HOW TO DISCONNECT 12V BATTERY TERMINAL
Disconnect 12V battery terminal according to instruction described below.
Open the hood.
Turn ignition switch to the ON position.
Turn ignition switch to the OFF position with the d ...
Precautions for Removing Battery Terminal
NOTE:
NOTE:
NOTE:
The removal of 12V battery may cause a DTC detection error.
HOW TO DISCONNECT 12V BATTERY TERMINAL
Disconnect 12V battery terminal according to instruction described below.
Open the hood.
Turn ignition switch to the ON position.
Turn ignition switch to the OFF position with the d ...

0.0053