
Nissan Armada 2025-2026 Service and Repair Manual: Procedure for Applying Body Filler
(1) REMOVAL OF PAINT
Using an air sander, remove old paint and "scuffing" the panel surface for better filler adhesion. Form a featheredge on the panel surface approximately 20 mm (0.79 in) wider than the correction area in order to eliminate traces of body filler application.
(2) CHEMICAL CONVERSION COATING
Body skin panels of NISSAN vehicles use anti-corrosive steel. These panels should be coated with a self etching primer coating before applying common body filler.
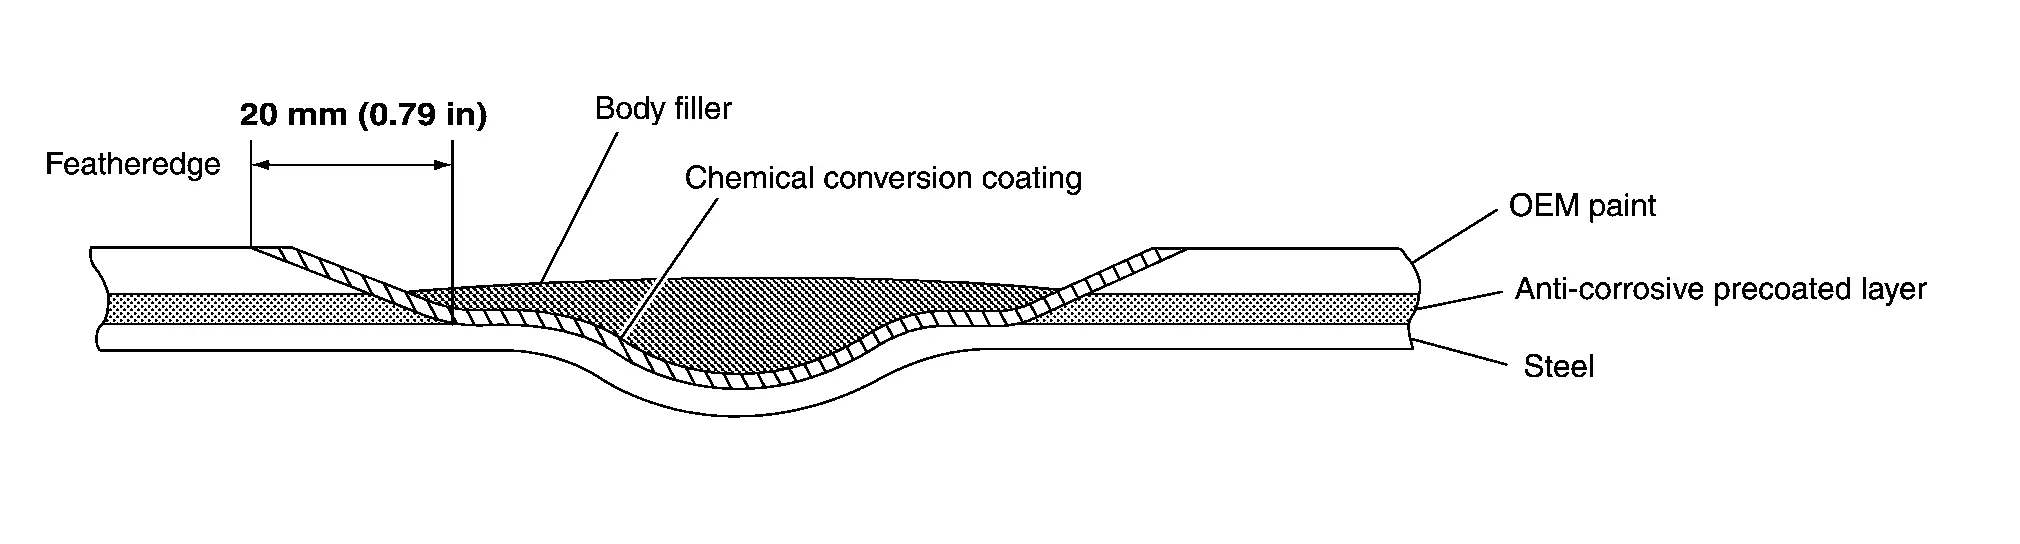
If body filler has been developed for anti-corrosive steel, chemical conversion coating will not be needed. (Please confirm this with the body filler supplier.)
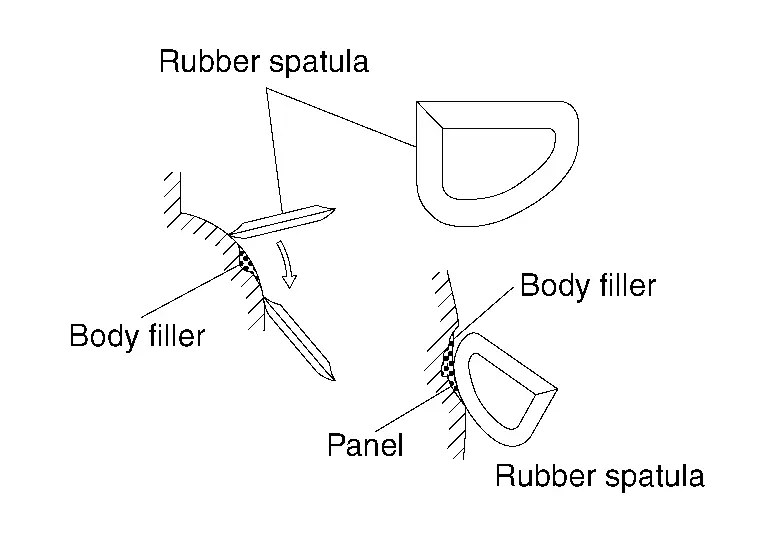
(3) SPATULA MOVEMENT
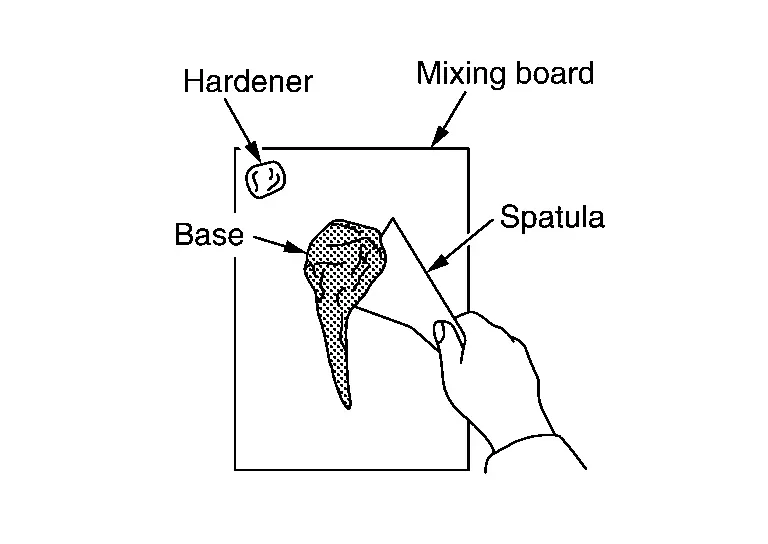
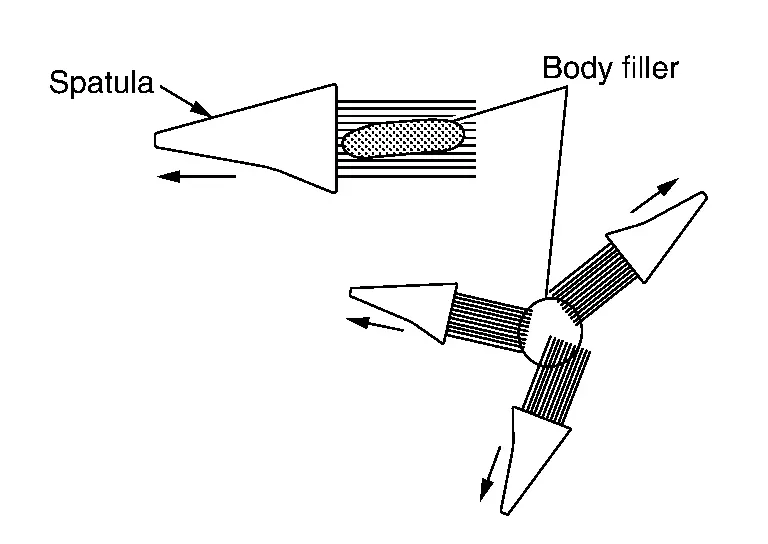
Move the spatula lengthwise when applying to an oval shaped area. If applying to a round area, move the spatula in many directions as shown in the figure.
(4) APPLYING TECHNIQUE
Apply body filler in several thin layers.
(a) Hold spatula well balanced and hold slightly standing position, then squeeze putty into scratches.
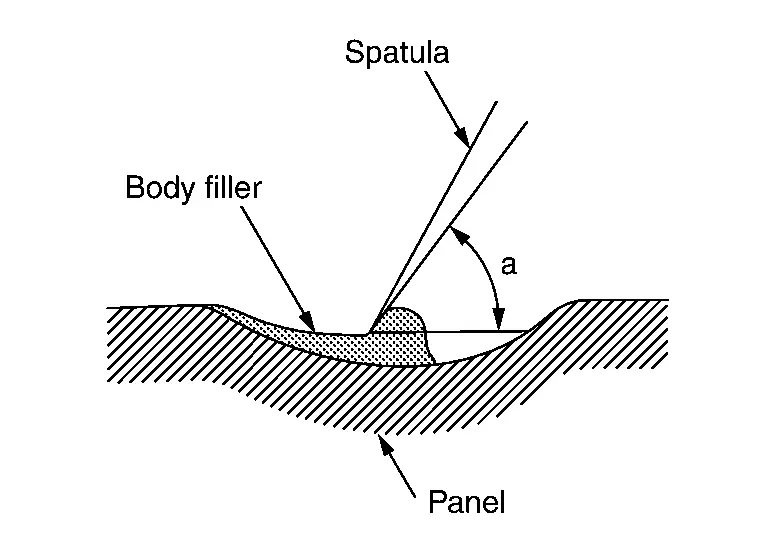
| a | : 60°– 90° |
(b) Put a large amount of filler on the spatula.
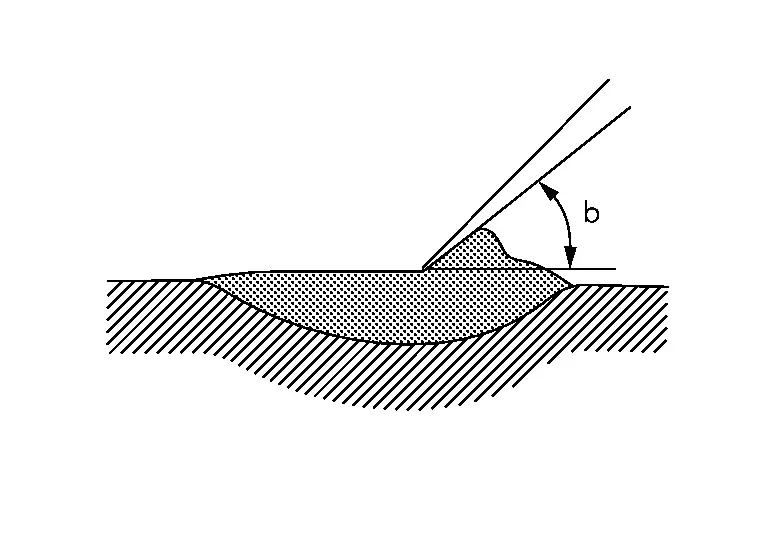
Hold spatula slightly lean, then apply several times (do not put much in once) until covered above datum level.
| b | : 30°– 45° |
(c) Use the spatula to smooth the applied filler.
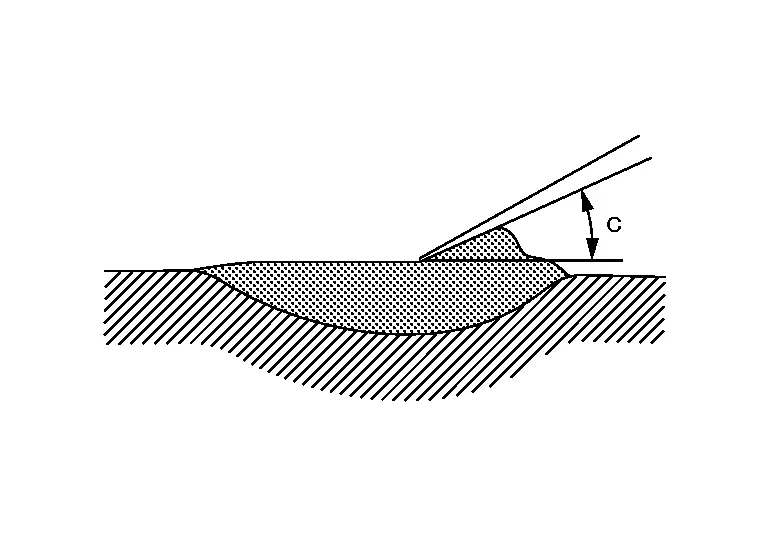
Perform finishing work for smoothening the surface. The filler surface should be slightly higher than the panel surface.
| c | : Less than 30° |
(5) PRECAUTION FOR APPLYING
Be careful not to place body filler over the basecoat edge. This will soften the basecoat and cause repair mapping and visible ring around the repair area. The filler edge should end on bare metal or e-coat to avoid this condition.
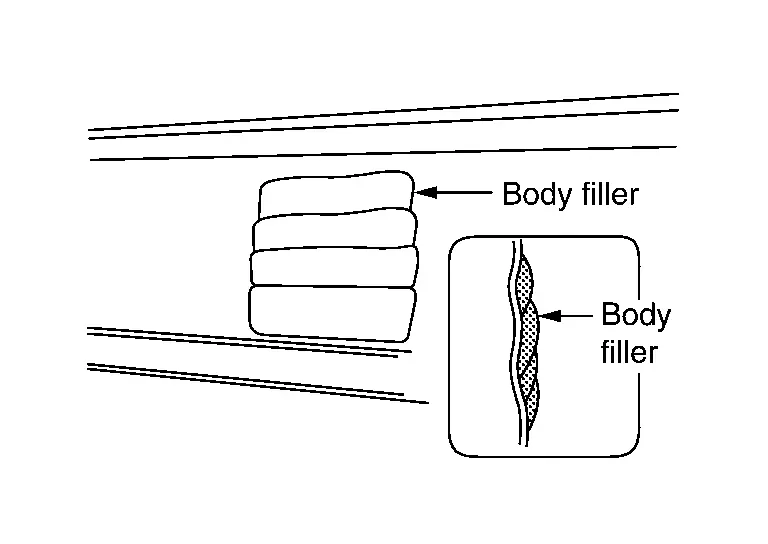
(6) APPLICATION OF BODY FILLER TO FLAT SURFACE
(a) Apply filler so that the corrected surface is flush with the surrounding panel surface.
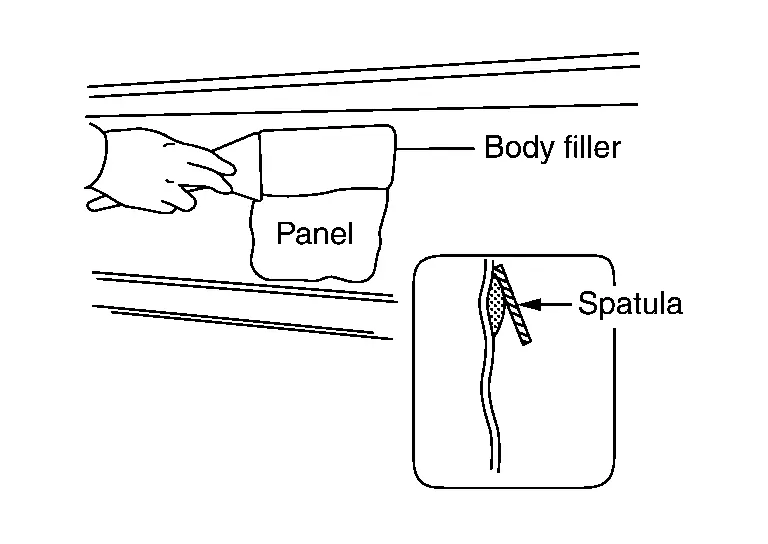
(b) Apply another layer of filler to overlap 1/3 - 2/3 of the previous application to eliminate the step.
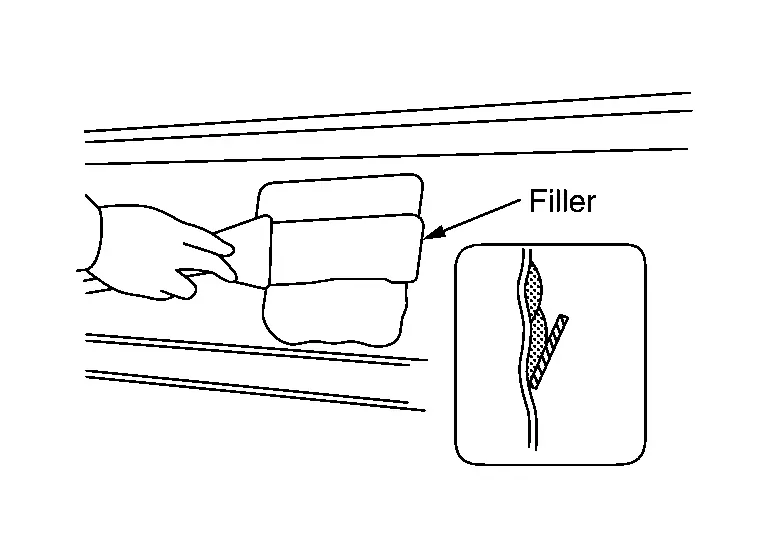
(c) Repeat (b) until the filler is correctly applied to the desired portion.
(7) APPLICATION OF BODY FILLER TO CURVED SURFACE
Use of a flexible rubber spatula is recommended for application to curved surfaces.
(8) APPLICATION OF BODY FILLER TO PRESS LINE
(A) Apply tape along the press line. Then apply filler to only one side of the press line.
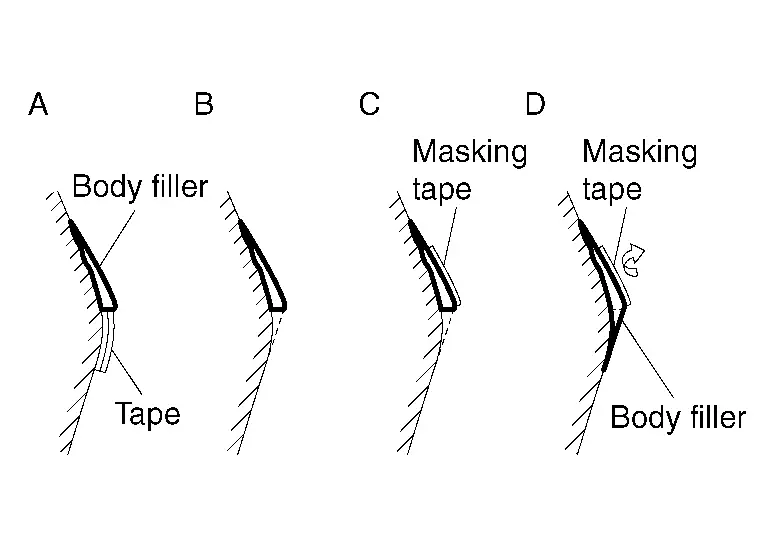
(B) Peel the tape from the half-dried filler.
(C) Apply tape along the filled and half-dried filler line.
(D) Apply filler to the other side of the press line.
 Types of Filler and Putty
Type (Standard thickness limits) Characteristics Body Filler Putty
(For repairing of large dents or scratches)
[10 mm (0.39 in)] Surform type This type of filler requires surforming (rough grinding ...
 Drying the Body Filler
When the hardener is mixed with the base, the filler begins to harden. Heat is also generated, which accelerates hardening. For this reason, filler drying speed varies with maximum thickness allowed.. ...
Other materials:
Symptom Table
LOW TIRE PRESSURE WARNING LAMP SYMPTOM CHART
Diagnosis items Symptom
(Ignition switch ON) Low tire pressure warning lamp Cause Action Low tire pressure warning lamp
The low tire pressure warning lamp illuminates for 1 second, then turns OFF.
Wake-up operation for all tire pressure sensors at ...
Exterior (NISMO models)
Nissan Armada NISMO models feature unique aerodynamic components and sensor placements
that require special handling. These enhancements not only improve performance but
also give the Nissan Armada a more aggressive and sporty appearance.
Front sonar sensors
Front spoiler
Front fog l ...
Types of tires
Basic information
WARNING
When replacing tires on your Nissan Armada, always ensure that all four
tires are identical in type (for example: Summer, All Season, or Snow) as well
as in construction.
Using mismatched tires can negatively impact vehicle stability, handling,
and safety ...

0.0058