Inspection
WARNING:
-
Jacking up or lift up the vehicle may the vehicle height to go down which cause a personal injury and/or damage to the air suspension component parts. Refer to Precaution for when Jacking and Lifting Up the vehicle with Electronic Air Suspension System.
LOOSENESS OF CONNECTED PART
Check each fixing bolt and nut for looseness using torque wrench. For each tightening torque, refer to Exploded View.
BACKLASH OF JOINT PART
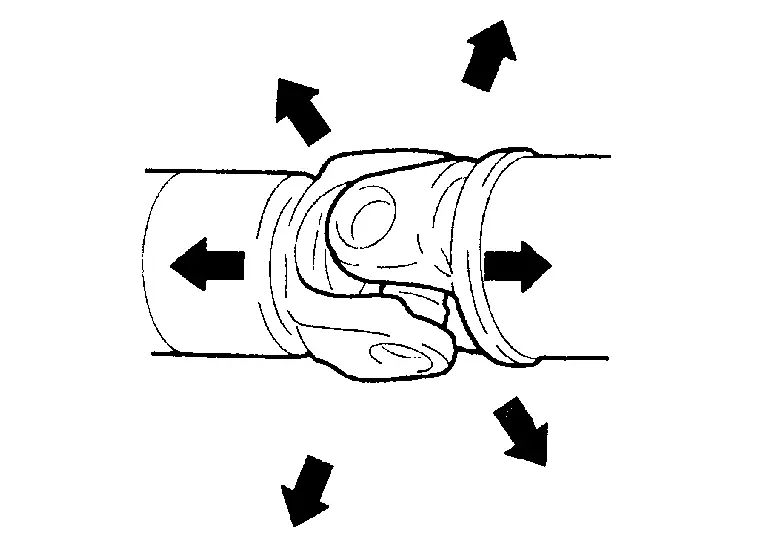
Move the joint of propeller shaft up and down and from side to side (axial direction of shaft and right angle to shaft) to check that the joint has no backlash extremely. If the joint has a malfunction, remove propeller shaft and perform inspection.
BACKLASH OF CENTER BEARING
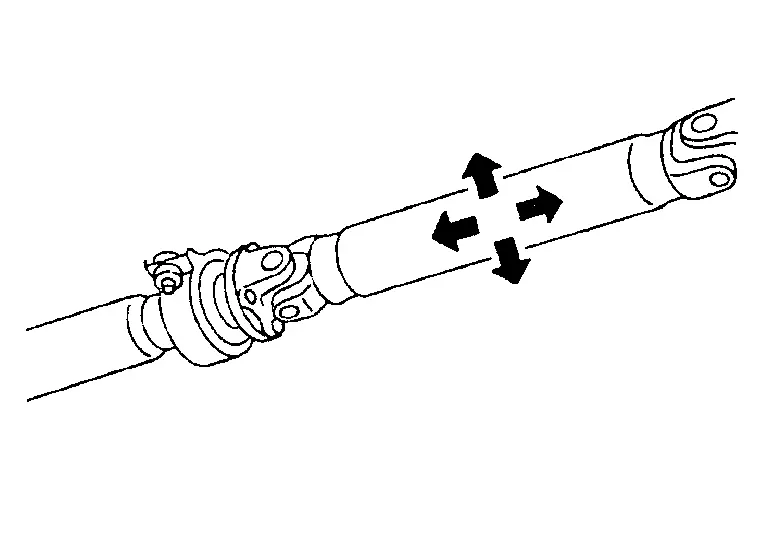
Move the shaft near center bearing up and down and from side to side (axial direction of shaft and right angle to shaft) to check that the bearing has no backlash. If the bearing has a malfunction, remove propeller shaft and perform inspection.
APPEARANCE AND NOISE
-
Check propeller shaft tube surface for dents or cracks. If malfunction is detected, replace propeller shaft assembly.
-
If center bearing is noisy or damaged, replace propeller shaft assembly.
VIBRATION
If vibration is present at high speed, adjust the propeller shaft phase first.
Check the propeller shaft for bend and damage. If damaged, replace propeller shaft assembly.
Perform a cruise test drive to check the propeller shaft for runout. If vibration occurs, separate propeller shaft at final drive companion flange; then change the phase between companion flange and propeller shaft by the one bolt hole at a time and install propeller shaft.
If vibration is still detected, measure propeller shaft runout after removing it. Refer to Inspection.
Other materials
Driver Side
Description
Driver door does not lock/unlock using door lock and unlock switch.
Diagnosis Procedure
CHECK DOOR LOCK ACTUATOR
Check door lock actuator (driver side).
Refer to Diagnosis Procedure.
Is the inspection result normal?
YES>>
GO TO 2.
NO>>
Repair or replace the malfunctioning p ...
Personal Lamp
Exploded View
Headlining assembly
Personal lamp
Personal lamp bracket
: Pawl
: vehicle front
Removal and Installation
CAUTION:
Disconnect the battery negative terminal or remove power circuit fuse when performing the operation for preventing electric leakage. Refer to Precautions ...
Battery
Exploded View
Without ProPILOT ASSIST 2.1
Battery fix frame
Battery cover
Negative cable
Battery current sensor
12V battery
Battery fix rod
Battery fix rod clip
Battery tray
Battery positive terminal
Battery positive terminal cover
Battery terminal with fusible link ...