Removal and Installation
WARNING:
REMOVAL
CAUTION:
When washer tube is disconnected/removed, washer fluid may come out so prepare a container to receive washer fluid and never allow washer fluid to be sprinkled.
Rear Washer Tube A
Remove fender protector RH. Refer to Removal and Installation.
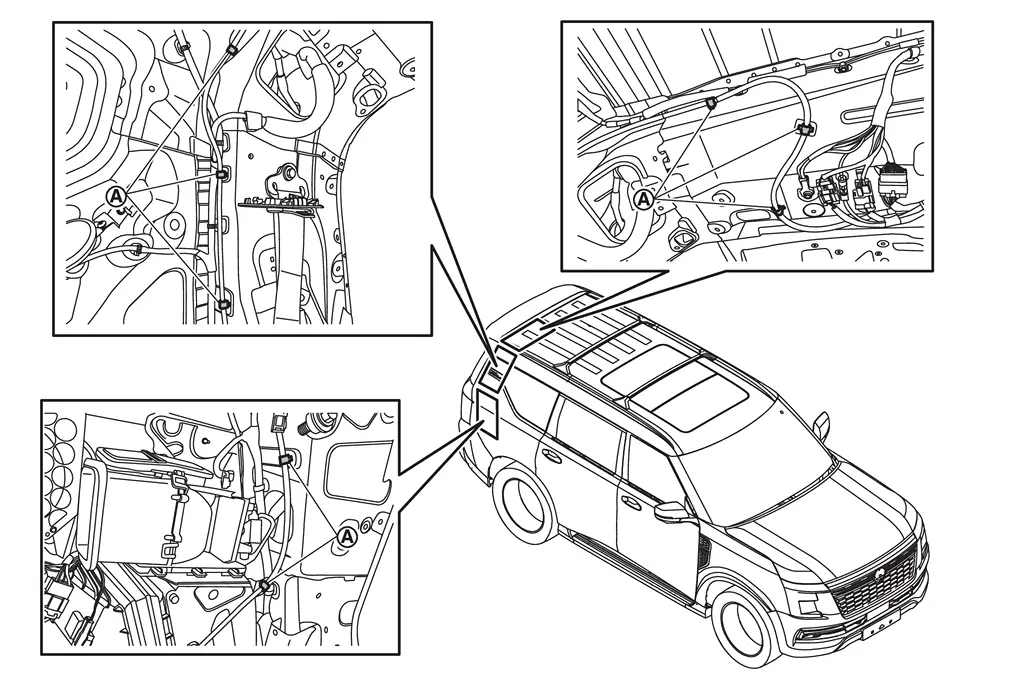
Disconnect rear washer tube A  from connector
  and remove rear washer tube A from fixing clip
  .
.
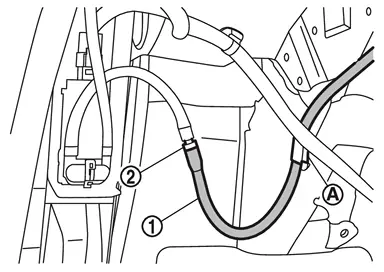
Remove rear washer tube fixing clips .
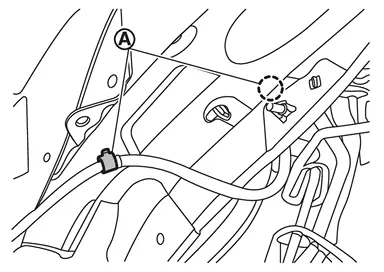
Remove dash side finisher RH. Refer to Removal and Installation.
Remove instrument panel assembly. Refer to Removal and Installation.
Peel off insulator.
Remove and pull in grommet and rear washer tube A to vehicle inside.
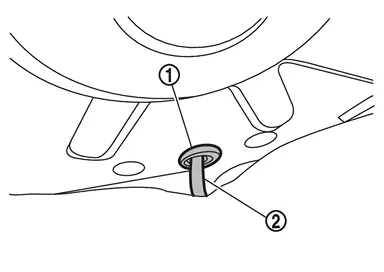
Remove center pillar lower garnish. Refer to Removal and Installation.
Remove rear foot duct. Refer to Removal and Installation.
Remove rear ventilator connecting duct. Refer to Removal and Installation.
Remove rear washer tube A from harness protectors and harness clips.
Remove tube protector.
Disconnect rear washer tube A from connector .
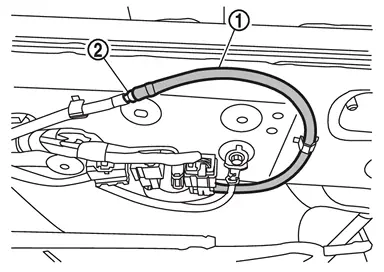
Remove rear washer tube A fixing clips .
Remove rear washer tube A.
Remove grommet from rear washer tube A.
Rear Washer Tube B
Remove roof rear garnish. Refer to Removal and Installation.
Remove back door upper garnish. Refer to Removal and Installation.
Disconnect rear washer tube B from connectors.
Remove rear washer tube B fixing clips.
Disconnect intelligent rear view mirror harness B connectors and disengage intelligent rear view mirror harness B connector clip (with intelligent rear view mirror models).
Remove grommet from back door panel and roof panel, and then remove rear washer tube B assembly (without intelligent rear view mirror models) or intelligent rear view mirror harness B assembly (with intelligent rear view mirror models).
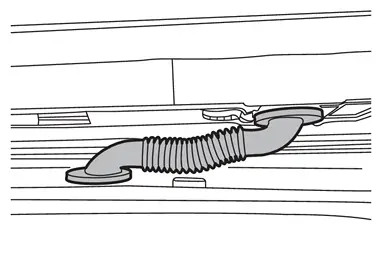
Rear Washer Tube C
Remove rear spoiler. Refer to Removal and Installation.
Disconnect rear washer tube C from connector.
Remove rear washer tube C fixing clip.
Remove grommet, and then remove rear washer tube C.
Remove connector from rear washer tube C.
INSTALLATION
Note the following items, and then install in the reverse order of removal.
CAUTION:
-
Never reuse tube protector. Always replace it with a new one when it is removed.
-
Align washer tube marking to the vehicle installation position.
-
Install grommets in the installation hole surely.
Other materials
How to use the vehicle information display
Type A
Type B
The vehicle information display in the Nissan Armada is designed to provide the
driver with clear, customizable, and real-time information. It can be easily controlled
using the multifunction dial and buttons located on the steering wheel, allowing
seamless interaction ...
Engine Control System
Symptom Table
SYSTEM — BASIC ENGINE CONTROL SYSTEM SYMPTOM Reference page
HARD/NO START/RESTART (EXCP. HA) ENGINE STALL HESITATION/SURGING/FLAT SPOT SPARK KNOCK/DETONATION LACK OF POWER/POOR ACCELERATION HIGH IDLE/LOW IDLE ROUGH IDLE/HUNTING IDLING VIBRATION SLOW/NO RETURN TO IDLE ...
Radiator Core Support
Exploded View
Radiator air guide upper
Radiator core support
Radiator air guide RH
Radiator air guide lower
Radiator air guide LH
: N·m (kg-m, ft-lb)
...