
Nissan Armada 2025-2026 Service and Repair Manual: Removal and Installation
REMOVAL
Remove rear A/C unit assembly. Refer to Removal and Installation.
Remove rear heater core. Refer to Removal and Installation.
Remove rear mode door motor. Refer to Removal and Installation.
Remove sub harness from rear A/C unit case RH.
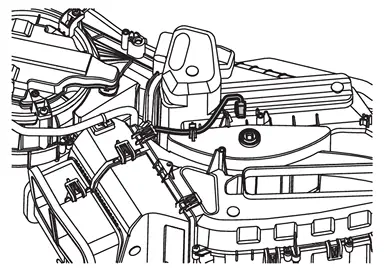
Disconnect rear blower motor harness connector.
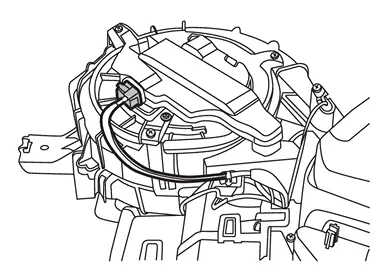
Disengage fixing clip, and then remove sub harness to secure work space.
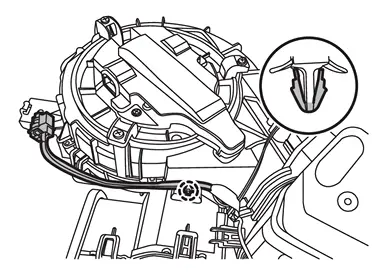
 | : Clip |
Disengage fixing pawls, and then remove rear A/C unit case upper assembly.
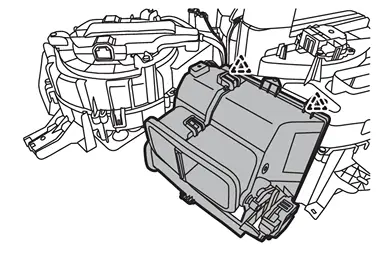
 | : Pawl |
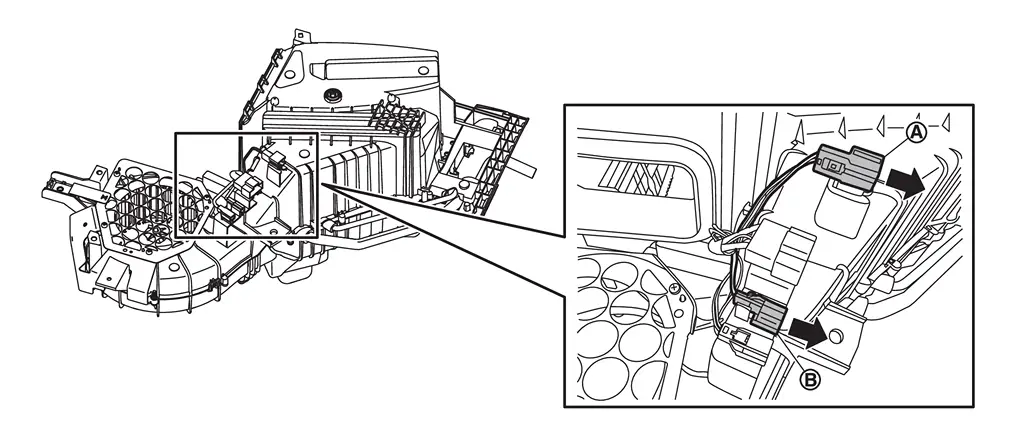
Remove rear A/C solenoid harness connector  and rear in-vehicle sensor harness connector
  from rear A/C unit case LH.
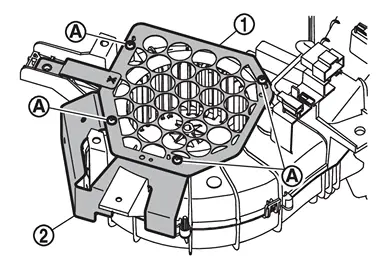
Remove fixing screws , and then remove shield plate  and shield plate bracket
  .
.
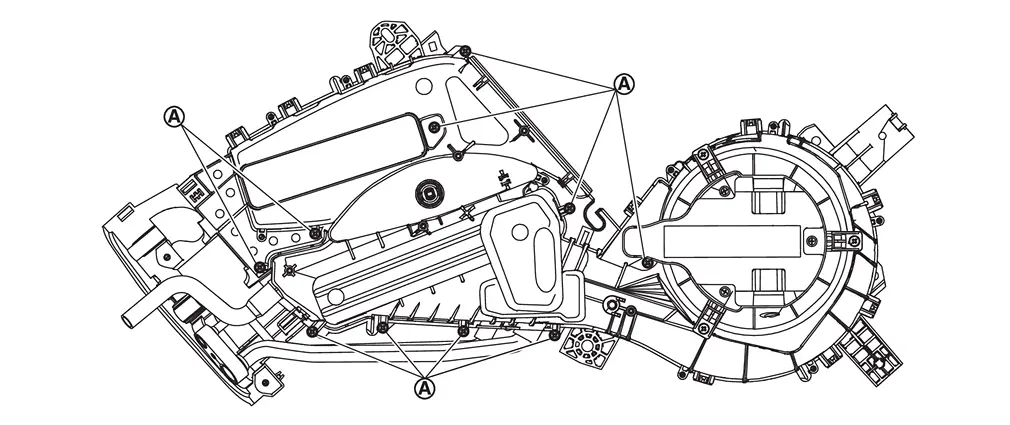
Remove rear A/C unit case RH fixing screws .
Disengage fixing pawls, and then remove rear A/C unit case RH from rear A/C unit case LH.
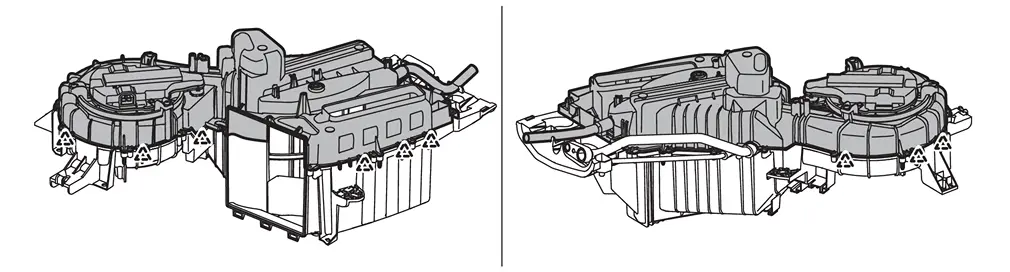
| : Pawl |
Remove rear A/C solenoid valve harness from rear A/C unit case LH.
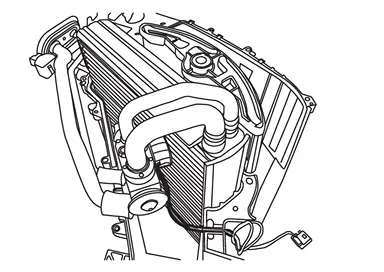
Remove rear evaporator assembly from rear A/C unit case LH.
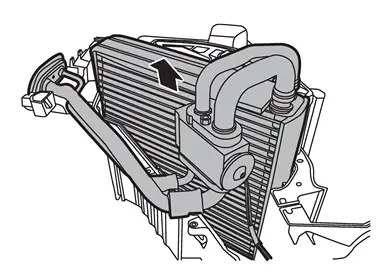
Remove rear expansion valve from rear evaporator. Refer to Removal and Installation.
INSTALLATION
Note the following items, and then install in the reverse order of removal.
CAUTION:
The air conditioning evaporator should never be repaired or replaced with a part from another vehicle. To replace a damaged or leaking evaporator, use only a new genuine NISSAN replacement part or equivalent.
After installing a new evaporator, adjust the compressor lubricant level. Refer to Lubricant Adjusting Procedure for Components Replacement Except A/C compressor.
 NOTE:
NOTE:
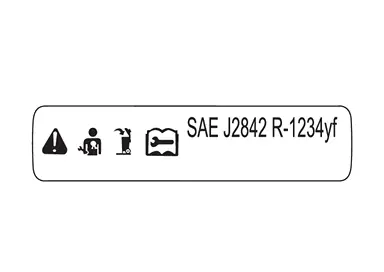
This label indicates that the evaporator complies with SAE J2842.
 Rear Evaporator
...

Other materials:
Removal and Installation
REMOVAL
Remove rear bumper fascia. Refer to Removal and Installation.
Remove bracket cover fixing screws, and then remove bracket cover.
Disconnect hands free sensor harness connectors.
Remove hands free control unit fixing screws, and then remove hands free control unit.
Remove hands free sensor up ...
Removal and Installation
WARNING:
WITHOUT DYNAMIC DIGITAL SUSPENSION AND ELECTRONIC AIR SUSPENSION
Removal
Remove rear tire. Refer to ROAD WHEEL TIRE : Removal & Installation.
CAUTION:
Never depress brake pedal while caliper assembly is removed.
Remove disc rotor.
CAUTION:
Never drop disc rotor.
Remove wheel sensor h ...
Work Flow
WORK FLOW
STEP DESCRIPTION STEP 1 Get detailed information about the conditions and the environment when the incident occurred.
The following are key pieces of information required to make a good analysis: WHAT Vehicle Model, Engine, Transmission/Transaxle and the System (i.e. Radio). WHEN D ...

0.0049