
Nissan Armada 2025-2026 Service and Repair Manual: Removal and Installation
REMOVAL
2WD Models
Remove glove box assembly. Refer to Removal and Installation.
Remove passenger knee air bag module. Refer to Removal and Installation.
Disconnect A/C auto amp. harness connectors  and
and  .
.
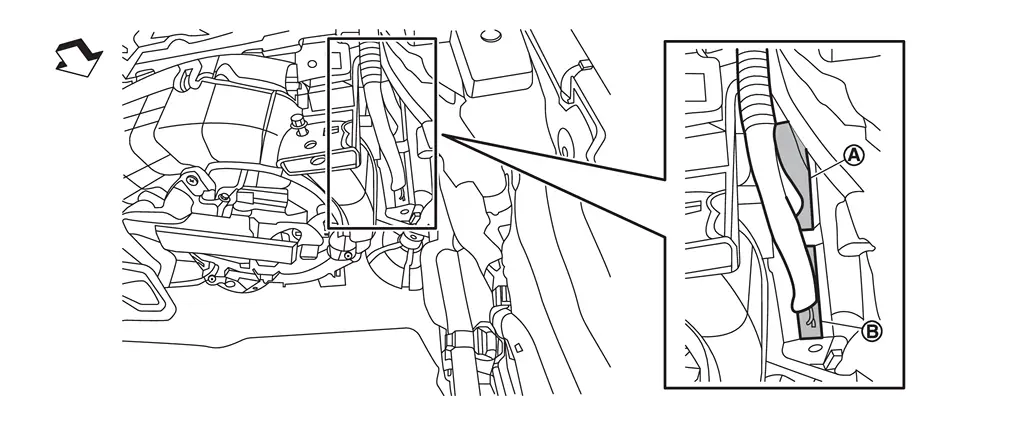
 | : Vehicle front |
Remove fixing screw , and then slide A/C auto amp. in the direction indicated by arrow as shown in the figure and remove it.
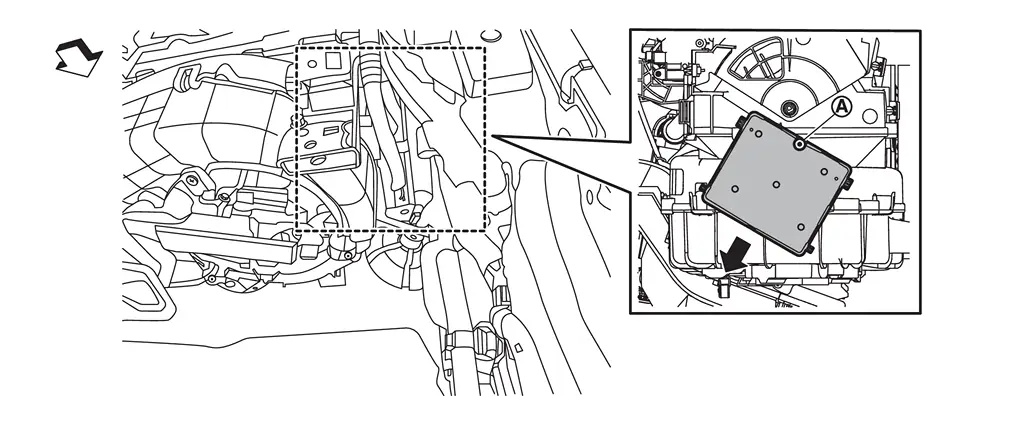
| : Vehicle front |
4WD Models
Remove instrument panel assembly and steering member as a set. Refer to Removal and Installation.
Disconnect A/C auto amp. harness connectors and .
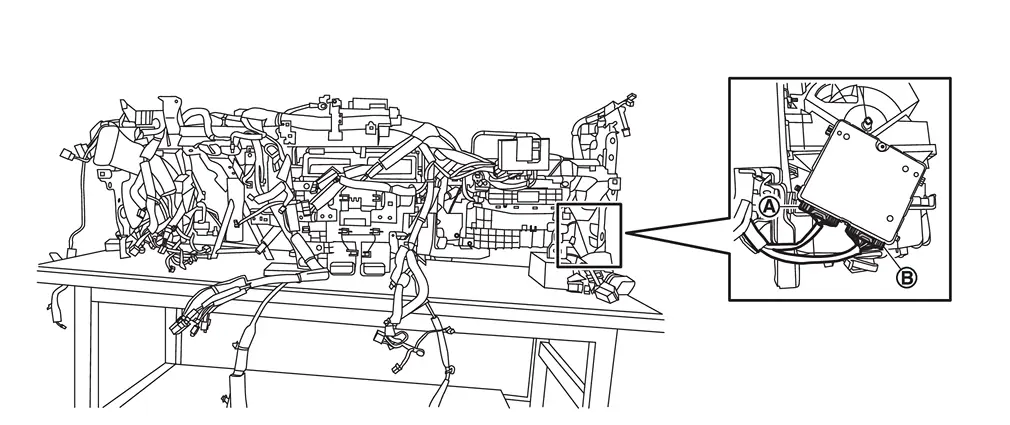
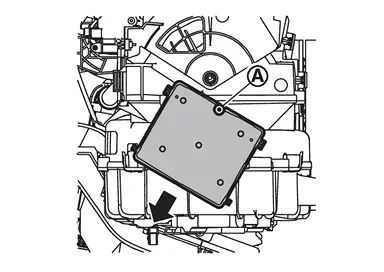
Remove fixing screw , and then slide A/C auto amp. in the direction indicated by arrow as shown in the figure and remove it.
INSTALLATION
Install in the reverse order of removal.
 Exploded View
Front blower unit assembly A/C auto amp. : Vehicle front ...

Other materials:
Exploded View
Instrument finisher B Advanced ambient light (instrument panel passenger side) Indirect light RH : Pawl : Vehicle front ...
Rear Floor Front
WARNING:
Work after rear fender, outer rear sill reinforcement, outer rear wheelhouse, and inner rear wheelhouse are removed.
Remove the welding point for easier installation.
: Vehicle front : Drill φ6 mm (0.24 in) hole for the plug welding hole (ultra high strength steel). : Weld the parts onto ...
General Specifications
Applied model Axle 4WD Engine VR35DDTT Transmission A/T Final drive model R180A Gear ratio 3.357 Number of teeth (Drive gear/Drive pinion) 47/14 Number of pinion gears 2 Drive pinion adjustment spacer type Collapsible Oil capacity Refer to Fluids and Lubricants. ...

0.0055