
Nissan Armada 2025-2026 Service and Repair Manual: Removal and Installation
WARNING:
REMOVAL
CAUTION:
Rear Washer Tube A
Remove fender protector RH. Refer to Removal and Installation.
Disconnect rear washer tube A  from connector
  and remove rear washer tube A from fixing clip
  .
.
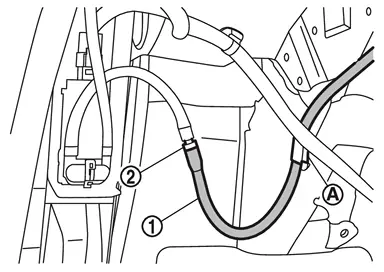
Remove rear washer tube fixing clips .
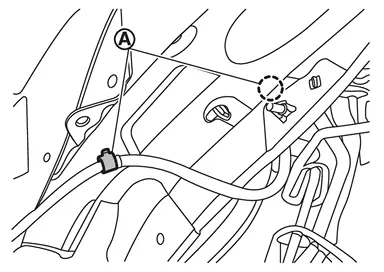
Remove dash side finisher RH. Refer to Removal and Installation.
Remove instrument panel assembly. Refer to Removal and Installation.
Peel off insulator.
Remove and pull in grommet and rear washer tube A to vehicle inside.
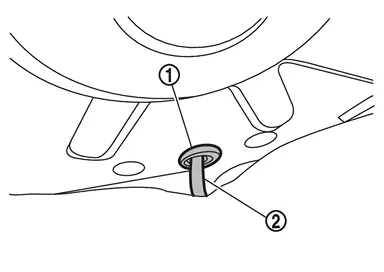
Remove center pillar lower garnish. Refer to Removal and Installation.
Remove rear foot duct. Refer to Removal and Installation.
Remove rear ventilator connecting duct. Refer to Removal and Installation.
Remove rear washer tube A from harness protectors and harness clips.
Remove tube protector.
Disconnect rear washer tube A from connector .
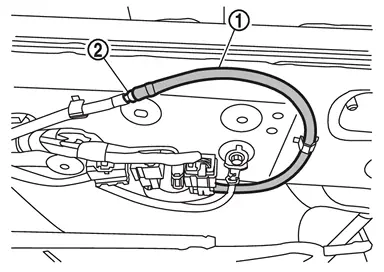
Remove rear washer tube A fixing clips .
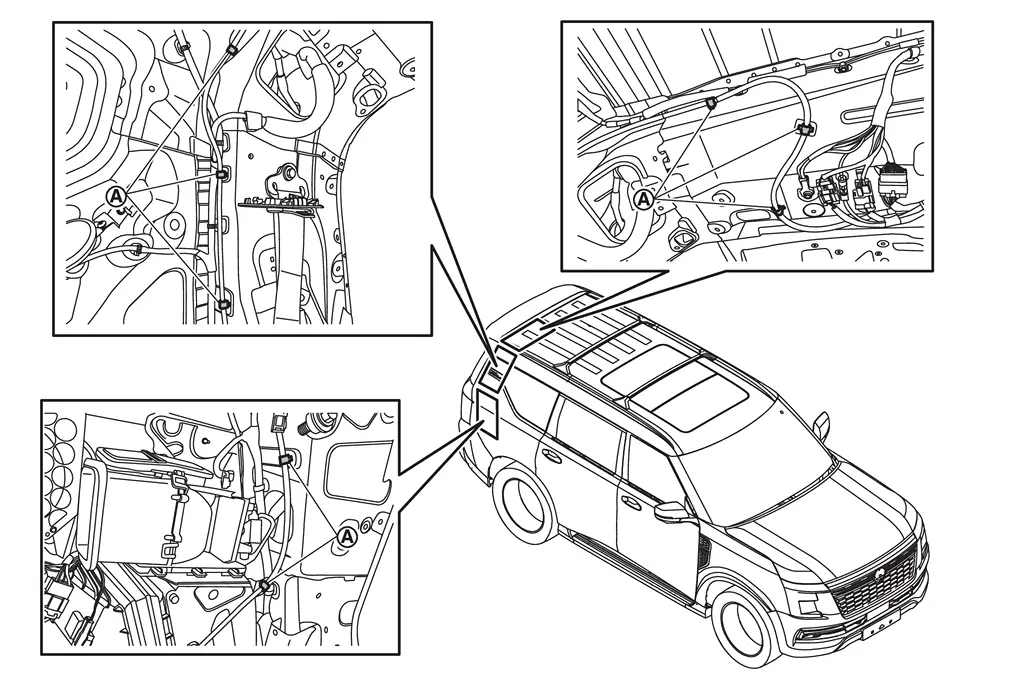
Remove rear washer tube A.
Remove grommet from rear washer tube A.
Rear Washer Tube B
Remove roof rear garnish. Refer to Removal and Installation.
Remove back door upper garnish. Refer to Removal and Installation.
Disconnect rear washer tube B from connectors.
Remove rear washer tube B fixing clips.
Disconnect intelligent rear view mirror harness B connectors and disengage intelligent rear view mirror harness B connector clip (with intelligent rear view mirror models).
Remove grommet from back door panel and roof panel, and then remove rear washer tube B assembly (without intelligent rear view mirror models) or intelligent rear view mirror harness B assembly (with intelligent rear view mirror models).
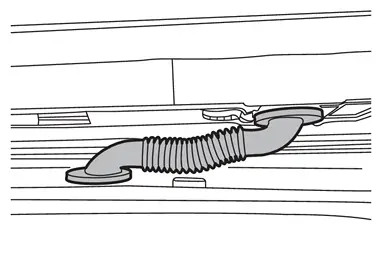
Rear Washer Tube C
Remove rear spoiler. Refer to Removal and Installation.
Disconnect rear washer tube C from connector.
Remove rear washer tube C fixing clip.
Remove grommet, and then remove rear washer tube C.
Remove connector from rear washer tube C.
INSTALLATION
Note the following items, and then install in the reverse order of removal.
CAUTION:
Never reuse tube protector. Always replace it with a new one when it is removed.
Align washer tube marking to the vehicle installation position.
Install grommets in the installation hole surely.
 Rear Washer Tube
...

Other materials:
Diagnosis Procedure
CHECK SYMPTOM
Check symptom (A or B)
Symptom A Display does not turn ON B Display is normal
Which symptom is detected?
A>>
GO TO 2.
B>>
GO TO 3.
CHECK POWER SUPPLY AND GROUND CIRCUIT
Check power supply and ground circuit. Refer to Diagnosis Procedure.
Is the inspection result nor ...
Adjustment
FITTING ADJUSTMENT
Fitting Adjustment Standard Dimension
Front fender assembly Front door panel Rear door panel Front door sash molding Body side outer Front door hinge Front door striker TORX bolt : Always replace after every disassembly. : N·m (kg-m, ft-lb) : Body grease
Unit: mm [in ...
Disposal
Fix the electrical brake control unit to a vise.
CAUTION:
Always set copper plates or cloth between vise grips when fixing the electrical brake control unit to a vise.
Never overtighten the vise.
Make a slit in the area (A) with a saw to release filler gas.
A : 50 mm (1.97 in)
CAUTION:
Wear ...

0.0052