
Nissan Armada 2025-2026 Service and Repair Manual: SONAR SENSOR (REAR) : Removal & Installation
WARNING:
REMOVAL
Center sensor
 NOTE:
NOTE:
When removing the sensor holder, remove the rear bumper. Refer to Removal and Installation
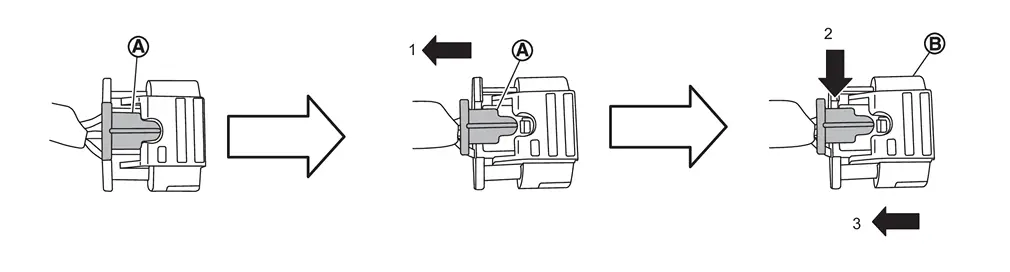
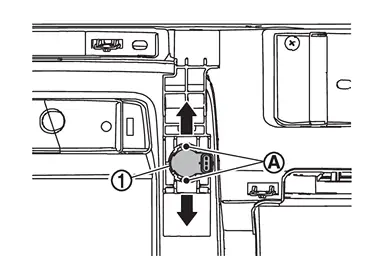
Remove the sensor holder  from the rear bumper fascia. (Without welding type)
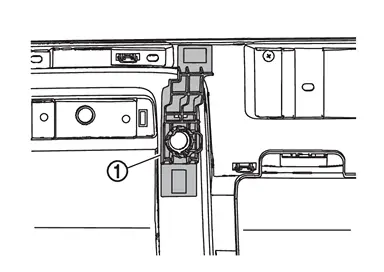
Corner sensor
NOTE:
When removing the sensor holder, remove the rear bumper. Refer to Removal and Installation
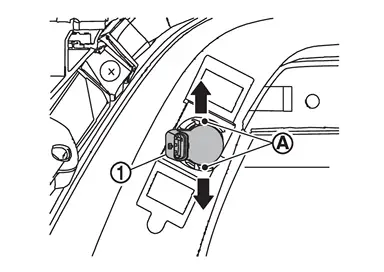
Remove the sensor holder from the rear bumper fascia. (Without welding type)
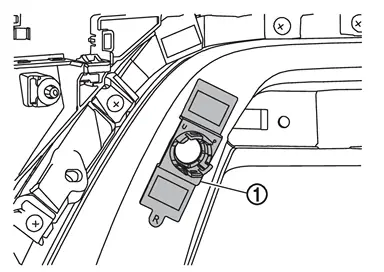
Side sensor
NOTE:
When removing the sensor holder, remove the rear bumper. Refer to Removal and Installation.
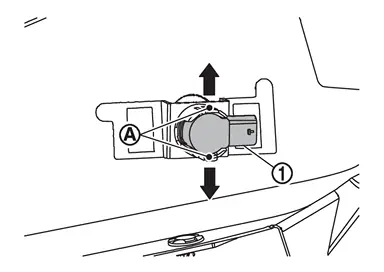
Remove the sensor holder from the rear bumper fascia. (Without welding type)
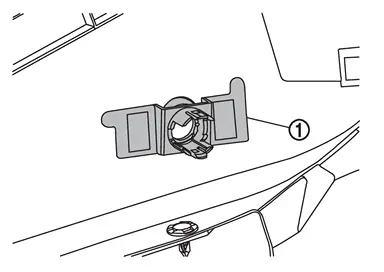
INSTALLATION
CAUTION:
Check sonar sensor packing for damage before installation.
Check that the packing is properly installed to the sonar sensor.
Install it so that the connector of the sensor turns to the arrow direction of the figure.
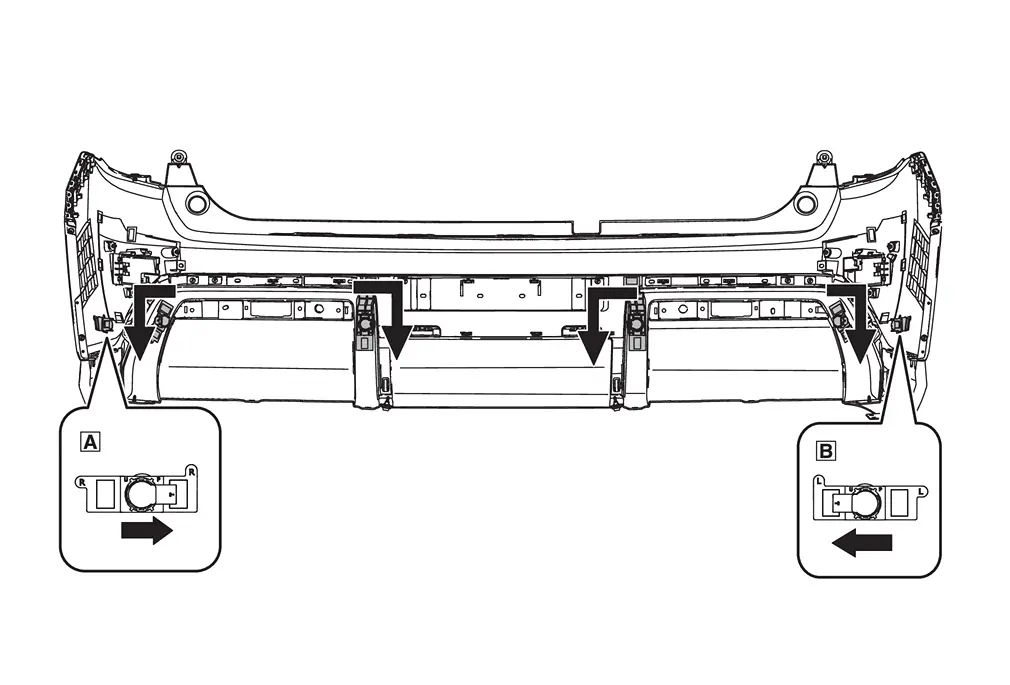

: Side sensor rear RH 
: Side sensor rear LH 
: Connector direction
Center sensor
Install in the reverse order of removal
Install in the reverse order of removal when install only the sensor.
Follow the procedure below when replace the sensor holder.
CAUTION:
Never reuse the sensor holder. Always use new sensor holder when removing and replacing sensor holder and/or rear bumper facia.
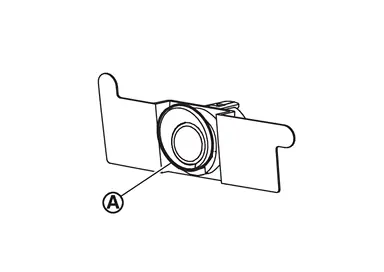
Hook the pawls
 to install the sonar sensor to the sensor holder.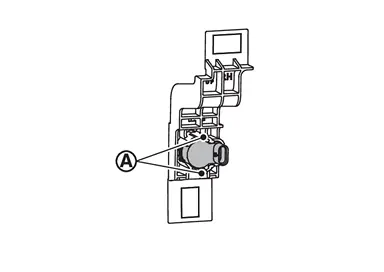
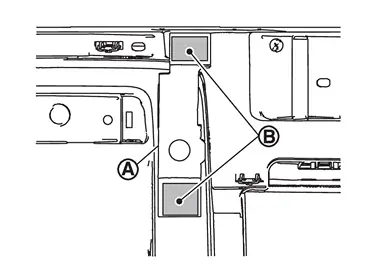
CAUTION:
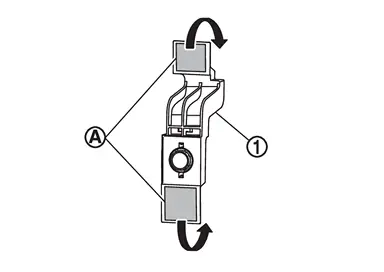
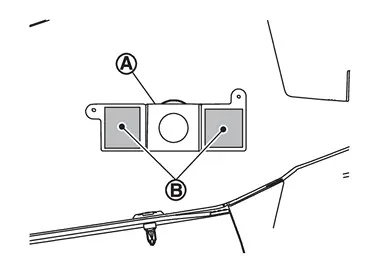
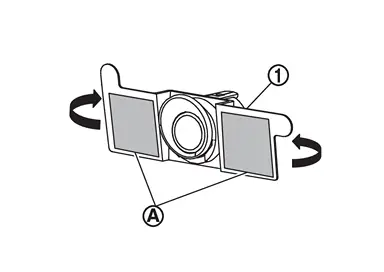
Dry the primer for more than 3 minutes and peel off the double sided tape releasing paper (film) and then taking precautions not to contact the bumper with the double sided tape (
on the figure), bend the sensor holder to the arrow direction as shown on the figure ( ).
).
CAUTION:
Primer drying time depends on temperature and therefore confirm that primer has dried before bending the sonar holder.
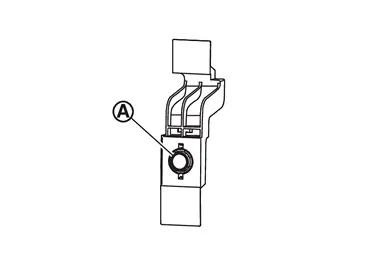
Remove the sensor from the sensor holder and press the adhesion face (
part on figure) throughout with your thumb for more than 2 seconds and pressure bond the sensor holder [Target pressure: 50 N (5.1kg, 11.3 lb)].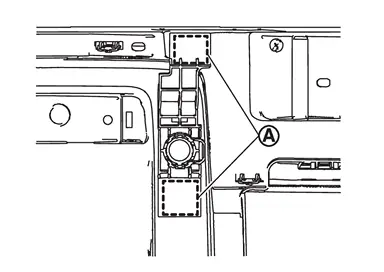
CAUTION:
After installing the sensor holder, leave it at least for 2 - 3 hours.
Hook the pawls
to install the sonar sensor to the sensor holder.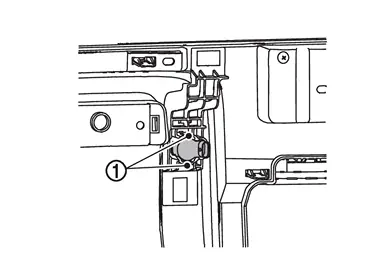
Connect connector to the sonar sensor.
Install the rear bumper. Refer to Removal and Installation.
Corner sensor
Install in the reverse order of removal
Install in the reverse order of removal when install only the sensor.
Follow the procedure below when replace the sensor holder.
CAUTION:
Hook the pawls
to install the sonar sensor to the sensor holder.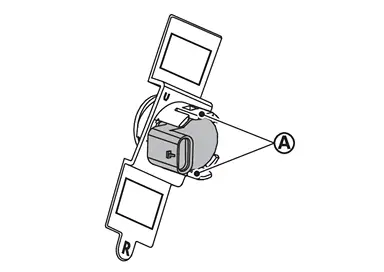
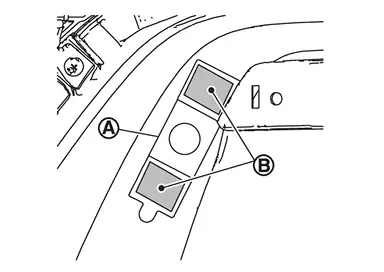
CAUTION:
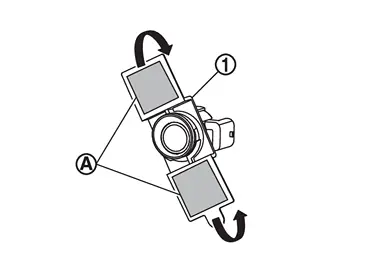
CAUTION:
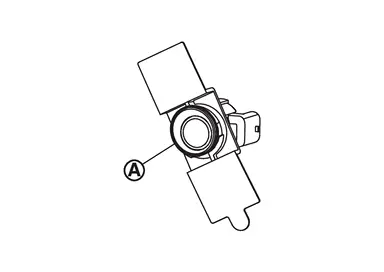
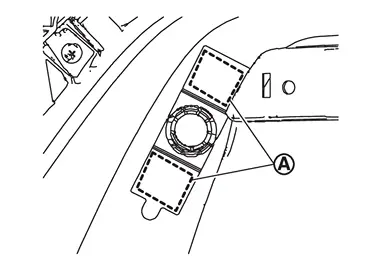
CAUTION:
After installing the sensor holder, leave it at least for 2 - 3 hours.
Hook the pawls
to install the sonar sensor to the sensor holder.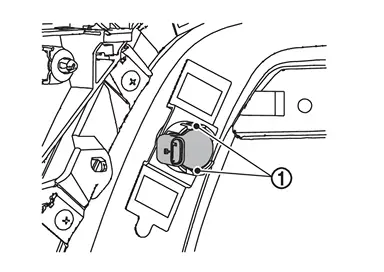
Connect connector to the sonar sensor.
Install the rear bumper. Refer to Removal and Installation.
Side sensor
WITH WELDING TYPE
Install in the reverse order of removal
WITHOUT WELDING TYPE
Install in the reverse order of removal when install only the sensor.
Follow the procedure below when replace the sensor holder.
CAUTION:
Hook the pawls
to install the sonar sensor to the sensor holder.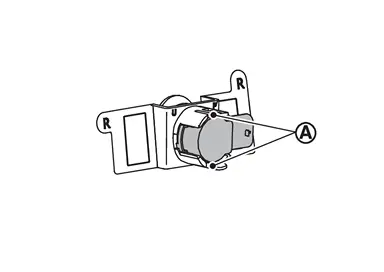
CAUTION:
CAUTION:
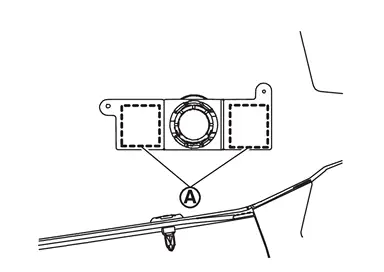
CAUTION:
After installing the sensor holder, leave it at least for 2 - 3 hours.
Hook the pawls
to install the sonar sensor to the sensor holder.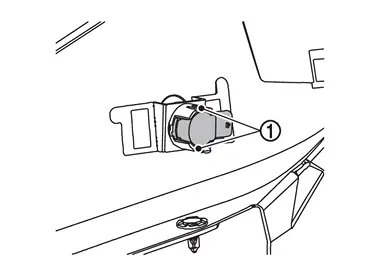
Connect connector to the sonar sensor.
Install the rear bumper. Refer to Removal and Installation.
 SONAR SENSOR (REAR) : Exploded View
WITHOUT WELDING TYPE
Rear bumper fascia Side sensor rear RH holder Side sensor rear RH Corner sensor rear RH holder Corner sensor rear RH Center sensor rear RH Center sensor rear RH holder Cent ...

Other materials:
Exploded View
Rear wiper motor Rear wiper blade Rear wiper arm Pivot seal : N·m (kg-m, in-lb) ...
Removal and Installation
WARNING:
REMOVAL
Remove air breather hose A from transfer assembly.
Remove clip A .
Remove clip B .
Remove A/T air breather hose. Refer to Removal and Installation.
Release clip C and remove air breather hose assembly from bracket.
Separate each component part.
INSTALLATION
Note the follo ...
Engine compartment
The engine compartment of the Nissan Armada houses the powerful VR35DDTT engine
and essential service components. Regular inspection of these elements helps maintain
optimal performance and long-term reliability.
Window washer fluid reservoir
Fuse/fusible link holder
Engine oil fille ...

0.0064