Vehicle Identification Number (VIN) plate
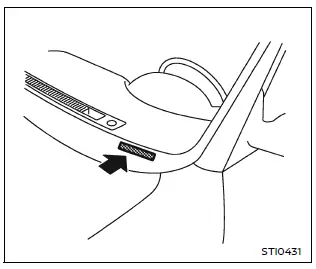
The VIN plate on your Nissan Armada is mounted as shown and serves as the primary identifier for the vehicle. This number is essential for registration, insurance, and service records.
Vehicle identification number (chassis number)
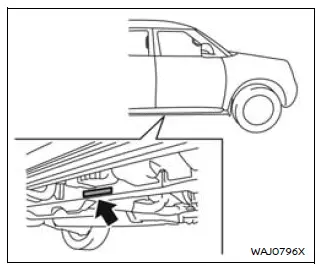
The chassis number of your Nissan Armada is stamped directly onto the vehicle structure as illustrated, providing a permanent identification reference.
Engine serial number
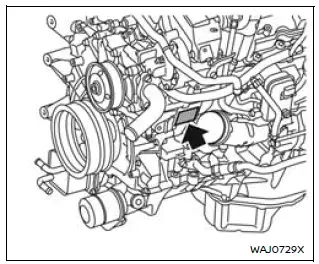
The engine serial number is engraved on the engine block of your Nissan Armada, allowing precise identification of engine specifications and manufacturing details.
F.M.V.S.S./C.M.V.S.S. certification label
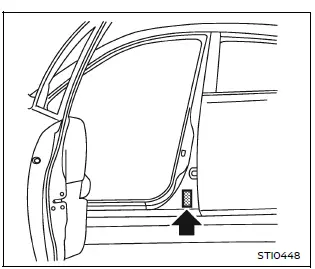
The Federal/Canadian Motor Vehicle Safety Standards (F.M.V.S.S./C.M.V.S.S.) certification label is affixed as shown. This label provides critical information about your Nissan Armada, including GVWR, GAWR, manufacturing date, and VIN.
Carefully review this label to ensure compliance with applicable safety standards.
Emission control information label
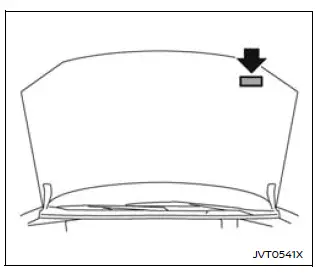
The emission control information label is attached as shown and contains essential data regarding emission standards and compliance for your Nissan Armada.
Tire and loading information label
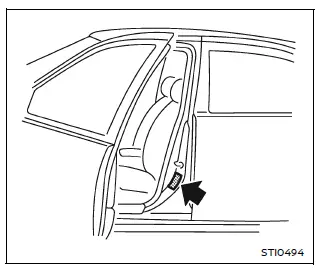
The recommended cold tire pressure for your Nissan Armada is listed on the Tire and Loading Information label located on the vehicle pillar, as illustrated.
Air conditioner specification label
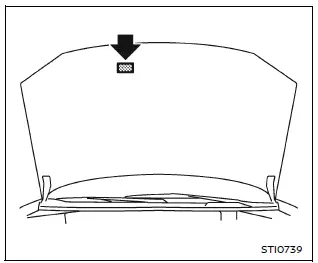
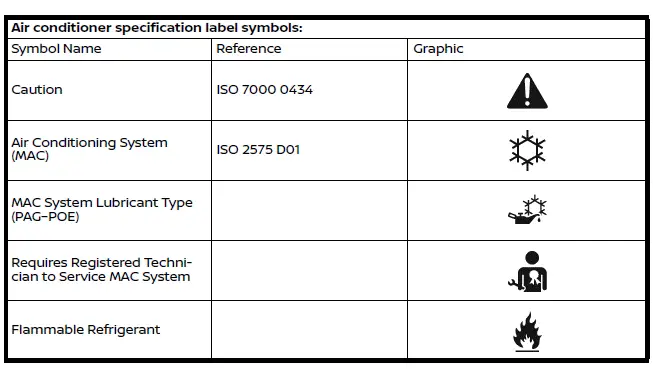
The air conditioning system specification label is affixed as shown and provides detailed information about refrigerant type and system requirements.
Installing front license plate
For proper installation of the front license plate bracket on your Nissan Armada, it is recommended to consult an authorized NISSAN dealer to ensure correct mounting and compliance with local regulations.
Other materials
Safety information
WARNING
Always stop the Nissan Armada in a safe place and engage the parking
brake before operating the system. Using the system while driving can distract
the driver and increase the risk of accidents.
Maintain full attention on driving at all times. If the Nissan Armada
system respo ...
Windshield Glass
Exploded View
Windshield molding
Dam sealant rubber upper
Clip
Insulator
Dam sealant rubber
Spacer
Windshield glass
Roof panel
Adhesive
Painted surface primer
Glass primer
Body side outer panel
Dash panel
: Bracket
: Insid ...
Side Radar Alignment
Work Procedure
Always perform the side radar alignment after performing the following work.
After removing and installing or replacing the side radar.
After removing and installing, replacing or repainting the rear bumper.
Side radar alignment conditions are following;
The vehicle speed ...