Exploded View
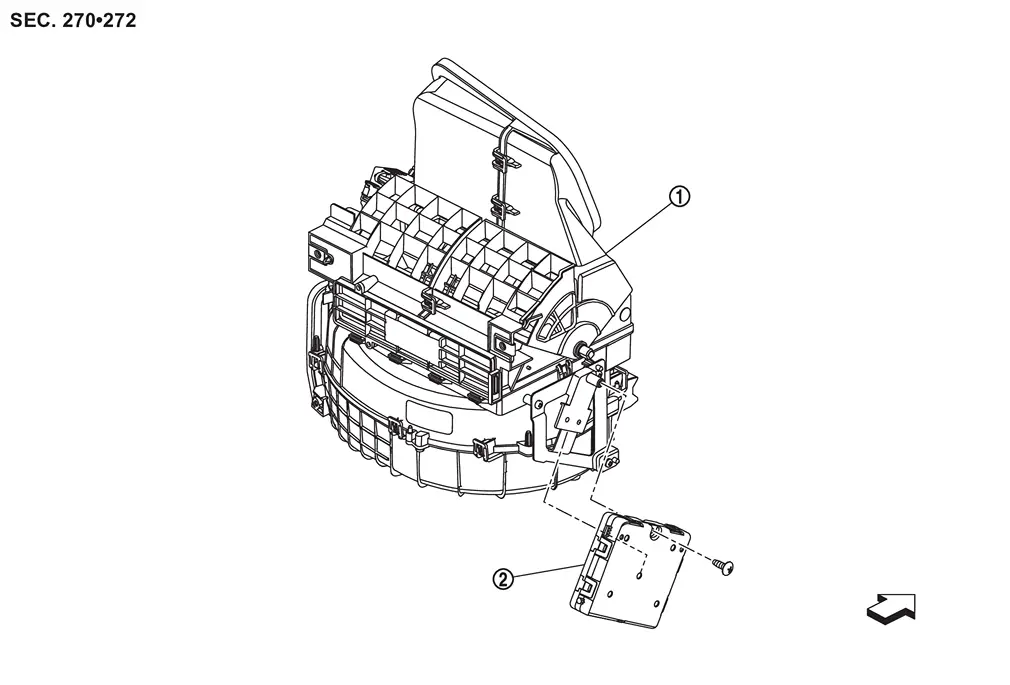
 |
Front blower unit assembly |  |
A/C auto amp. | ||
| : vehicle front | |||||
Removal and Installation
REMOVAL
2WD Models
Remove glove box assembly. Refer to Removal and Installation.
Remove passenger knee air bag module. Refer to Removal and Installation.
Disconnect A/C auto amp. harness connectors  and
 .
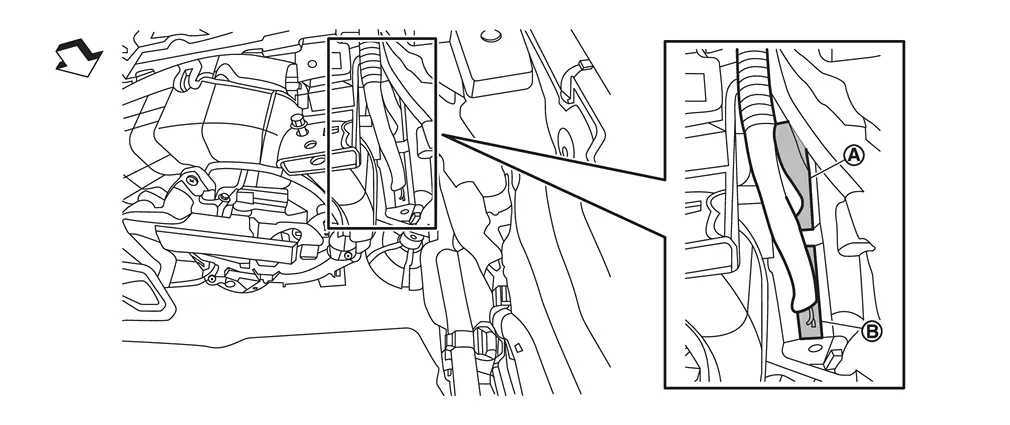
| : vehicle front |
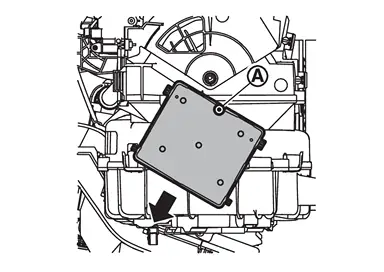
Remove fixing screw , and then slide A/C auto amp. in the direction indicated by arrow as shown in the figure and remove it.
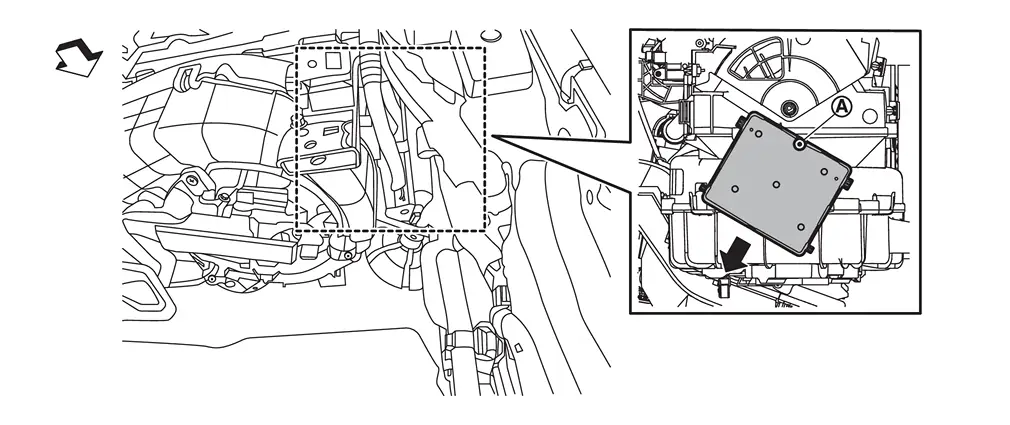
| : vehicle front |
4WD Models
Remove instrument panel assembly and steering member as a set. Refer to Removal and Installation.
Disconnect A/C auto amp. harness connectors and .
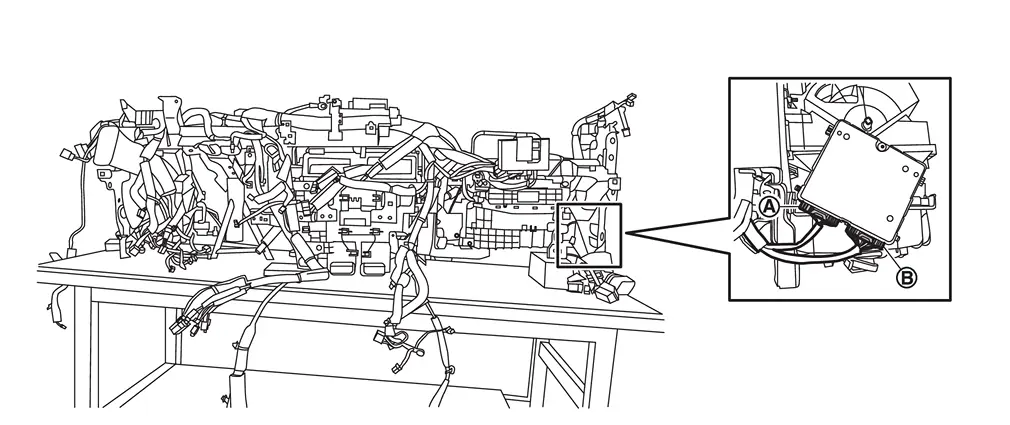
Remove fixing screw , and then slide A/C auto amp. in the direction indicated by arrow as shown in the figure and remove it.
INSTALLATION
Install in the reverse order of removal.
Other materials
Brake assist
Brake assist
The Brake Assist system in the Nissan Armada is designed to enhance braking performance
during emergency situations. When the system detects that the driver is applying
the brake pedal with significant force, it automatically increases braking pressure
beyond what a conventional ...
Precautions
PRECAUTIONS FOR PROCEDURE WITHOUT COWL TOP COVER
When performing the procedure after removing cowl top cover, cover the lower end of windshield with urethane, etc to prevent damage to windshield.
PRECAUTIONS FOR REMOVING BATTERY TERMINAL
When disconnecting the 12V battery terminal, turn off the ...
Emblem
With Tail Lamp
Exploded View
Rear emblem
Emblem A
Emblem B
Tail lamp RH
Rear emblem bracket
Double-sided tape
[t: 1.2 mm (0.047 in)]
: Clip
: Pawl
: Always replace after every disassembly.
Removal and Installation
REMOVALApply protective tape (A) on the part to prot ...