Exploded View
Front
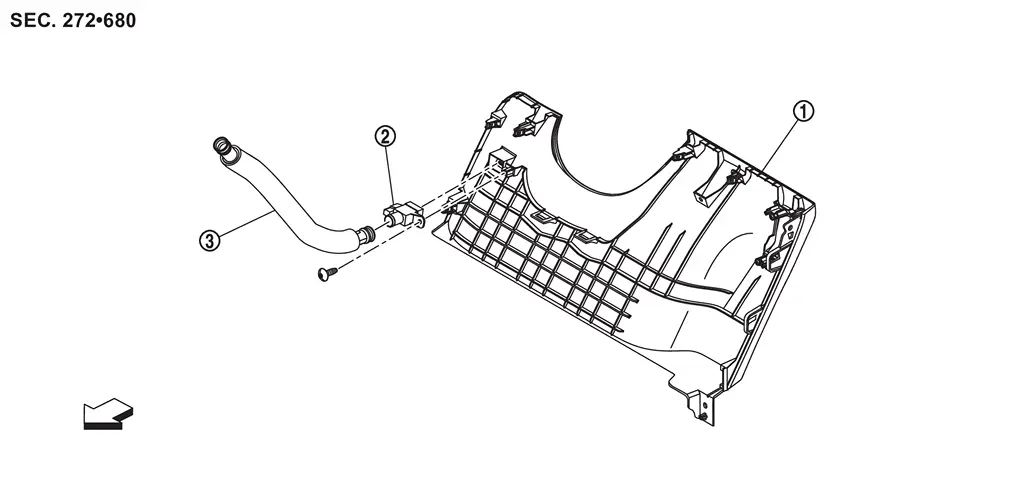
 |
Instrument lower panel LH |  |
Front in-vehicle sensor |  |
Aspirator duct |
| : vehicle front | |||||
Rear
Refer to Exploded View.
Front in-Vehicle Sensor
Removal and Installation
REMOVAL
Remove instrument lower panel LH. Refer to Removal and Installation.
Remove fixing screw  , and then remove front in-vehicle sensor.
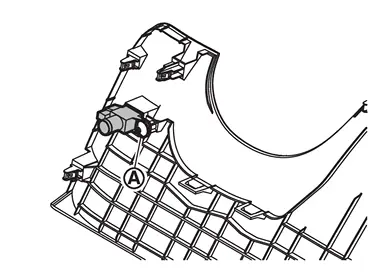
Remove aspirator duct from front heater & cooling unit assembly.
INSTALLATION
Install in the reverse order of removal.
Rear in-Vehicle Sensor
Removal and Installation
REMOVAL
Remove rear A/C unit assembly. Refer to Removal and Installation.
Remove rear in-vehicle sensor harness connector from rear A/C unit case LH.
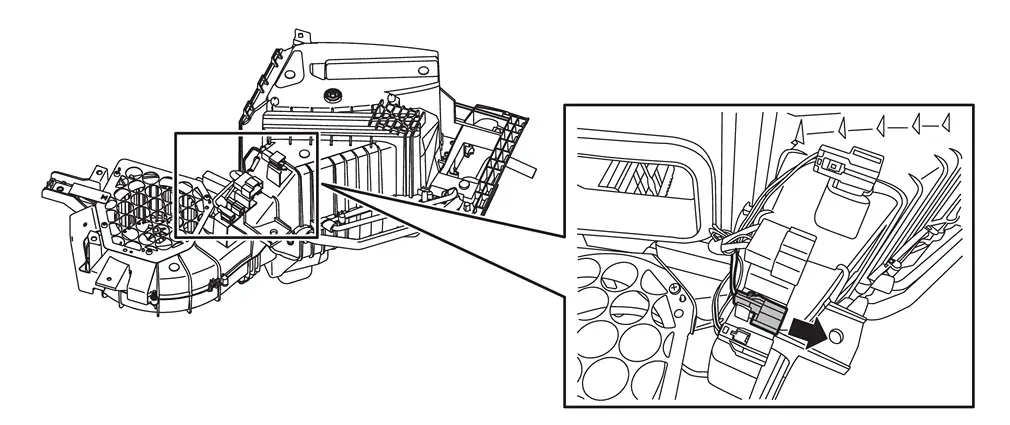
Remove fixing screw , and then remove rear in-vehicle sensor.
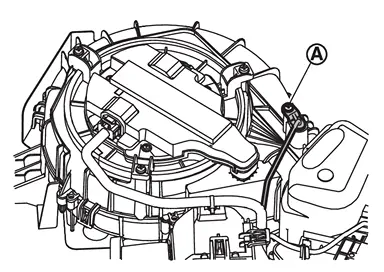
INSTALLATION
Install in the reverse order of removal.
Other materials
Rear-facing child restraint installation using the seat belts
WARNING
When installing a rear-facing child restraint in the Nissan Armada, the
three-point seat belt must be switched to Automatic Locking Retractor (ALR)
mode.
Failure to activate ALR mode may result in the child restraint not being
securely fixed. This could cause the seat to sh ...
Maintenance schedules
Basic information
To ensure your Nissan Armada delivers reliable performance, optimal safety, and
long-term efficiency, NISSAN provides two distinct maintenance schedules tailored
to different driving conditions. These schedules are carefully designed to cover
both mileage and time intervals, ...
Folding Switch
Removal and Installation
REMOVALRemove luggage side lower finisher RH. Refer to Removal and Installation.
Disengage fixing pawls and then remove folding switch.
: Pawl
INSTALLATIONInstall in the reverse order of removal. ...