Work Flow
OVERALL SEQUENCE
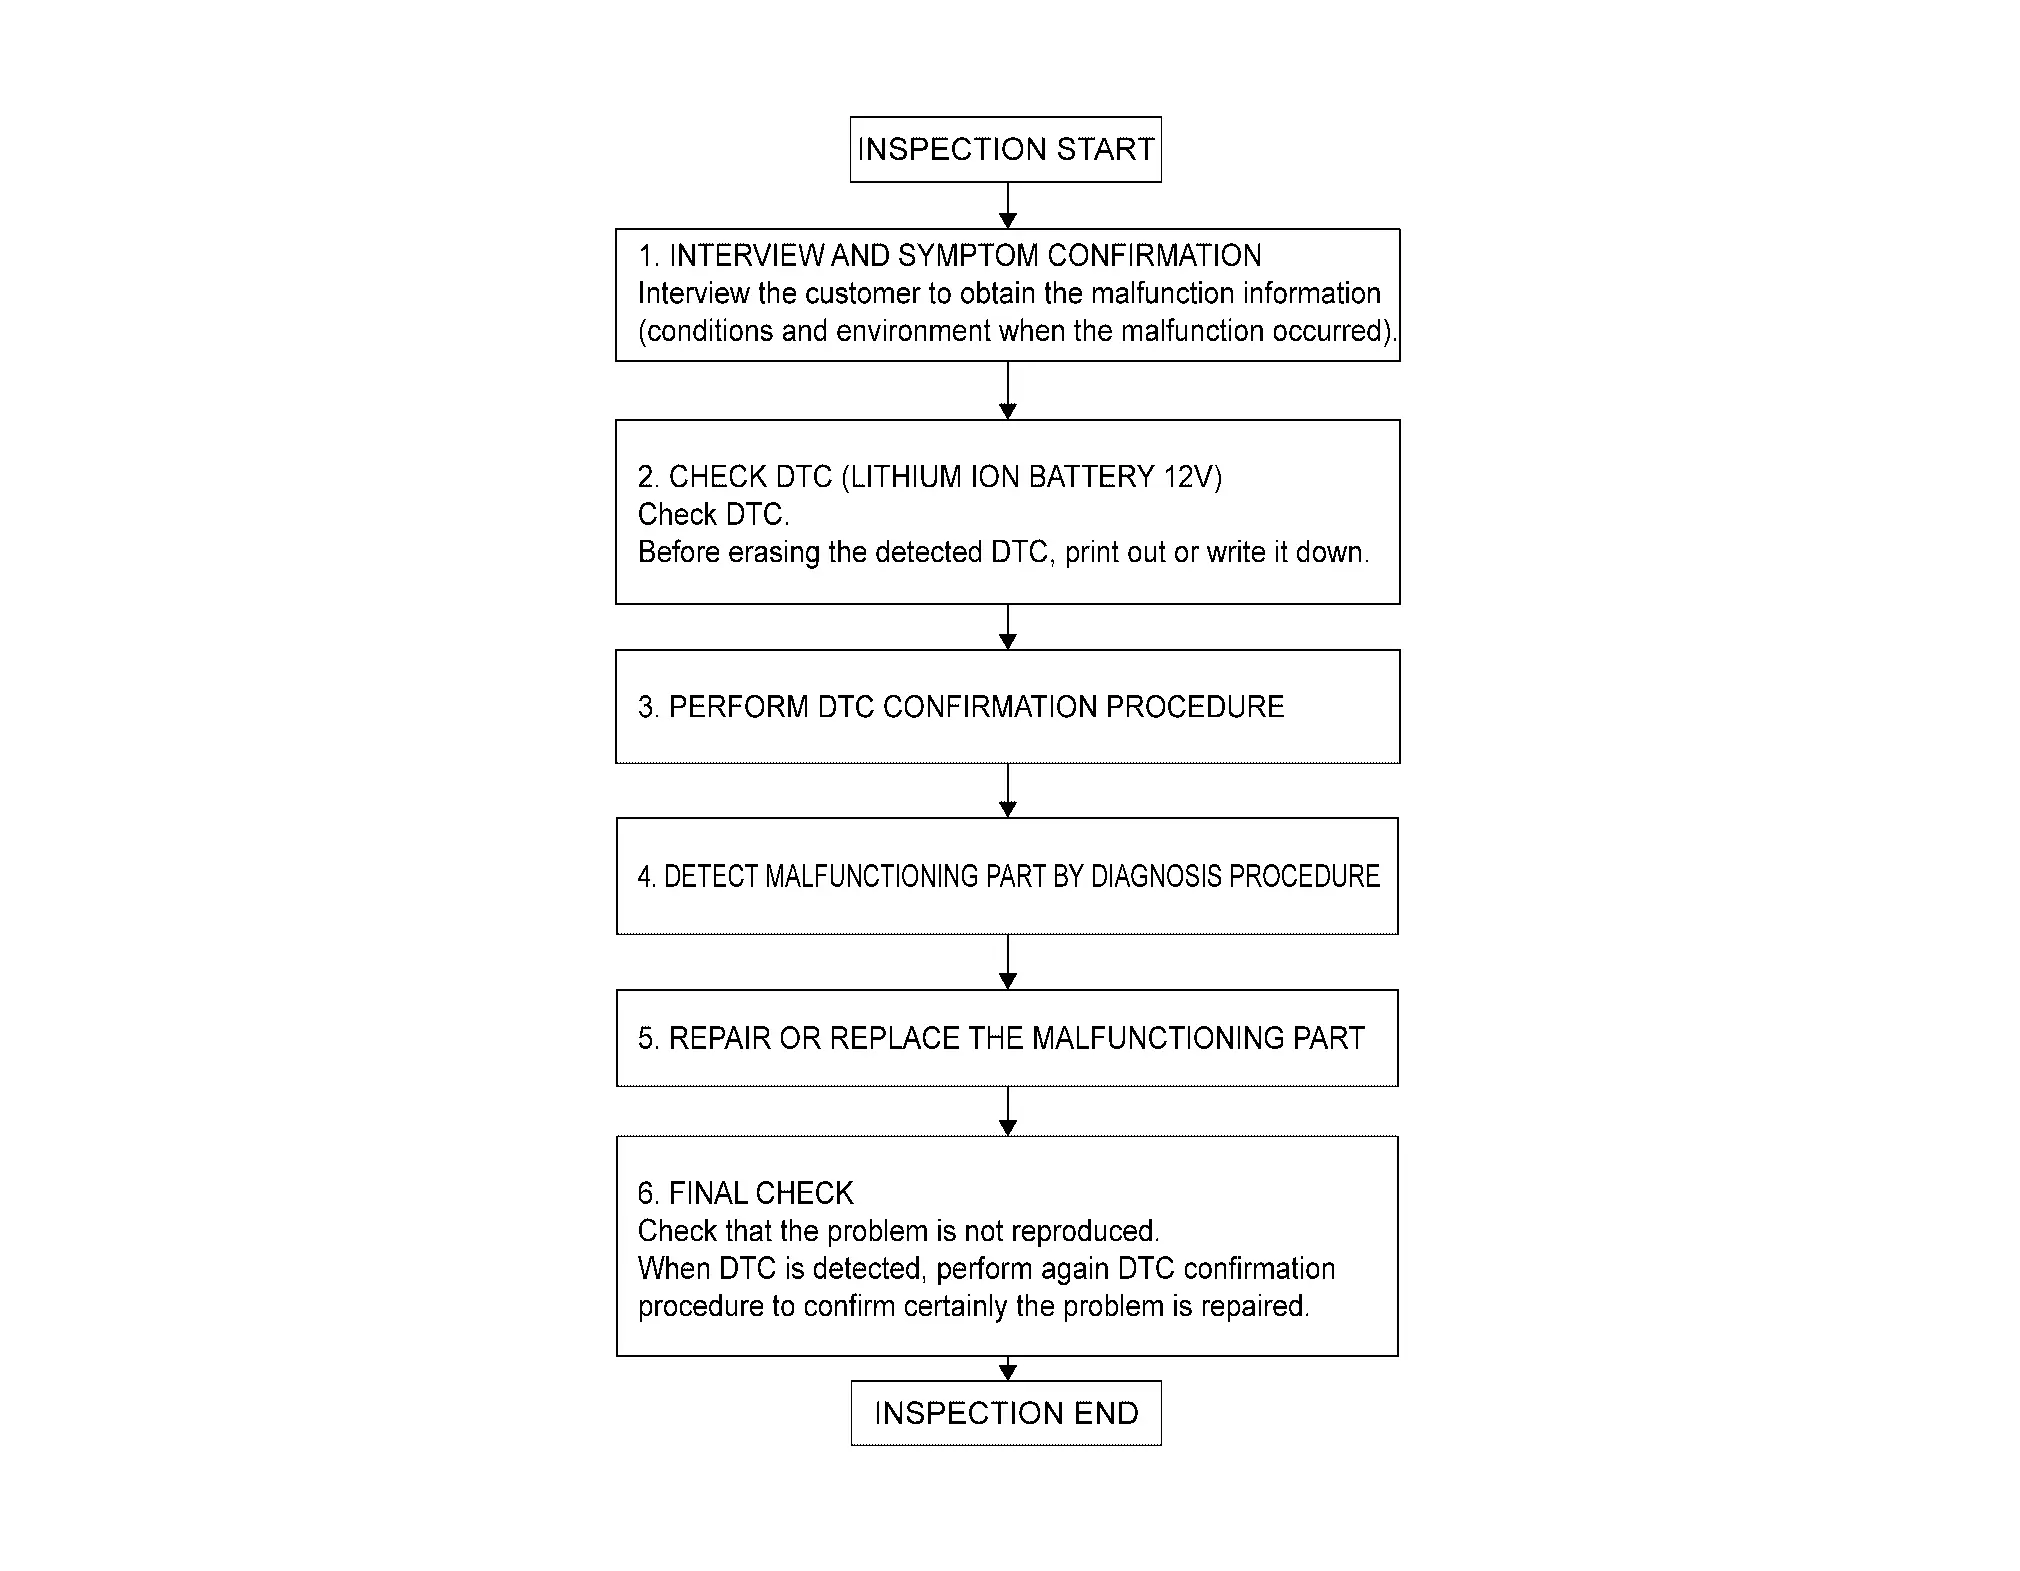
DETAILED FLOW
INTERVIEW AND SYMPTOM CONFIRMATION
Interview the customer to obtain the malfunction information (conditions and environment when the malfunction occurred).
>>
GO TO 2.
CHECK DTC (LITHIUM ION BATTERY 12V)
-
Check DTC.
-
Perform the following procedure if DTC is detected.
-
Record DTC.
-
Erase DTC.
-
Is any DTC detected?
YES>>Check the detected DTC. Refer to DTC Index.
NO>>GO TO 3.
PERFORM DTC CONFIRMATION PROCEDURE
Perform DTC CONFIRMATION PROCEDURE for the detected DTC, and then check that DTC is detected again.
Is DTC detected?
YES>>GO TO 4.
NO>>Perform simulation test. Refer to Intermittent Incident.
DETECT MALFUNCTIONING PART BY DIAGNOSIS PROCEDURE
Inspect according to Diagnosis Procedure of the system.
Is malfunctioning part detected?
YES>>GO TO 5.
NO>>Perform simulation test. Refer to Intermittent Incident.
REPAIR OR REPLACE THE MALFUNCTIONING PART
-
Repair or replace the malfunctioning part.
-
Reconnect parts or connectors disconnected during Diagnosis Procedure again after repair and replacement.
-
Check DTC. If DTC is detected, erase it.
>>
GO TO 6.
FINAL CHECK
Perform again DTC confirmation procedure or component function check to confirm certainly the problem is repaired.
Is DTC detected?
YES>>GO TO 4.
NO>>Before returning the vehicle to the customer, always erase DTC.
Other materials
USB (Universal Serial Bus) charging connector
In the Nissan Armada, the Type-C USB charging connector 1 is предназначен exclusively
for charging external devices such as smartphones, tablets, and other portable electronics.
To begin charging in the Nissan Armada, simply connect a compatible USB device
into the connector. On ...
Front Air Mix Door Motor
Removal and Installation
REMOVALFront Air Mix Door Motor (Driver Side)Remove instrument lower panel LH and steering column cover lower. Refer to Removal and Installation.
Remove driver knee air bag module. Refer to Removal and Installation.
Remove side ventilator duct 2 LH. Refer to Removal and Inst ...
Rear Door Striker
Removal and Installation
REMOVALRemove TORX bolts, and then remove rear door striker.INSTALLATIONNote the following items, and then install in the reverse order of removal.CAUTION:
Never reuse TORX bolt. Always replace it with a new one when it is removed.
Before tighten rear door striker mounti ...