EVAP CANISTER : Leak Check
CAUTION:
-
Never use compressed air or a high pressure pump.
-
Never exceed 4.12 kPa (0.042 kg/cm2, 0.6 psi) of pressure in EVAP system.
 NOTE:
NOTE:
-
Never start engine.
-
Improper installation of EVAP service port adapter to the EVAP service port may cause a leak.
WITH CONSULT
To locate the EVAP leak, install EVAP service port adapter and pressure pump to EVAP service port. Refer to Hydraulic Layout.
NOTE:
If vacuum delay valve does not have EVAP service port, remove vacuum delay valve and install EVAP service port [commercial service tool: (Part No. 149393S500)] instead.
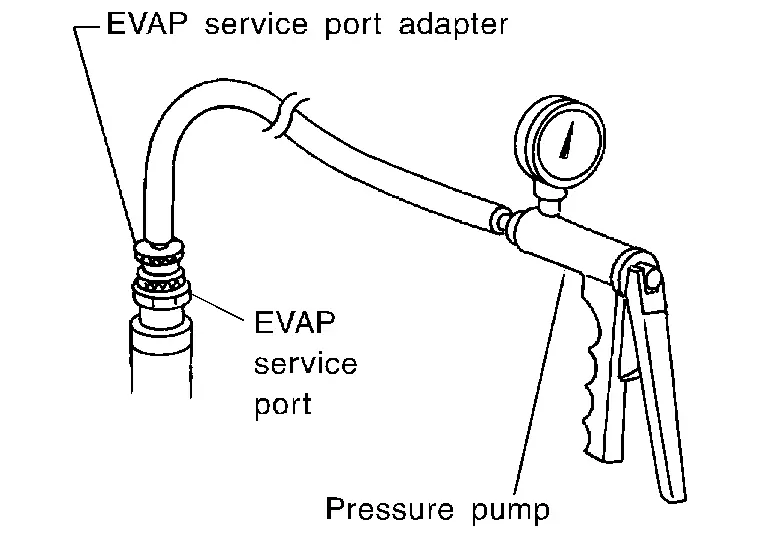
Ignition switch ON.
On CONSULT screen, select “ECM�>>“Work support�>>“EVAP SYSTEM CLOSE�.
Touch “START�. A bar graph (Pressure indicating display) will appear on the screen.
Apply positive pressure to the EVAP system until the pressure indicator reaches the middle of the bar graph.
Remove EVAP service port adapter and hose with pressure pump.
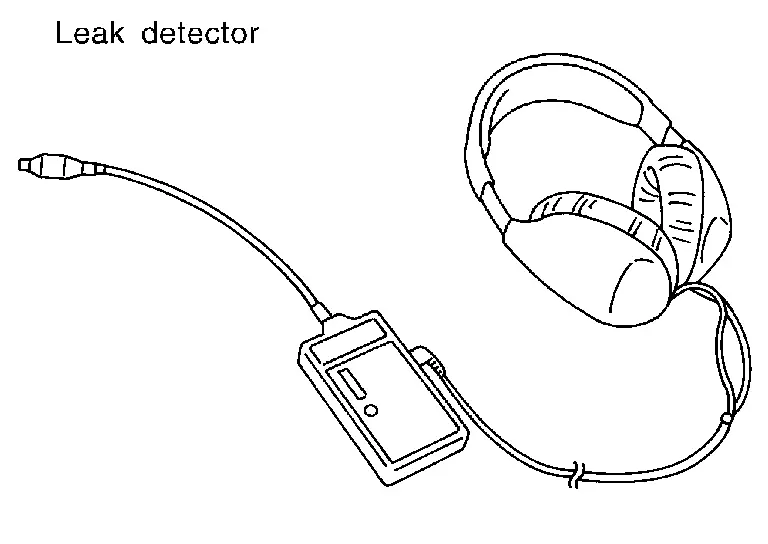
Locate the leak using a leak detector. Refer to System Description.
WITHOUT CONSULT
To locate the EVAP leak, install EVAP service port adapter and pressure pump to EVAP service port. Refer to Hydraulic Layout.
NOTE:
If vacuum delay valve does not have EVAP service port, remove vacuum delay valve and install EVAP service port [commercial service tool: (Part No. 149393S500)] instead.
Apply battery voltage between the terminals of EVAP canister vent control valve to make a closed EVAP system.
To locate the leak, deliver positive pressure to the EVAP system until pressure gauge points reach 1.38 to 2.76 kPa (0.014 to 0.028 kg/cm2, 0.2 to 0.4 psi).
Remove EVAP service port adapter and hose with pressure pump.
Locate the leak using a leak detector. Refer to System Description.
Connect pressure pump (A) to one of the ports of vacuum delay valve (1).
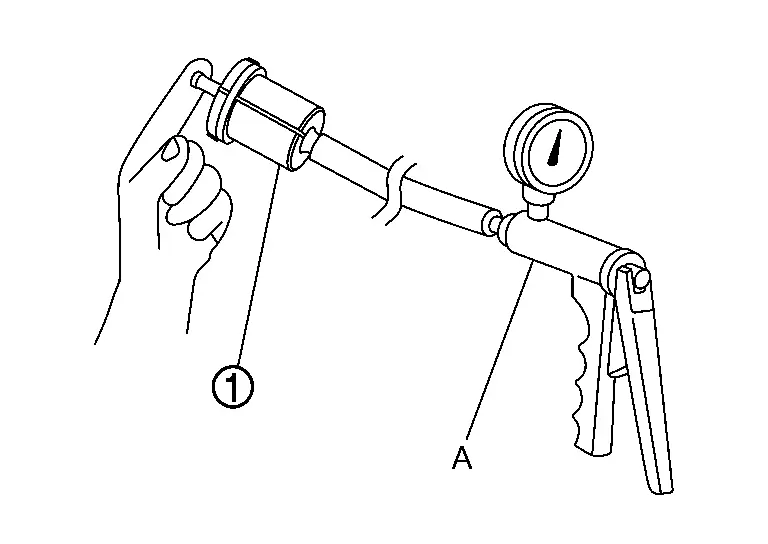
Close the other port of vacuum delay valve with a finger.
Apply pressure to the vacuum delay valve.
CAUTION:
Never apply pressure more than 4.12 kPa (0.042 kg/cm2, 0.6 psi).
Check vacuum delay valve for leakage.
Other materials
Driver Knee Air Bag Module
Exploded View
Steering member
Driver knee air bag module
: Always replace after every disassembly.
: N·m (kg-m, in-lb)
Removal and Installation
WARNING:
Always observe the following items for preventing accidental activation.
Before servicing, ignition switch OFF, di ...
Front Center Console Assembly
Exploded View
REMOVAL
Front center console switch finisher assembly
Front center console bracket
Front center console side finisher upper LH
Front center console side finisher lower LH
Instrument lower cover LH
Front center console mask LH
Front center console rear finisher assemb ...
Front Door Hinge
Removal and Installation
REMOVALRemove front door assembly. Refer to Removal and Installation.
Remove front door hinge mounting bolts, and then remove front door hinge.INSTALLATIONNote the following items, and then install in the reverse order of removal.CAUTION:
Before installation, check the fro ...