
Nissan Armada 2025-2026 Service and Repair Manual: EVAP CANISTER : Leak Check
CAUTION:
Never use compressed air or a high pressure pump.
Never exceed 4.12 kPa (0.042 kg/cm2, 0.6 psi) of pressure in EVAP system.
 NOTE:
NOTE:
Never start engine.
Improper installation of EVAP service port adapter to the EVAP service port may cause a leak.
WITH CONSULT
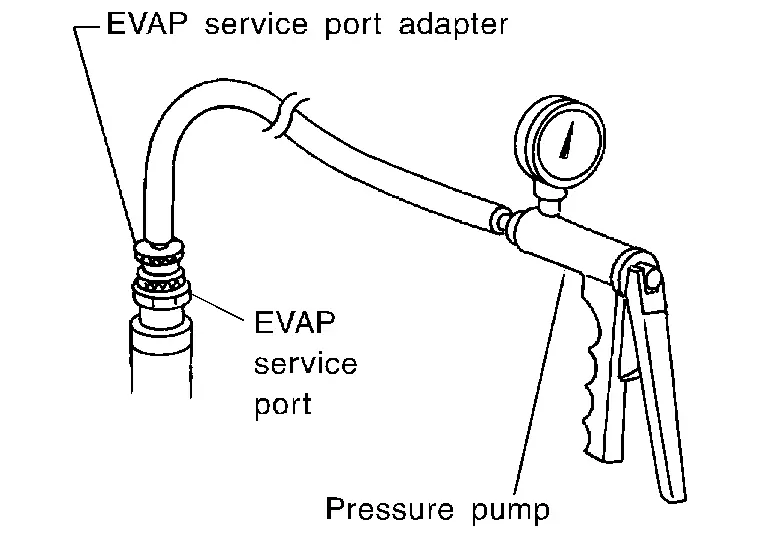
To locate the EVAP leak, install EVAP service port adapter and pressure pump to EVAP service port. Refer to Hydraulic Layout.
NOTE:
If vacuum delay valve does not have EVAP service port, remove vacuum delay valve and install EVAP service port [commercial service tool: (Part No. 149393S500)] instead.
Ignition switch ON.
On CONSULT screen, select “ECM�>>“Work support�>>“EVAP SYSTEM CLOSE�.
Touch “START�. A bar graph (Pressure indicating display) will appear on the screen.
Apply positive pressure to the EVAP system until the pressure indicator reaches the middle of the bar graph.
Remove EVAP service port adapter and hose with pressure pump.
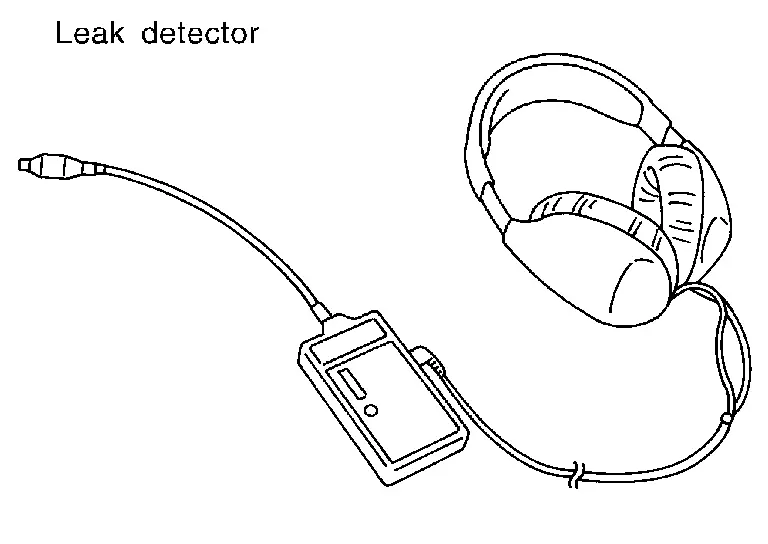
Locate the leak using a leak detector. Refer to System Description.
WITHOUT CONSULT
To locate the EVAP leak, install EVAP service port adapter and pressure pump to EVAP service port. Refer to Hydraulic Layout.
NOTE:
If vacuum delay valve does not have EVAP service port, remove vacuum delay valve and install EVAP service port [commercial service tool: (Part No. 149393S500)] instead.
Apply battery voltage between the terminals of EVAP canister vent control valve to make a closed EVAP system.
To locate the leak, deliver positive pressure to the EVAP system until pressure gauge points reach 1.38 to 2.76 kPa (0.014 to 0.028 kg/cm2, 0.2 to 0.4 psi).
Remove EVAP service port adapter and hose with pressure pump.
Locate the leak using a leak detector. Refer to System Description.
Connect pressure pump (A) to one of the ports of vacuum delay valve (1).
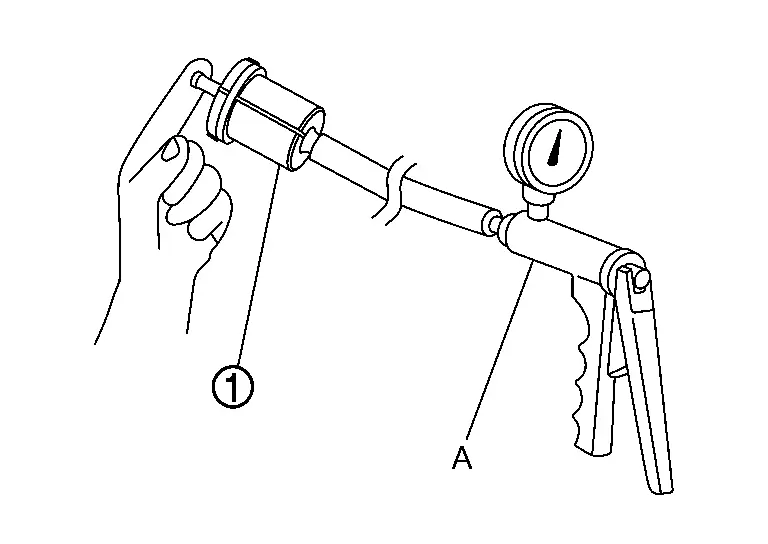
Close the other port of vacuum delay valve with a finger.
Apply pressure to the vacuum delay valve.
CAUTION:
Never apply pressure more than 4.12 kPa (0.042 kg/cm2, 0.6 psi).
Check vacuum delay valve for leakage.
 Evap Leak Check
...

Other materials:
Door Does Not Lock/unlock with Intelligent Key
All doors do not lock/unlock using Intelligent Key button.
NOTE:
SYMPTOM TABLE (BOTH INTELLIGENT KEYS HAVE THE SAME SYMPTOMS)
Door lock operation (remote keyless entry) Door lock operation (one touch sensor or request switch of front/rear/back door) or trunk/back door open operation (opener switch ...
Disassembly and Assembly
DISASSEMBLY
Disengage seat cushion trim fixing retainers .
Remove hinge cover (LH and RH).Remove fixing screw .
Disengage fixing pawl, and then remove hinge cover.
: Pawl
Remove seat cushion frame assembly mounting bolts .
Remove bushes from seat cushion frame assembly.
Disengage harness f ...
Inspection
INSPECTION AFTER REMOVAL
Check the following items and replace, if necessary.
Check each part of steering column assembly for damage or other malfunctions. Replace if there are any abnormal conditions.
Measure steering column rotating torque using a preload gauge (commercial service tool) (A). Repla ...

0.005