Removal and Installation
REMOVAL
Remove front heater & cooling unit assembly. Refer to Removal and Installation.
Remove front heater core. Refer to Removal and Installation.
Remove front expansion valve. Refer to Removal and Installation.
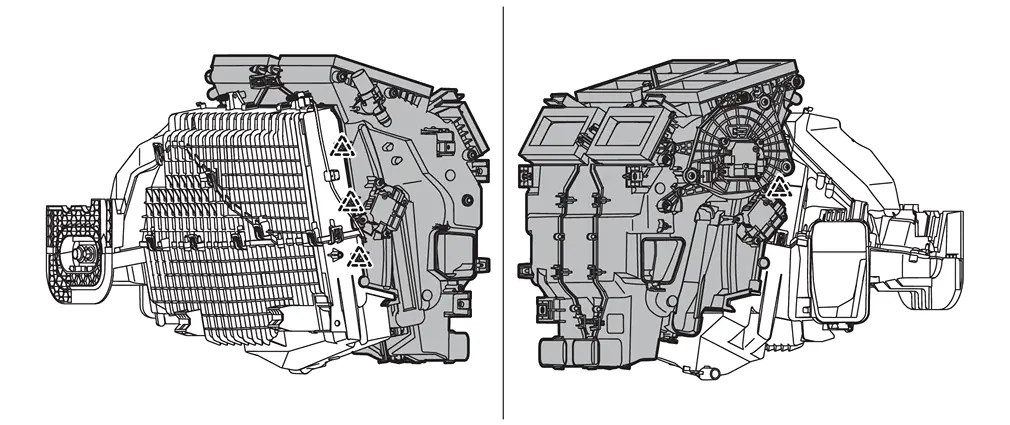
Disconnect front mode door motor harness connector  .
.
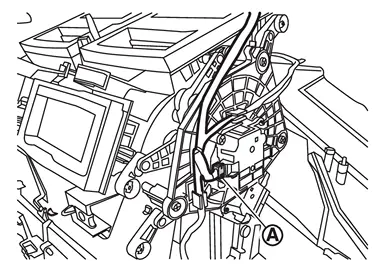
Remove sub harness from front heater & cooling unit.
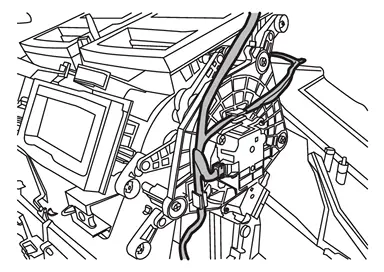
Disconnect front air mix door motor (driver side) harness connector .
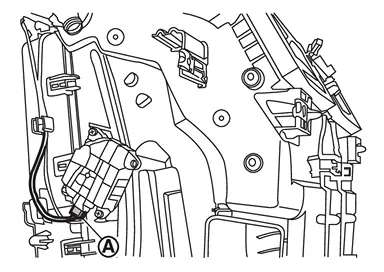
Remove front heater & cooling unit fixing screws .
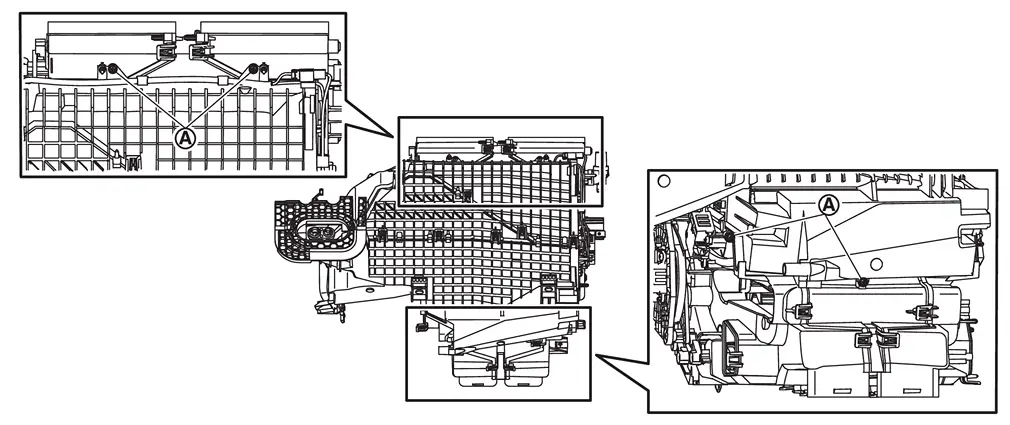
Disengage fixing pawls, and then remove front heater & cooling unit from front case assembly.
 |
: Pawl |
Remove intake sensor from front evaporator. Refer to Removal and Installation.
Remove front case upper fixing screws .
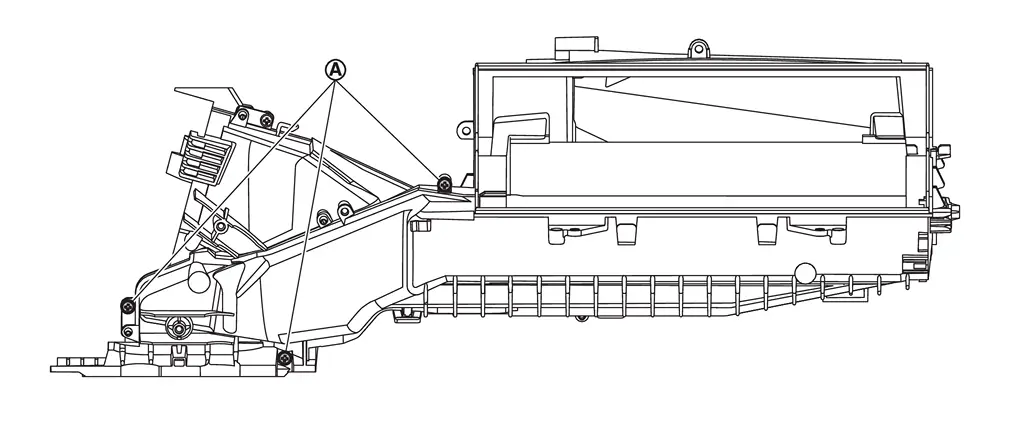
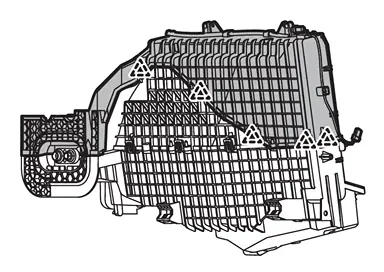
Disengage fixing pawls, and then remove front case upper from front case lower assembly.
|
: Pawl |
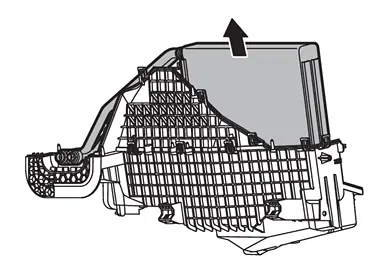
Remove front evaporator from front case lower assembly.
INSTALLATION
Note the following items, and then install in the reverse order of removal.
CAUTION:
-
The air conditioning evaporator should never be repaired or replaced with a part from another vehicle. To replace a damaged or leaking evaporator, use only a new genuine NISSAN replacement part or equivalent.
-
After installing a new evaporator, adjust the compressor lubricant level. Refer to Lubricant Adjusting Procedure for Components Replacement Except A/C compressor.
-
Perform a check for refrigerant leakage when charging with refrigerant. Refer to Leak Test.
 NOTE:
NOTE:
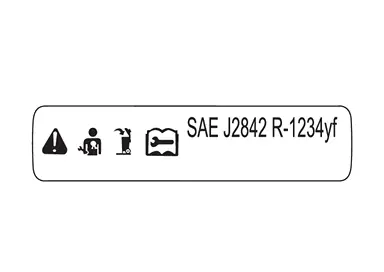
This label indicates that the evaporator complies with SAE J2842.
Other materials
Seat Buzzer
Removal and Installation
REMOVALDisengage seat buzzer harness fixing clip.
: Clip
Disconnect seat buzzer connector.
Remove seat buzzer.
INSTALLATIONInstall in the reverse order of removal. ...
Hood Assembly
Removal and Installation
CAUTION:
Perform work with 2 workers, because it is heavy weight.
Support hood with a proper material and use protective tape or shop cloth to protect hood and body from falling and damage when removing and installing hood assembly.
REMOVALSupport hood assembly with a p ...
Door Mirror Cover
Removal and Installation
REMOVALRemove glass mirror. Refer to Removal and Installation.
Apply protective tapes (A) on the part to protect it from damage.
Disengage door mirror cover fixing pawls from door mirror housing assembly .
: Pawl
Remove door mirror cover.INSTALLATIONNote the follow ...