
Nissan Armada 2025-2026 Service and Repair Manual: Inspection
Check valve seat
 of reservoir tank cap.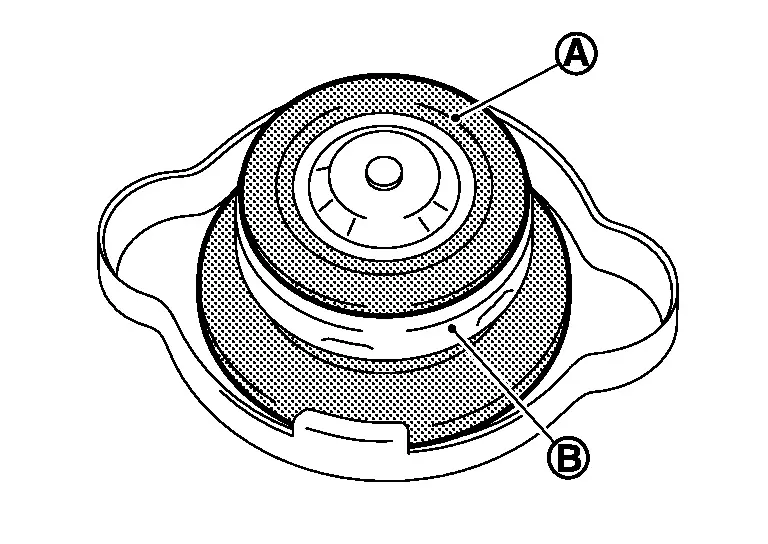

: Metal plunger Check if valve seat is swollen to the extent that the edge of the metal plunger cannot be seen when watching it vertically from the top.
Check if valve seat has no soil and damage.
Pull negative-pressure valve to open it, and check that it close completely when released.
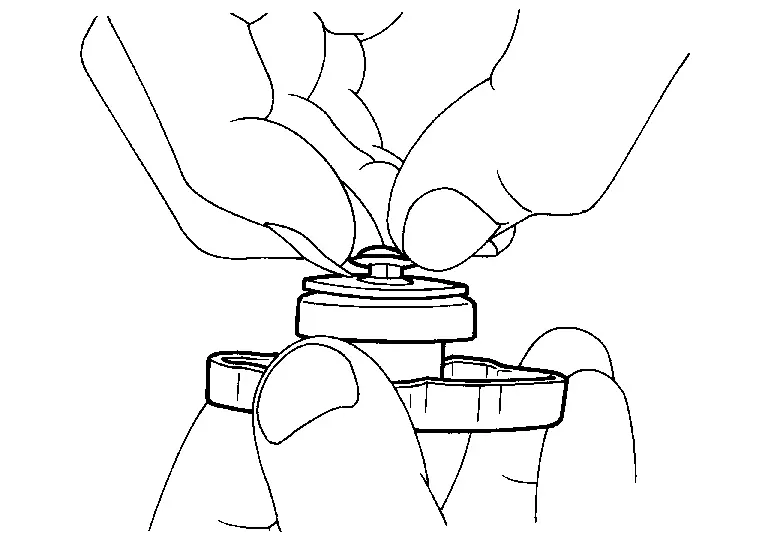
Check that there is no dirt or damage on the valve seat of reservoir tank cap negative-pressure valve.
Check that there are no unusualness in the opening and closing conditions of negative-pressure valve.
Check reservoir tank cap relief pressure.
Standard and limit : Refer to RADIATOR : Service Data. When connecting reservoir tank cap to the radiator cap tester (commercial service tool) and the radiator cap tester adapter (commercial service tool) (A), apply engine coolant to the cap seal surface.
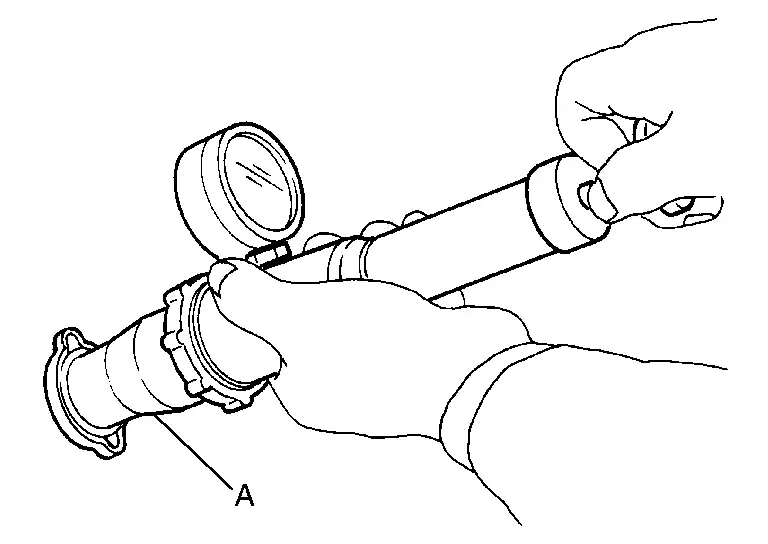
Replace reservoir tank cap if there is an unusualness related to the above three.
CAUTION:
When installing reservoir tank cap, thoroughly wipe out the reservoir tank to remove any waxy residue or foreign material.

 Radiator
...
Other materials:
Front Disc Brake
Unit: mm (in)
Item Limit Brake pad Wear thickness 2.0 (0.079) Disc rotor Wear thickness 27.4 (1.079) Thickness variation (measured at 8 positions)* 0.006 (0.0002) Runout (with it attached to the vehicle) 0.035 (0.0014)
*To check if rotor imbalance, rotor runout or rotor deformation is o ...
Removal and Installation
WARNING:
REMOVAL
Remove fixing rivets .
NOTE:
Grind rivet with a drill (B) [bit of φ4.7 − φ4.9 mm (φ0.185 − φ0.193 in)].
Remove fixing clip and mounting bolts , and then remove front spoiler.
Remove fixing clip and mounting bolts , and then remove front side spoiler.
Remove U nut ...
Inspection
INSPECTION BEFORE REMOVAL
Check brake fluid level switch. Refer to Brake Fluid Level Switch.
INSPECTION AFTER REMOVAL
Check the following items, and replace the part if necessary.
Check for damage, deformation, interference with the other parts, and looseness of connection.
Check for fluid leakage f ...

0.005