
Nissan Armada 2025-2026 Service and Repair Manual: Plastic Repair
Plastic welding can be used as a repair method only on thermoplastics.
Work preparation
Repairs must always be carried out from the inner to the outer side of the component, which means that in most cases, it is necessary to disassemble the damaged body component.
The repair area must always be thoroughly cleaned prior to any repair.
To ensure that there is a good bond between the plastic and the filler material, the edges of the break must be sanded into a wedge or "V" shape on the inner and outer sides. in addition, the paint must be removed from the damage area. A low-speed sanding tool with P120 grit abrasive can be used here, as the plastic could otherwise overheat and smear.
Procedure Overview
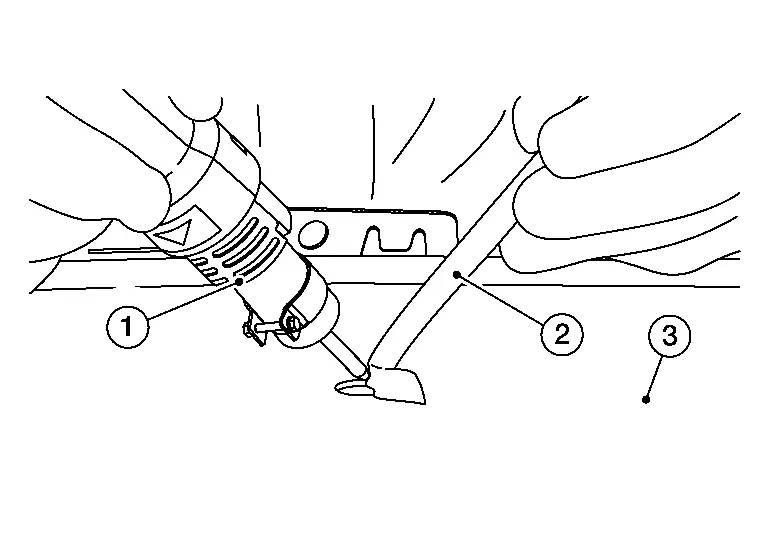
| 1 | :Plastic welder |
| 2 | :Filler rod |
| 3 | :Damaged surface |
A one-sided repair will not be able to totally seal the damage, and would lead to the damage recurring shortly after the repair. This is why both sides of the plastic part must always be welded.
The repair always begins on the inside of the component. The plastic part and the filler material are fused and welded together with a jet of hot air. Several layers of the filler material can be overlapped and welded to each other in the process. A single weld seam is normally sufficient on the outer side.
Any protruding filler material on the outer side of the plastic part is sanded off. The part is then prepared for refinishing.
Protect the surrounding area:
Protect the surrounding area next to the damage with masking and/or duct tape.
Prepping the area:
Sand the paint off of the surrounding area, on both sides. It is important not to get too much temperature into the area, as this can bring out plastic oil residue. Best is to hand sand at the end as to remove and dirt residue from the surface. You can use either a scraper or sandpaper (80/120 grit).
Repair Steps for Plastic Fusion
For a proper fusion to occur both materials have to be in the melting state. Meaning the welding rod and the material to be welded, each plastic has a different melting temperature as well as its own MFI (Melding flow index). Which means in the production process the melding temperature as well as the pressure gives the material its property. With the Plastic Fusion we are using a high welding temperature and a low air volume. This has the advantage to get a controlled welding bath without deforming the surrounding area. There are three points to consider during the fusion process.
Welding bath
Welding rod angle
Pressure on the rod
The plastic fusion is using a one set temperature of 480 degrease on all plastics no matter what its melting temperature is. The different types of plastics will start to melt at different points and this can be seen in the melting bath. The melting bath can be seen with a small rolled plastic in front of the rod.
During welding, the angle of the filler rod in relation to the repair part should be at less than 90° (acute angle). Slight downward pressure on the filler rod is also important as this will create the right pressure in the weld pool. Without the correct rod angle and pressure, the weld pool will not be created successfully.
Welding Rod & Weld
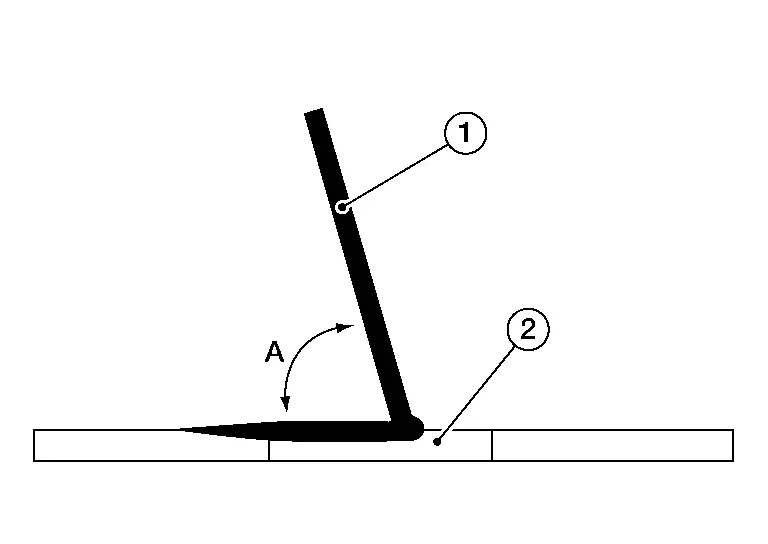
1 :Filler rod 2 :Weld pool A :Filler rod angle less than 90°
The right selection of plastic is required. We are using a standard rod which is ideal for the following materials. These are the main plastics used in today’s outer skins of a vehicle. There are always exceptions as well as the adhesions to the plastics because of the minor add-on in the materials.
PP+E/P
PP
PP/EPDM
P/E
TPO
TSOP
PC
Other rods are needed for the following materials:
ABS
HDPE
PA
Xenoy/PC /PTB
LDPE
PVC
Xenoy/PC /PTB
Repairing a Crack or a Cut
Grind paint off slowly from both sides. Make sure that the area is clean of any dirt or any other material. Make a slight groove in the damaged area.
 NOTE:
NOTE:It is important that the outer disc speed is reduced so no melding of the material occurs.
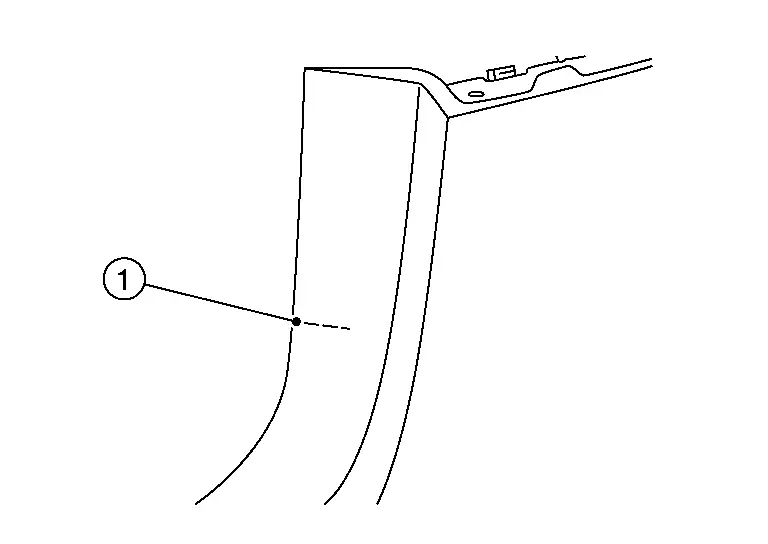
1 :Crack or cut 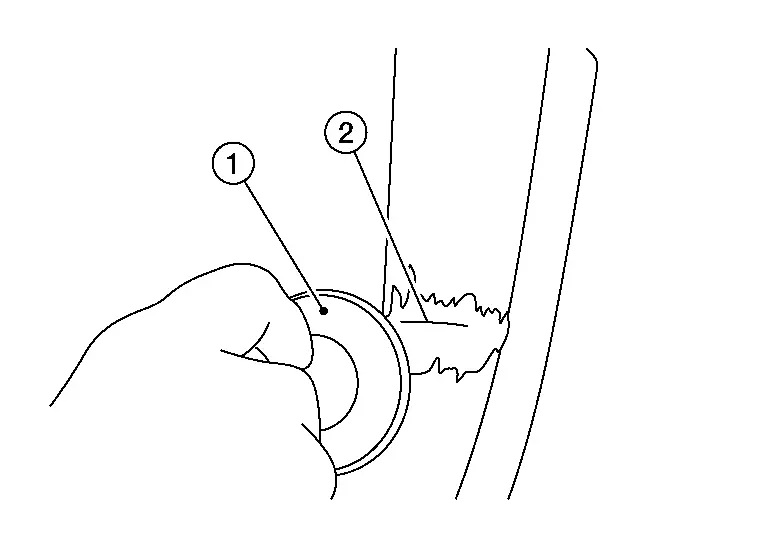
1 :Grinder 2 :Crack or cut Tack (2) the end of the damaged area (1) in the rear, as this will prevent the damaged area to deform during the fusion process. Try to tack as close to the edge as possible.
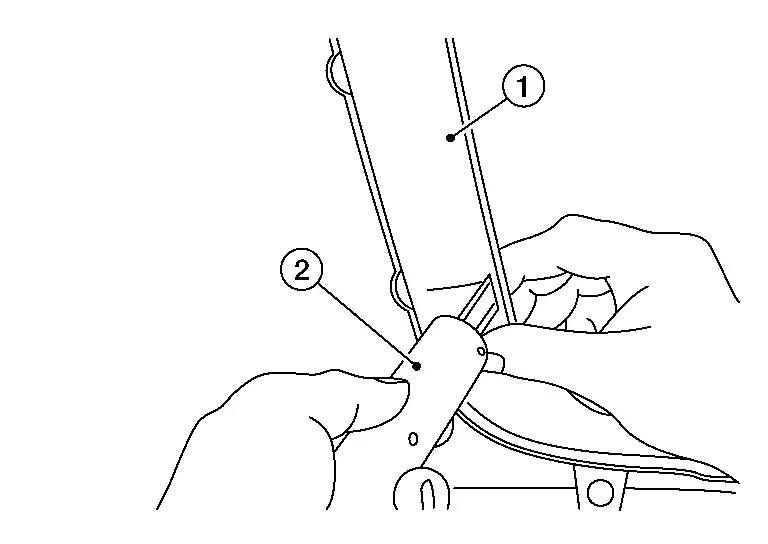
Start the fusion process in the rear fist. Always start 1cm behind the actual damage.
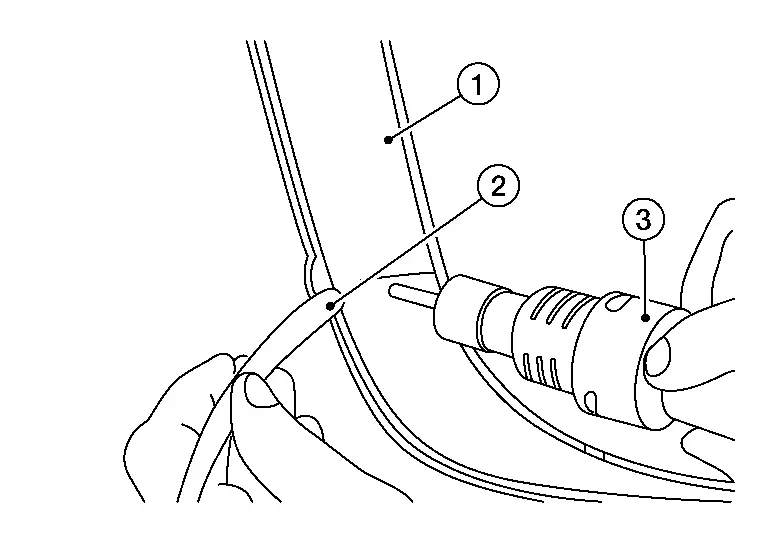
1 :Crack or cut 2 :Filler rod 3 :Plastic welder 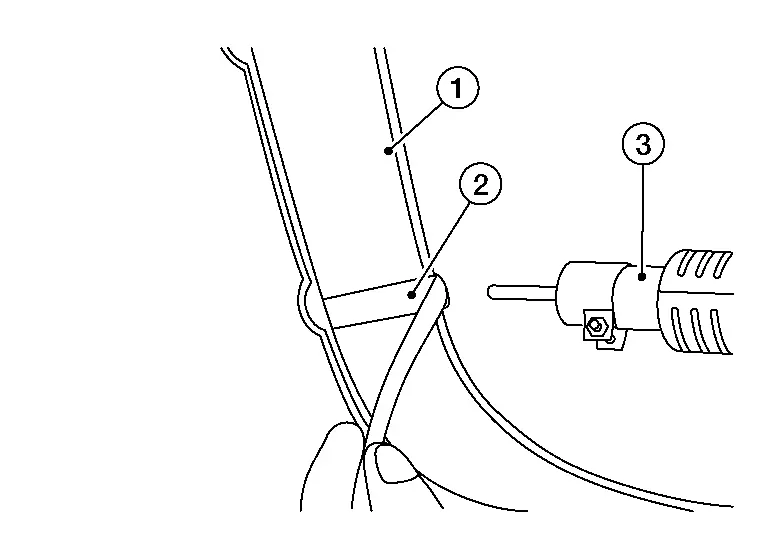
1 :Crack or cut 2 :Filler rod 3 :Plastic welder Repeat the process on the front.
NOTE:Let the part cool off before you do the finish grinding. As stated before, it is important to grind of the material very slowly. As the high speed will cause the material to meld.
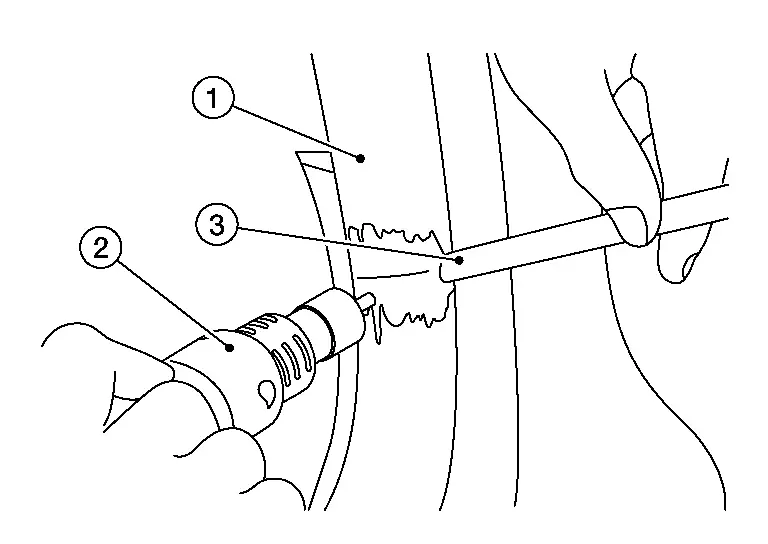
1 :Crack or cut 2 :Plastic welder 3 :Filler rod 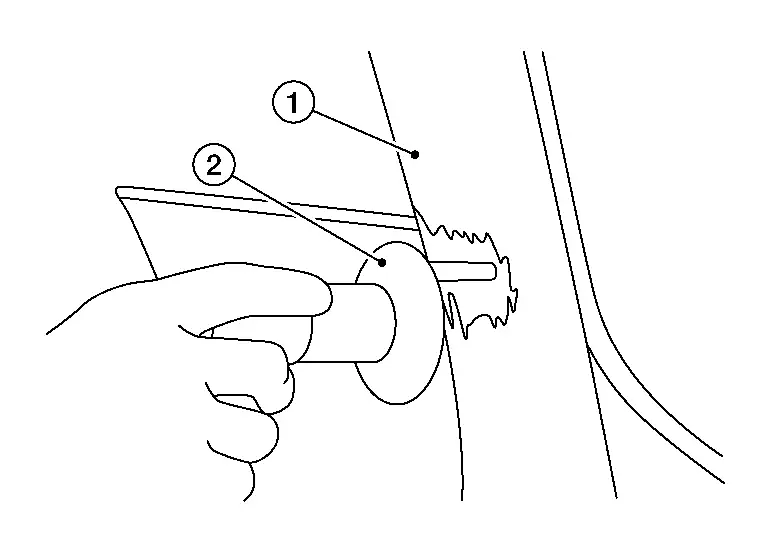
1 :Crack or cut 2 :Grinder 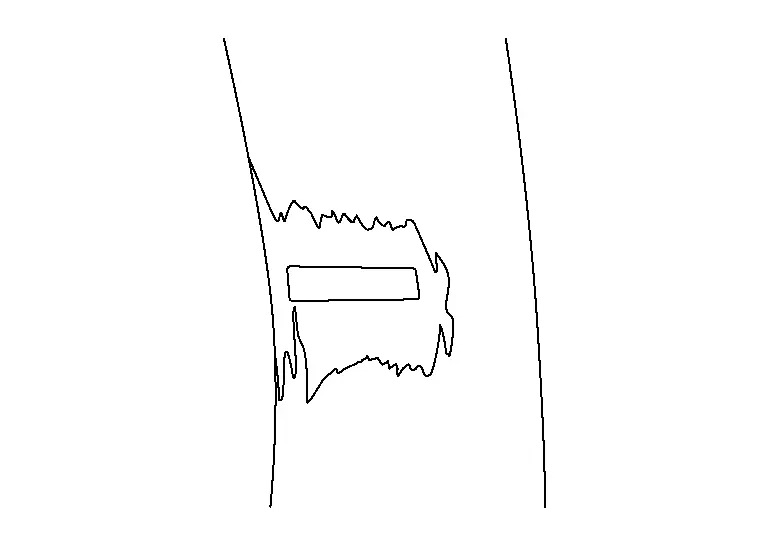
Repairing a broken tab
Grind off the paint on both sides. Make a slight groove on the broken edges.
Start the fusion process on one side. Make sure that on that side the material is well bonded. Once one side is bonded, let the material cool off and make a bridge. Then first heat the back of the welding strip quickly to be able to bend it. Then weld the other side making sure you get a good bond.
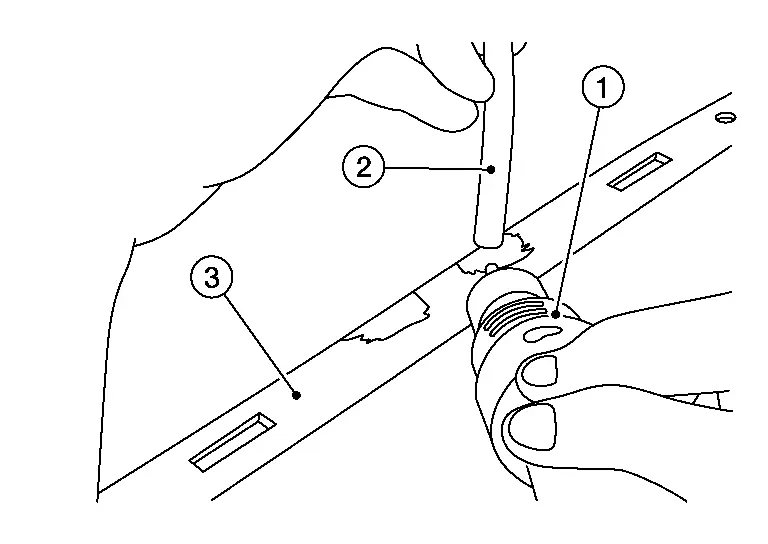
1 :Plastic welder 2 :Filler rod 3 :Broken tab 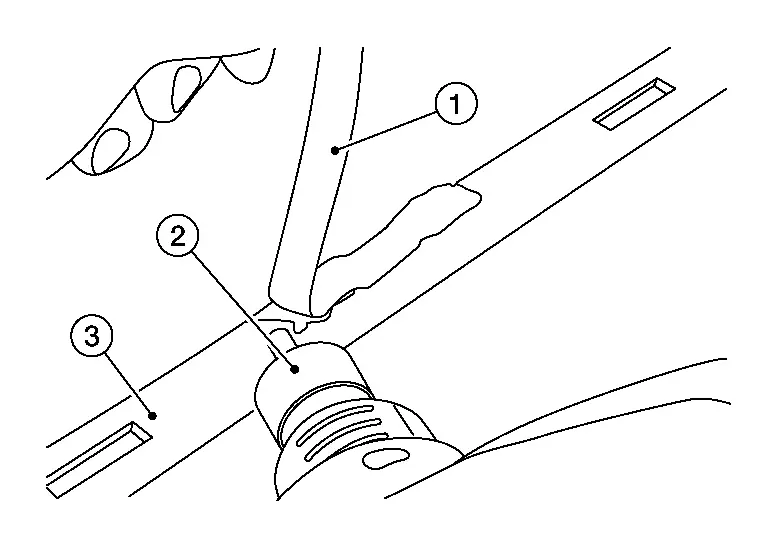
1 :Filler rod 2 :Plastic welder 3 :Broken tab NOTE:Once the bridge is bonded use the flat vice grip (1) to smoothen out the area, while it is still warm. Repeat the process on the bottom side.
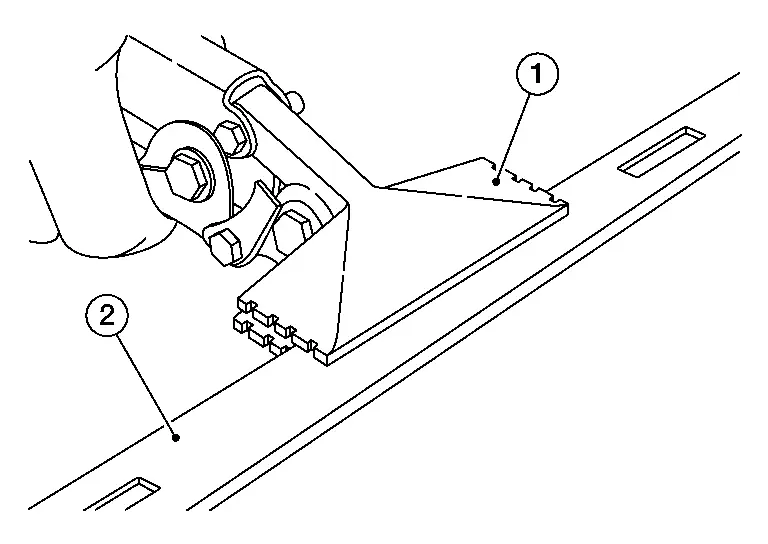
2 :Broken tab 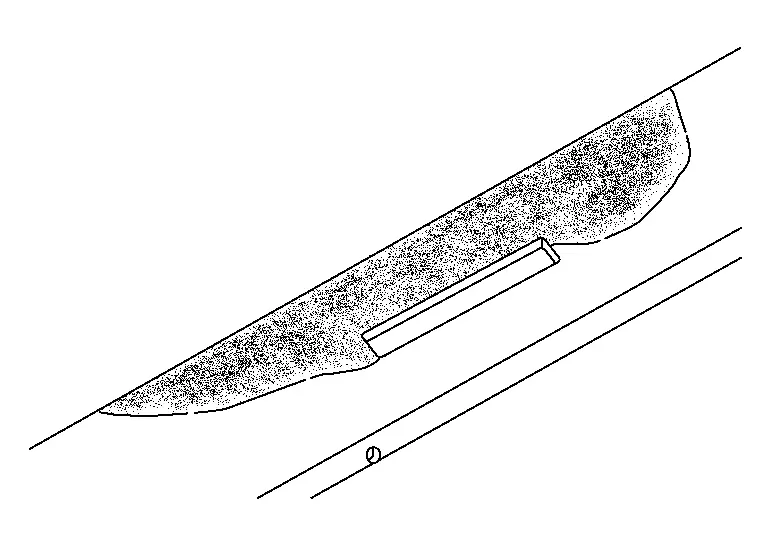
Grind off the non-necessary material slowly as not to melt the material.
Repairing or filling plastic gap
Using P120 grit paper, sand down the edges of the break to form a "V" or wedge shape.
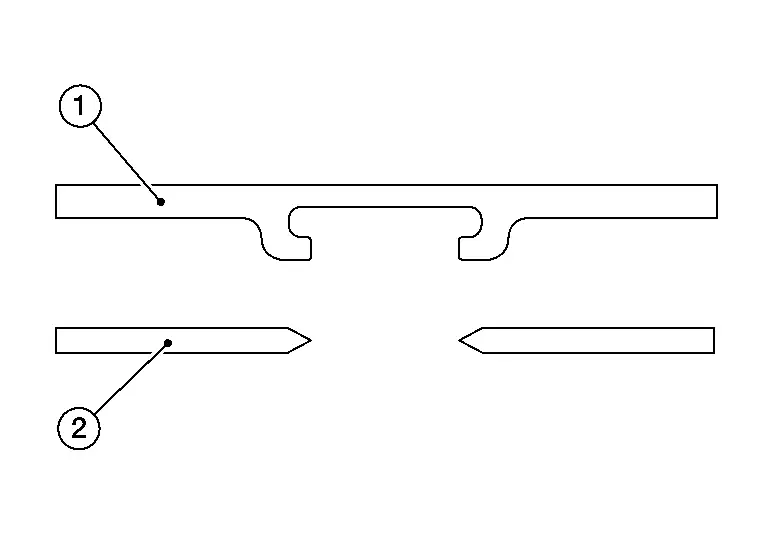
1 :Original damaged plastic 2 :Damaged plastic prepped for repair Weld strip on one end.
NOTE:Clamp tab while still warm.
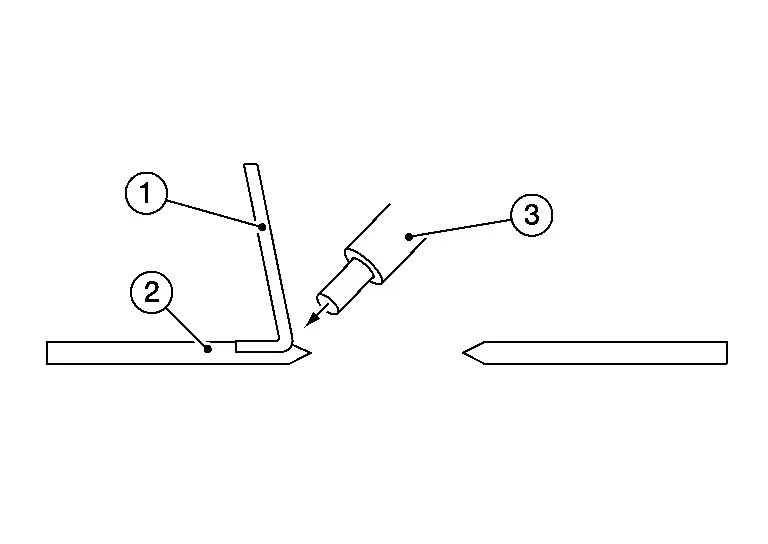
1 :Filler material 2 :Original damaged plastic 3 :Plastic welder Lay strip over the gap and continue welding on other side.
NOTE:Clamp tab while still warm.
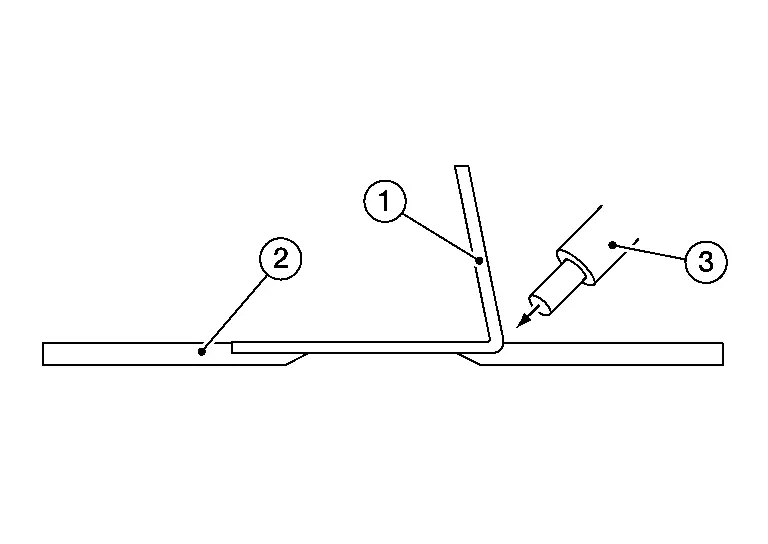
1 :Filler material 2 :Original damaged plastic 3 :Plastic welder Weld new strip on underside.
NOTE:Clamp tab while still warm.
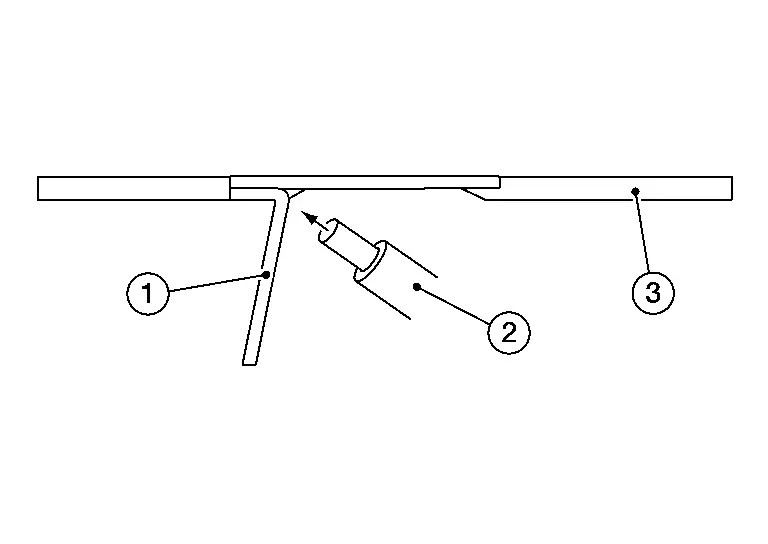
1 :Filler material 2 :Plastic welder 3 :Original damaged plastic Change angle of plastic welder (2) and weld both filler materials together.
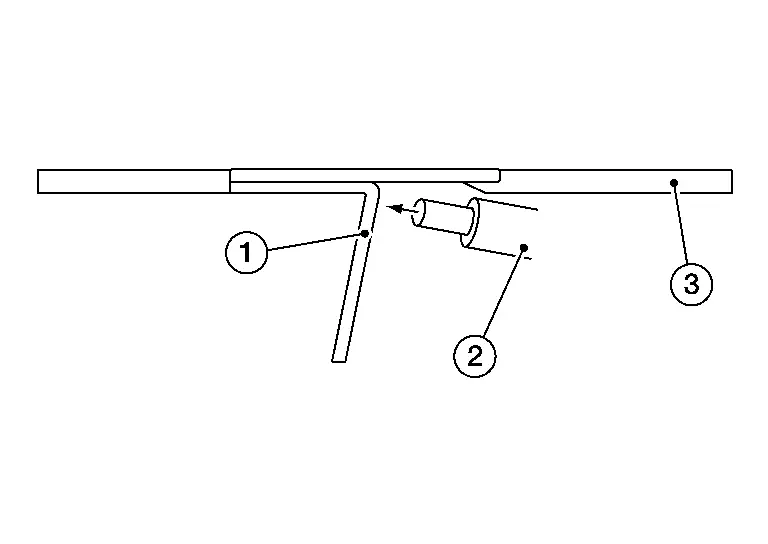
1 :Filler material 3 :Original damaged plastic Change angle of plastic welder (2) and finish welding on other side.
NOTE:Clamp tab while still warm.
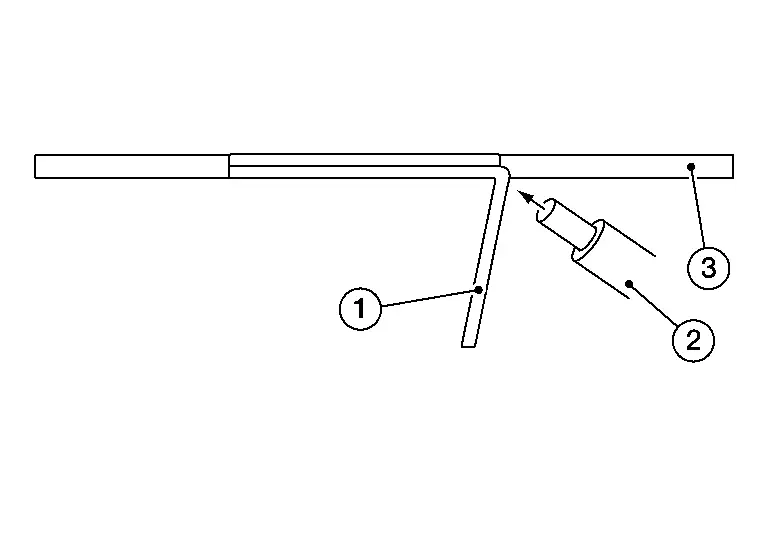
1 :Filler material 3 :Original damaged plastic
 Glue System
Glue systems allow pulling when an area is not easily accessible like roof rail or beneath braces. It is also one of the easiest systems to learn. But it is mainly limited to soft dents.
A couple of t ...

Other materials:
Side Body
WARNING:
Work after hoodledge reinforcement and roof are removed.
Remove the lower side dash assembly (reusable) from the vehicle for easier installation.
Urethane foam : Weld the parts onto the back of the component part.
*: For spot welding of steel plate of tensile strength 980 MPa, observe the ...
System temporarily unavailable
When any of the following messages appear on the vehicle information display,
a chime will sound and the I-BSI system will be turned off automatically.
"Unavailable Slippery Road": When the VDC system (except traction control
system function) or ABS operates.
"Currently Una ...
NISSAN All-Mode 4WD system
The NISSAN All-Mode 4WD system in the Nissan Armada is engineered to deliver
maximum versatility and control by offering multiple selectable drive modes, including
AUTO, 4H, and 4L (if equipped). This intelligent system allows the driver to adapt
the Nissan Armada to a wide range of road and o ...

0.0076