Special Service Tools
|
Tool number (TechMate No.) Tool name | Description | |
|---|---|---|
|
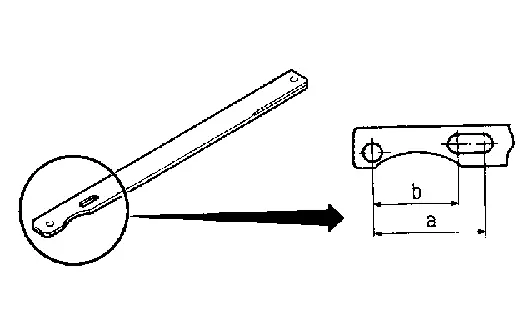
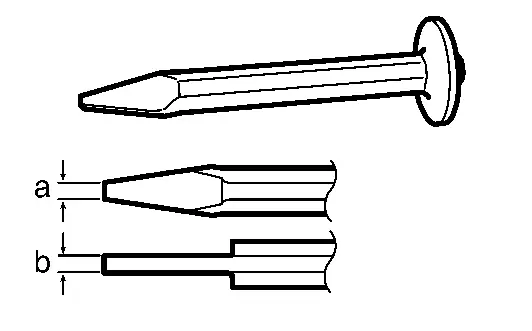
KV40104001 (NI-53385) Hub lock nut wrench a: 85 mm (3.35 in) b: 65 mm (2.56 in) |
|
Removing and Installing wheel hub lock nut. |
|
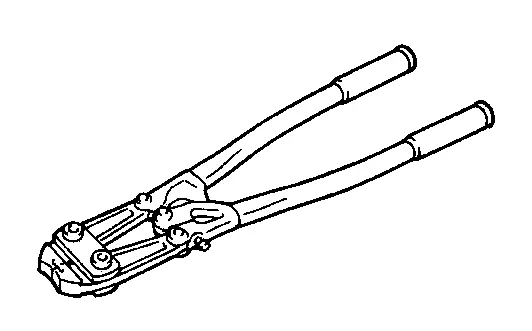
KV40107300 (NI-51751) Boot band crimping tool |
|
Installing boot band |
|
KV38108000 ( - ) Protector a: 47 mm (1.85 in) dia. b: 20 mm (0.79 in) |
|
Installing drive shaft |
|
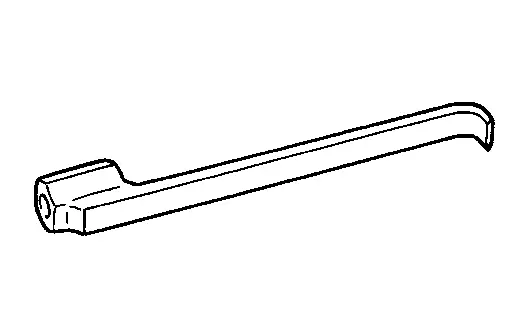
KV40107500 ( — ) Drive shaft attachment |
|
Removing drive shaft |
|
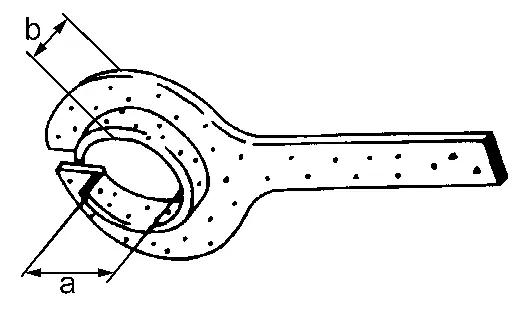
KV40108700 ( — ) Lock nut crimp punch a: 5 mm (0.20 in) b: 7 mm (0.28 in) |
|
Installing wheel hub lock nut |
|
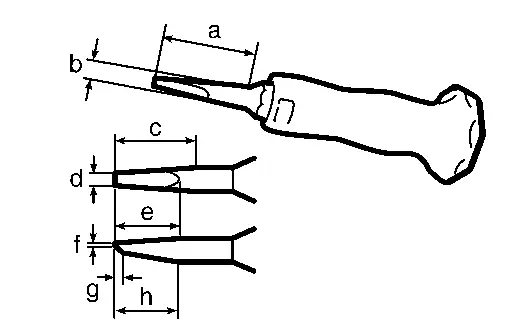
KV40108800 (NI-52982) Lock nut chisel a: 44.5 mm (1.752 in) b: 10 mm (0.39 in) dia. c: 31 mm (1.22 in) d: 4.5 mm (0.177 in) e: 26 mm (1.02 in) f: 0.4 mm (0.016 in) g: 4 mm (0.16 in) h: 24 mm (0.94 in) |
|
Removing wheel hub lock nut |
Commercial Service Tools
| Tool name | Description | |
|---|---|---|
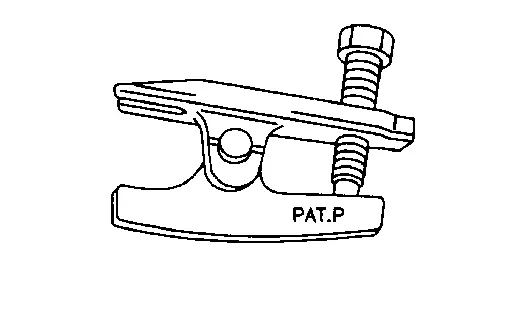
| Ball joint remover |
|
|
| Drive shaft puller |
|
Removing drive shaft joint sub assembly |
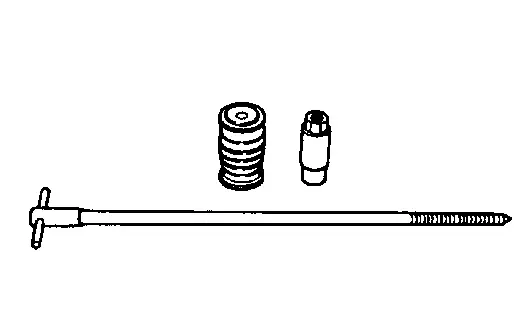
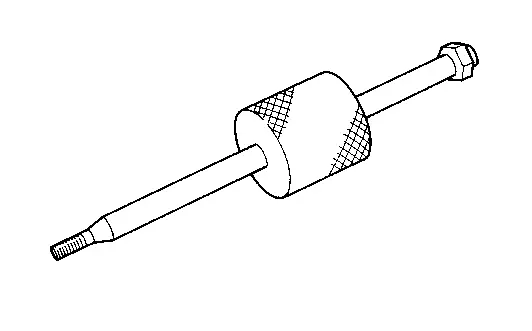
| Sliding hammer |
|
Removing drive shaft |
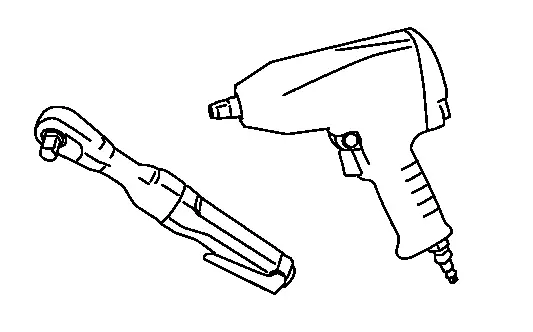
| Power tool |
|
Loosening bolts and nuts |
Lubricant or/and Sealant
| Name | Description |
|---|---|
| Fill NISSAN Genuine grease or equivalent |
|
| Apply paste [service parts (440037S000)] |
|
Other materials
Brake Pedal
Inspection and Adjustment
INSPECTIONBrake Pedal HeightCheck the height (H1) between the floor panel and the brake pedal upper surface. H1
: Refer to Brake Pedal.
CAUTION:
Remove the front floor carpet.Stop Lamp SwitchCheck the clearance (A) among the brake pedal lever and the stop lamp switch ...
Center Pillar Lower Garnish
Removal and Installation
CAUTION:
Never damage the body panel.REMOVALRemove front kicking plate. Refer to Removal and Installation.
Remove rear kicking plate. Refer to Removal and Installation.
Disengage center pillar lower escutcheon fixing pawls, and then remove center pillar lower escutcheon.
...
Front Washer Nozzle and Tube
Exploded View
Front washer nozzle LH
Front washer nozzle tube LH
Front washer nozzle RH
Front washer nozzle tube RH
Check valve
Front washer tube C
Connector
Front washer tube B
Front washer tube A
Washer tank assembly
: Pawl
Hydraul ...