
Nissan Armada 2025-2026 Service and Repair Manual: Removal and Installation
WARNING:
REMOVAL
Disconnect the negative battery terminal. Refer to Removal and Installation.
Drain A/T fluid. Refer to Draining.
Remove oil pan mounting bolts ( ) and then remove oil pan
  .
.
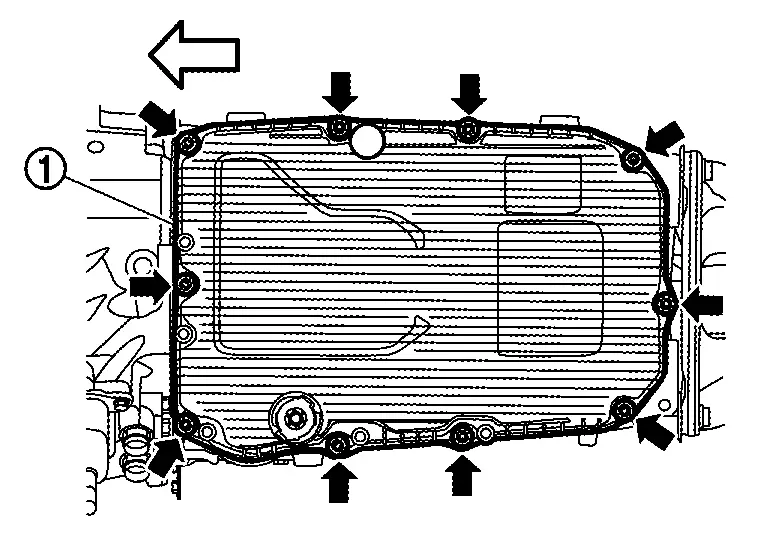
CAUTION:
Never reuse bolts.
 NOTE:
NOTE:
To avoid damage to the vehicle, do not remove the magnets from the oil pan.
To avoid damage to the vehicle, confirm no contaminated parts go into the strainer opening. The strainer opening is the clean side of the strainer, thus any and all particles will flow into the control valve causing malfunction.
 | : Front |
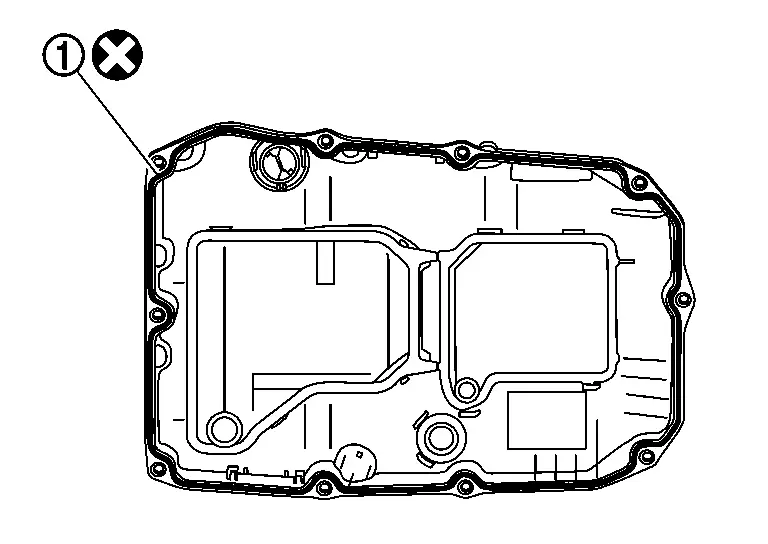
Remove oil pan gasket .
CAUTION:
Never reuse oil pan gasket.
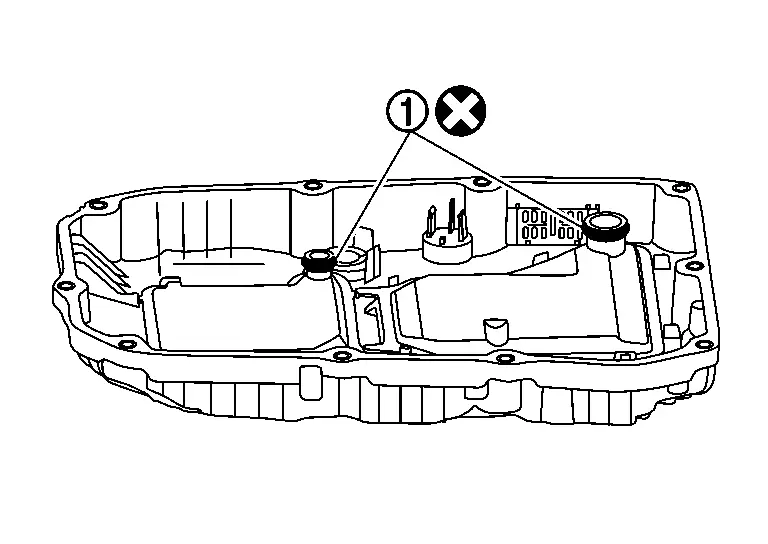
Remove O-rings from oil pan strainer.
CAUTION:
Never reuse O-rings.
Disengage pawls and remove overflow tube from oil pan.
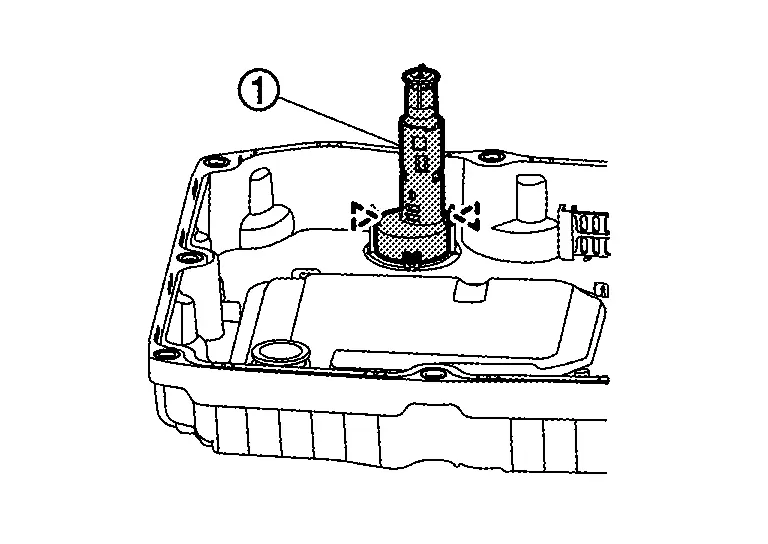
CAUTION:
Remove without damaging claws.
 | : Pawl |
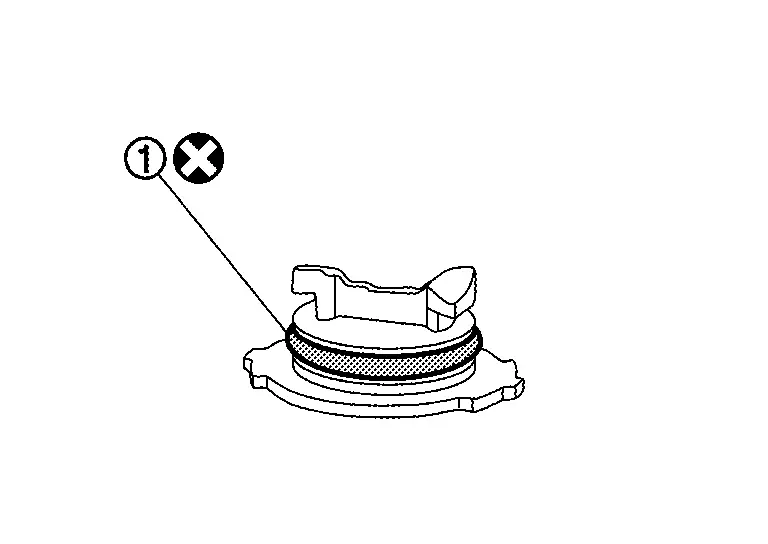
Remove O-ring from drain plug.
CAUTION:
Never reuse O-ring.
INSTALLATION
Note the following, and install in the reverse order of removal.
CAUTION:
Never reuse oil pan strainer O-rings.
Neverreuse drain plug O-rings.
Apply ATF to O-ring of oil pan strainer.
Apply ATF to O-ring of drain plug.
Clean foreign materials (gear wear particles) that adhere on the inside of the oil pan and on the magnet, and then assembly.
Completely remove all moisture, oil and old gasket, etc. from oil pan gasket surface of transmission case and oil pan.
Never reuse oil pan gasket.
Never reuse oil pan bolts.
Align the cut outs
 of overflow tube and oil pan when Installing overflow tube to oil pan.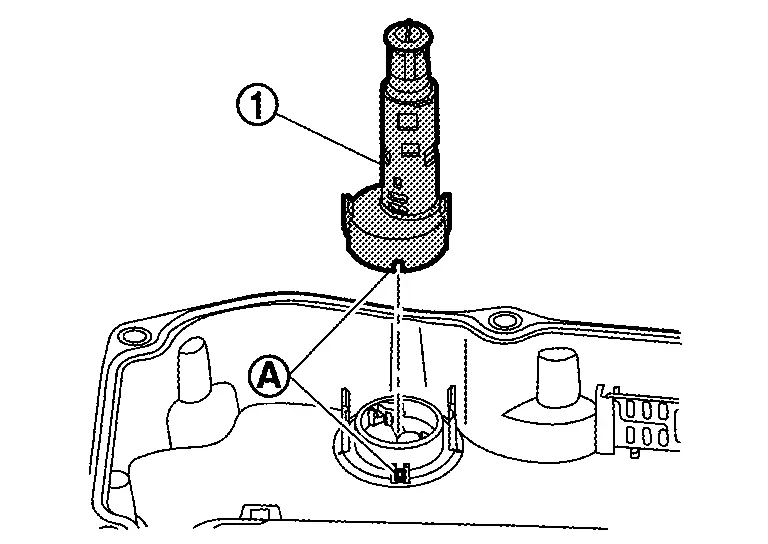
Place oil pan gasket alignment tab
in the oil pan alignment hole 
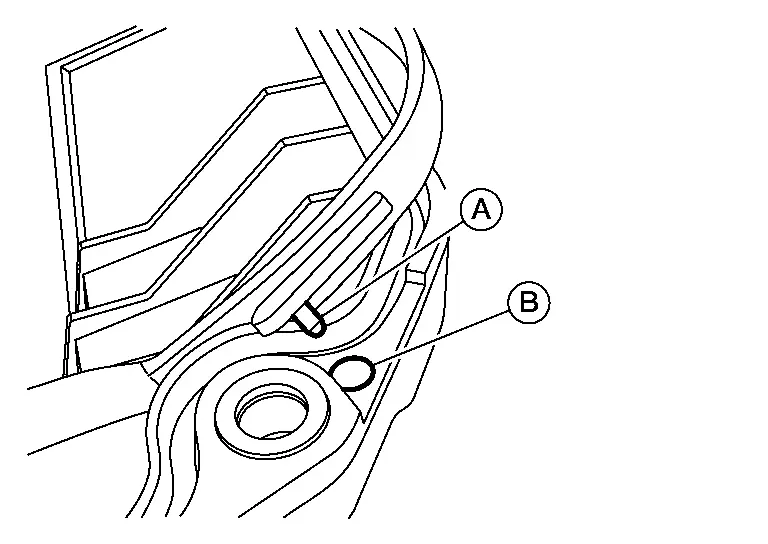
CAUTION:
Never reuse oil pan gasket.
NOTE:To avoid damage to the vehicle, never remove the magnets from the oil pan.
To avoid damage to the vehicle, confirm no contaminated parts go into the strainer opening. The strainer opening is the clean side of the strainer, thus any and all particles will flow into the control valve causing malfunction.
Tighten oil pan mounting bolts to specification shown.
Step 1 : Tighten 4.0 N·m (0.41 kg-m, 35 in-lb) Step 2 : Tighten 95° Fill with A/T fluid after installation. Refer to Refilling.
 Exploded View
A/T assembly Oil pan gasket Overflow tube O-ring Oil pan Drain plug O-ring O-ring Refer to Removal and Installation. : Always replace after every disassembly. : Apply ATF ...

Other materials:
Removal and Installation
REMOVAL
Remove front seatback blower motor. Refer to Removal and Installation.
Disengage fixing portions and then remove front seat lumbar support unit.
Disconnect front seat pneumatic control unit connector (4 way lumbar support) or front seat lumbar support air pump connector (2 way lumbar supp ...
Exploded View
Transfer assembly Input oil seal : Vehicle front : Always replace after every disassembly. : Apply transfer fluid. ...
Removal and Installation
WARNING:
REMOVAL
Remove the drain plug to drain the transfer fluid. Refer to Draining.
Remove the rear propeller shaft. Refer to Removal and Installation.
Remove the rear oil seal.
CAUTION:
Never damage rear case and output shaft.
INSTALLATION
Install rear oil seal with a drift (commercial service ...

0.0049