
Nissan Armada 2025-2026 Service and Repair Manual: Removal and Installation
WARNING:
REMOVAL
Drain transfer fluid. Refer to Draining.
Remove transfer assembly from vehicle. Refer to Removal and Installation.
Remove the rear case mounting bolts  .
.
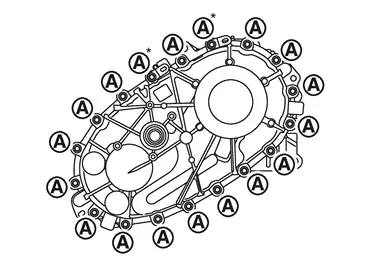
| * | : Tighten together with the bracket. |
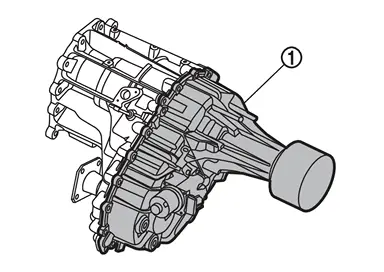
Remove the rear case  .
.
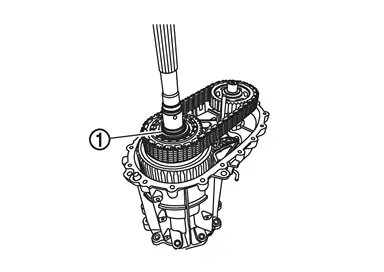
Remove the rear output shaft snap ring .
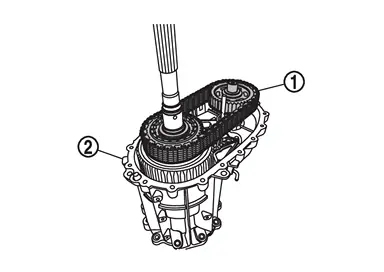
Remove the sprockets with chain from front case  .
.
Remove the front output shaft snap ring .
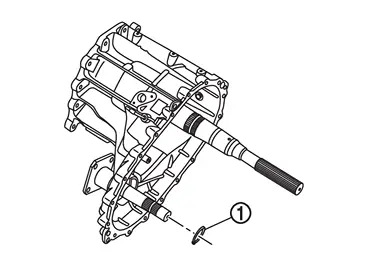
Remove the front output shaft from front case .
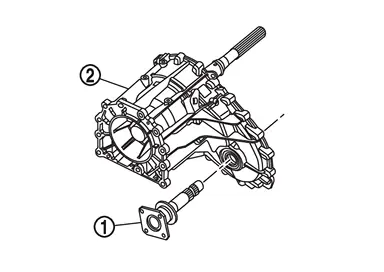
CAUTION:
Never damage the output shaft.
Remove the front oil seal form front case .
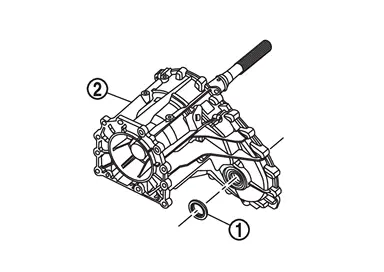
CAUTION:
Never damage the front case.
INSTALLATION
Install front oil seal with a drift (A) (commercial service tool) within the dimension (L) shown as follows.
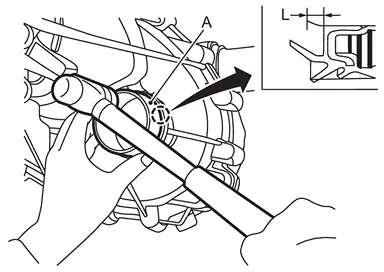
| L | : 1.7 – 2.3 mm (0.067 – 0.091 in) |
CAUTION:
Never reuse front oil seal.
Apply transfer fluid onto circumference of oil seal.
When installing, never incline front oil seal.
Never handle the oil seal inner periphery and oil seal lip.
Install the front output shaft to front case .
CAUTION:
Never damage the front oil seal lip.
Install the front output shaft snap ring .
Install the sprockets with chain to front case .
Install the rear output shaft snap ring .
Apply sealant to mating surface of rear case.
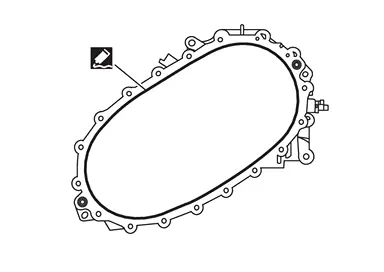
For applying sealant, refer to Exploded View.
Install the rear case .
Tightening the rear case mounting bolts to the specified torque. Refer to Exploded View.
| * | : Tightening the bolt with bracket. |
Install transfer assembly. Refer to Removal and Installation.
Fill with new transfer fluid. Refer to Refilling.
 Exploded View
Front output shaft Front oil seal Front case Snap ring Sprockets with chain Snap ring Rear case : Always replace after every disassembly. : N·m (kg-m, ft-lb) : Apply transfer fluid. : App ...
 Inspection
INSPECTION AFTER INSTALLATION
Check fluid leakage and the fluid level. Refer to Inspection.
ADJUSTMENT AFTER INSTALLATION
When transfer case component parts are removed, performe writing unit paramete ...
Other materials:
Precautions for Removing Battery Terminal
NOTE:
NOTE:
NOTE:
The removal of 12V battery may cause a DTC detection error.
HOW TO DISCONNECT 12V BATTERY TERMINAL
Disconnect 12V battery terminal according to instruction described below.
Open the hood.
Turn ignition switch to the ON position.
Turn ignition switch to the OFF position with the d ...
Removal and Installation
REMOVAL
Front
Remove front wiper drive assembly. Refer to Removal and Installation.
Remove instrument panel assembly. Refer to Removal and Installation.
Disengage fixing pawls, and then remove front drain connector.
NOTE:
Attach a string to the end of drain connector, for use when performing instal ...
Inspection
INSPECTION AFTER REMOVAL
Surface Distortion
Check the surface distortion of the catalyst converter mating surface (turbocharger side) with a straigtedge (A) and a feeler gauge (B).
Limit 0.15 mm (0.0059 in)
Check the surface distortion of the catalyst converter mating surface (2nd catalyst conv ...

0.0049