
Nissan Armada 2025-2026 Service and Repair Manual: Removal and Installation
REMOVAL
CAUTION:
Never damage the back door panel.
Remove back door trim. Refer to Removal and Installation.
Disconnect harness connectors.
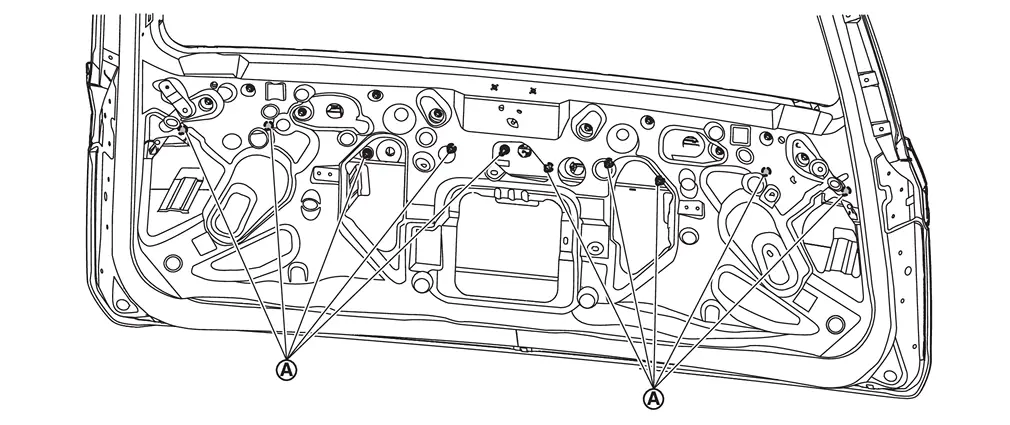
Remove mounting nuts  .
.
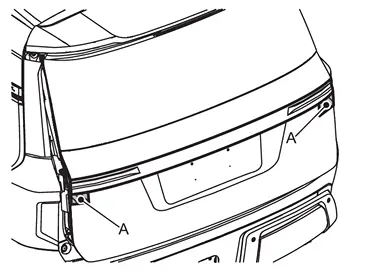
Apply protective tapes (A) on the parts to protect it from damage.
Disengage fixing clips using remover tool (A).
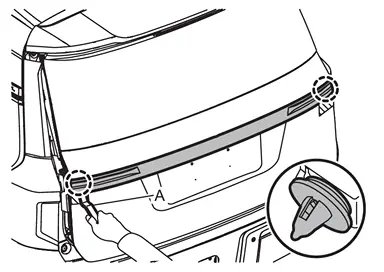
 | : Clip |
Disconnect harness connectors, and then remove back door finisher.
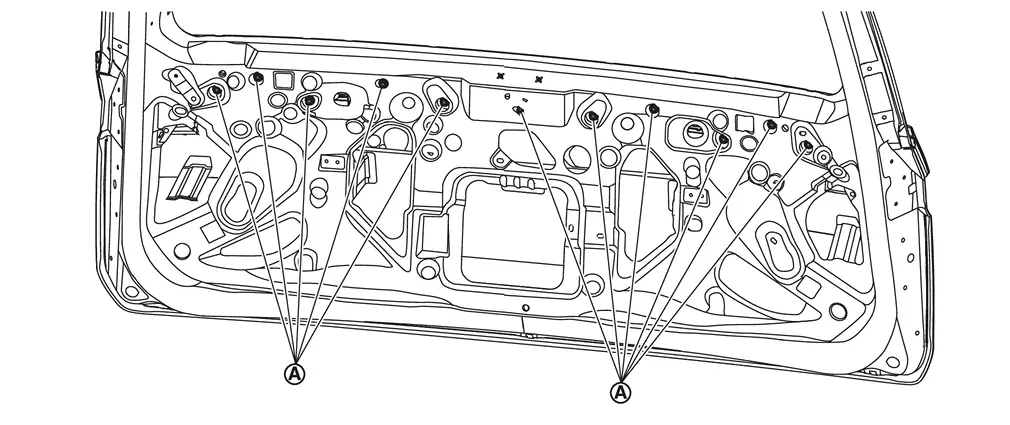
Remove mounting nuts .
Apply protective tapes (A) on the parts to protect it from damage.
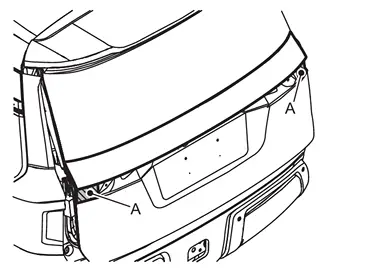
Disengage fixing clips using remover tool (A), and then remove back door finisher upper.
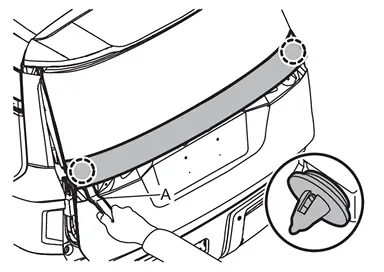
| : Clip |
INSTALLATION
Install in reverse order of removal.
 Exploded View
Back door panel Back door finisher upper Back door finisher Back door opener switch : Clip : Pawl ...
 Emblem
...
Other materials:
Work Flow
CUSTOMER INTERVIEW
Interview the customer if possible, to determine the conditions that exist when the noise occurs. Use the Diagnostic Worksheet during the interview to document the facts and conditions when the noise occurs and any of customer's comments; Refer to Diagnostic Worksheet. This infor ...
Disassembly and Assembly
DISASSEMBLY
Put a matching mark between propeller shaft and flange yoke as shown.
CAUTION:
For matching mark, use paint. Never damage the surface.
Remove snap rings .
Lightly tap bottom of yoke using a copper hammer and remove journal bearing.
CAUTION:
Never damage the yoke.
Remove grease nipp ...
Precautions for Removing Battery Terminal
NOTE:
NOTE:
NOTE:
The removal of 12V battery may cause a DTC detection error.
HOW TO DISCONNECT 12V BATTERY TERMINAL
Disconnect 12V battery terminal according to instruction described below.
Open the hood.
Turn ignition switch to the ON position.
Turn ignition switch to the OFF position with the d ...

0.005