
Nissan Armada 2025-2026 Service and Repair Manual: Disassembly and Assembly
DISASSEMBLY
Put a matching mark between propeller shaft and flange yoke as shown.
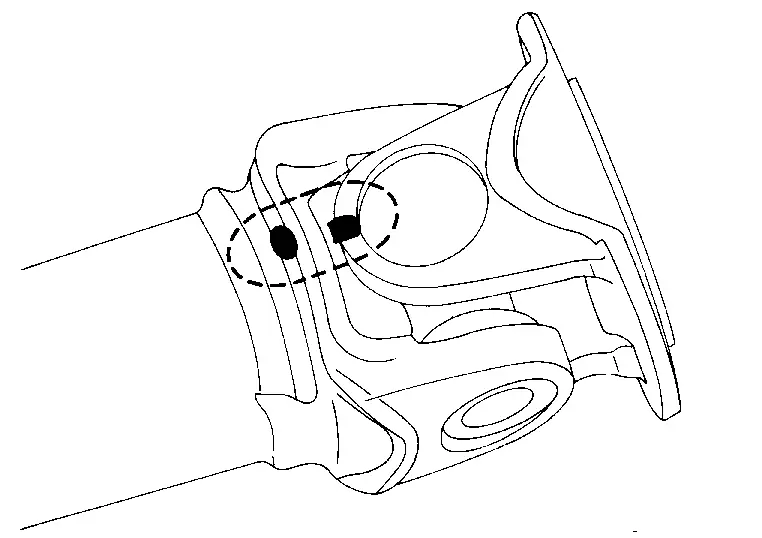
CAUTION:
For matching mark, use paint. Never damage the surface.
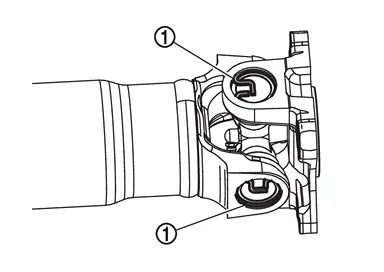
Remove snap rings  .
.
Lightly tap bottom of yoke using a copper hammer and remove journal bearing.
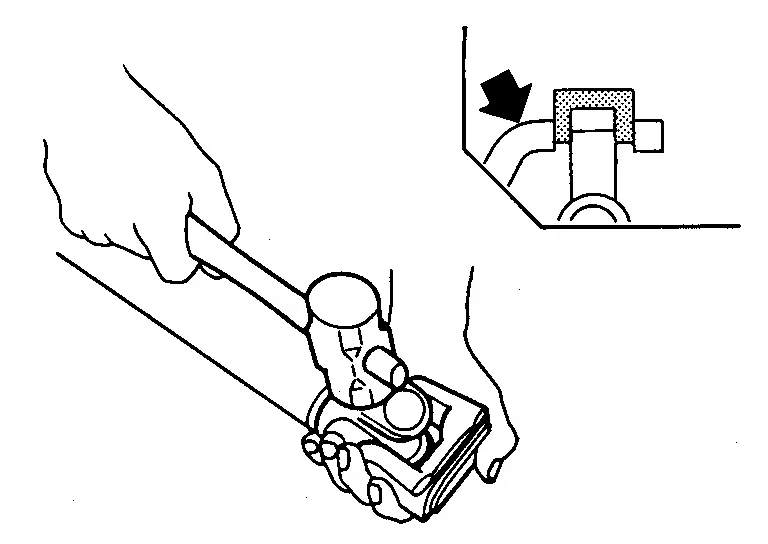
CAUTION:
Never damage the yoke.
Remove grease nipple.
ASSEMBLY
Install journal bearing to journal.
CAUTION:
Never reuse journal and journal bearing.
Always replace journal, journal bearing, and snap rings as a set.
Apply multi-purpose grease to journal bearing.
Install bearing
using a vise.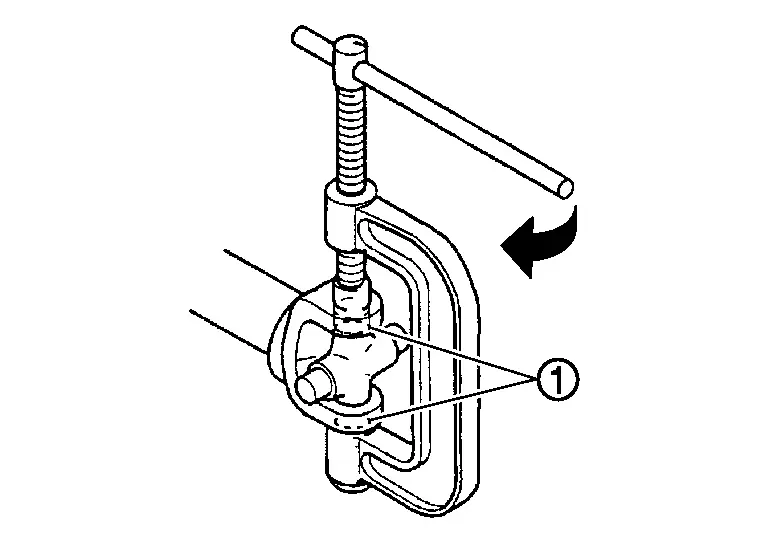
CAUTION:
Never damage bearing or flange yoke.
Install journal to propeller shaft so that grease nipple
on journal portion is in the same direction.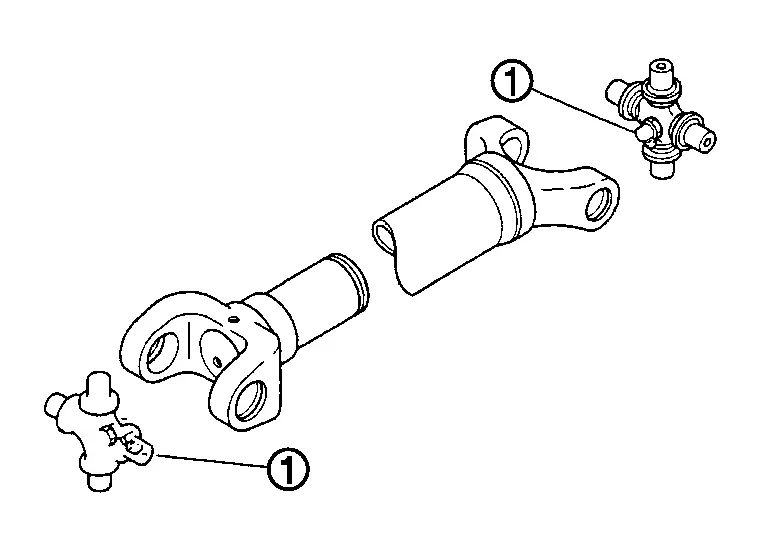
CAUTION:
Never reuse journal.
Install snap rings .
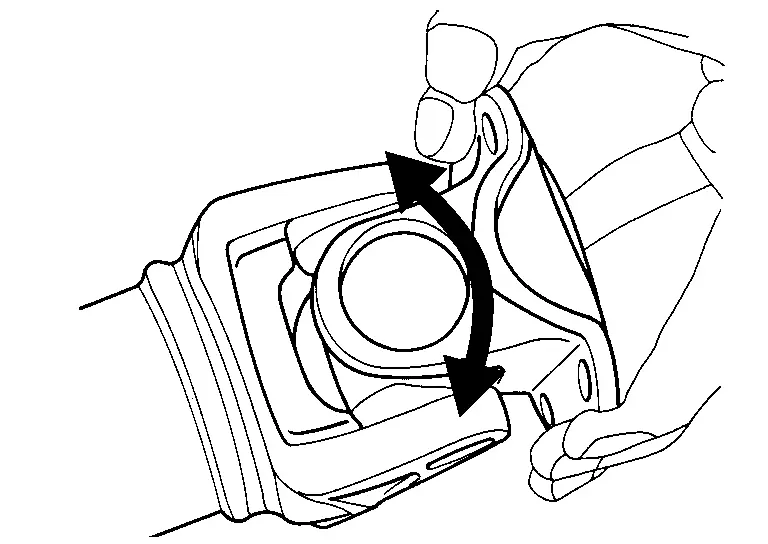
| Joint flex torque | : Refer to Journal. |
 NOTE:
NOTE:
The joint flex torque may not be satisfied soon after the assembly.
Check the journal axial play. Refer to Inspection.
 Removal and Installation
WARNING:
REMOVAL
Shift the transmission to the neutral position, and then release the parking brake.
Put matching mark on rear propeller shaft flange yoke and transmission companion flange.
CAUTION ...
 Inspection
INSPECTION AFTER REMOVAL
Appearance
Propeller Shaft Runout
Propeller shaft runout : Refer to Propeller Shaft Tube.
Journal Axial Play
Journal axial play : Refer to Journal.
Joint Flex Torque
...
Other materials:
Front Floor
WARNING:
Work after lower side dash assembly (LH), outer sill, and inner sill (LH) are removed.
Remove the lower side dash assembly (RH, reusable) from the vehicle for easier installation.
: Drill φ6 mm (0.24 in) hole for the plug welding hole (ultra high strength steel). : Weld the parts onto the ...
Precautions for Removing Battery Terminal
NOTE:
NOTE:
NOTE:
The removal of 12V battery may cause a DTC detection error.
HOW TO DISCONNECT 12V BATTERY TERMINAL
Disconnect 12V battery terminal according to instruction described below.
Open the hood.
Turn ignition switch to the ON position.
Turn ignition switch to the OFF position with the d ...
Exploded View
A/T assembly A/T fluid warmer O-ring : N·m (kg-m, in-lb) : Always replace after every disassembly. : Apply ATF ...

0.005