Preparation
Special Service Tools
 NOTE:
NOTE:
The actual shapes of TechMate tools may differ from those of special service tools illustrated here.
|
Tool number (TechMate No.) Tool name | Description | |
|---|---|---|
|
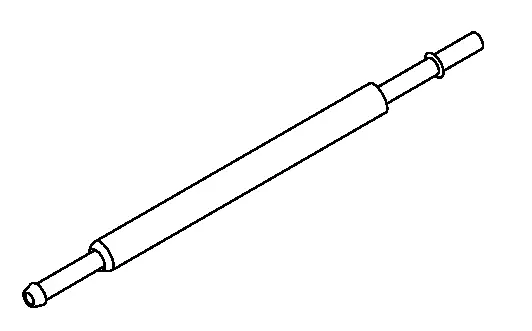
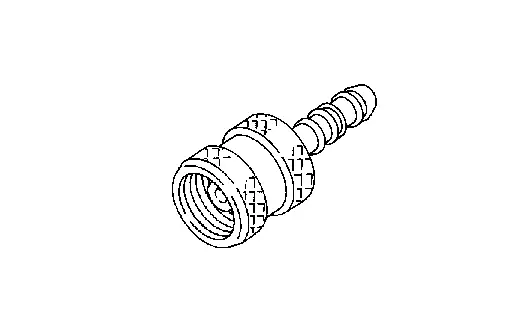
KV10120000 (—) Fuel tube adapter |
|
Measuring fuel pressure |
Commercial Service Tools
|
Tool name (TechMate No.) | Description | |
|---|---|---|
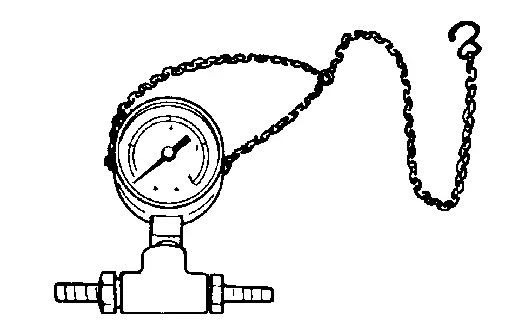
| Pressure gauge |
|
Checking fuel pressure |
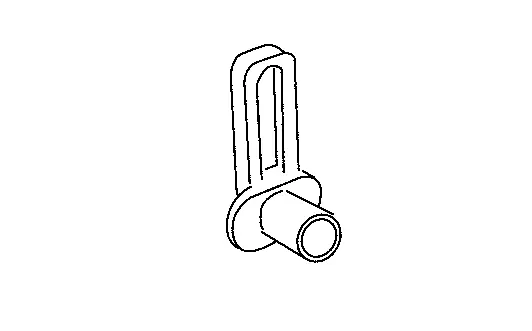
| Quick connector release |
|
Removing fuel tube quick connectors in engine room (Available in SEC. 164 of PARTS CATALOG: Parts No. 16441 6N210) |
|
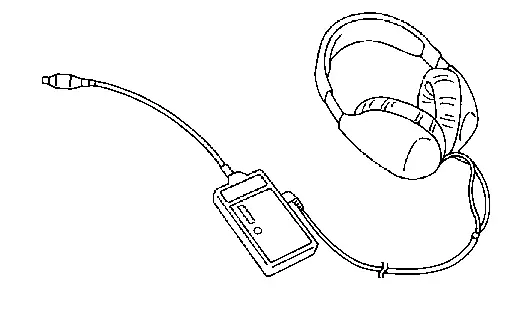
Leak detector i.e.: (NI-41416) |
|
Locates the EVAP leak |
|
EVAP service port adapter i.e.: (NI-41413-OBD) |
|
Applies positive pressure through EVAP service port |
| EVAP service port |
|
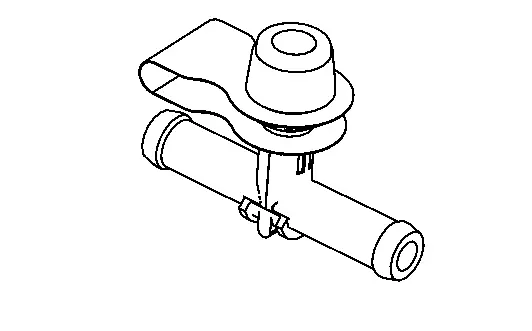
Connects pressure pump to EVAP line (Parts No. 14939 3S500)
This tool is used if the vacuum delay valve does not have EVAP service port. |
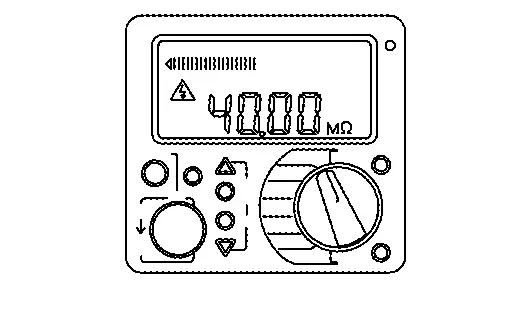
| Insulation resistance tester (Multi tester) |
|
Measuring insulation resistance, voltage, and resistance |
Other materials
Calibration of G Sensor
Description
CAUTION:
Always perform the decel G sensor calibration and side G sensor calibration before driving when the following operation is performed. Refer to Work Procedure.×: Required —: Not required Procedure
Decel G sensor calibration
Side G sensor calibration
Removing/ installi ...
Front Door Assembly
Removal and Installation
CAUTION:
Perform work with 2 workers, because it is heavy weight.
Support door with a proper material and use protective tape or shop cloth to protect door and body from falling and damage when removing and installing door assembly.
REMOVALRemove front door check link m ...
Steering Assist Switch
Removal & Installation
REMOVALRemove instrument pad A. Refer to Removal and Installation.
Remove mounting screws , and remove switch panel from instrument pad A .
Unhook the pawls to remove the switch from the switch panel .
INSTALLATIONInstallation is in the reverse order of removal. ...