How to Handle Battery
CAUTION:
After connecting battery cables, ensure that they are tightly clamped to battery terminals for good contact.
WHERE TO CONNECT JUMPER CABLE WHEN THE 12V BATTERY IS DISCHARGED
CAUTION:
-
If it becomes necessary to start the engine with a booster battery and jumper cables, use a 12-volt booster battery.
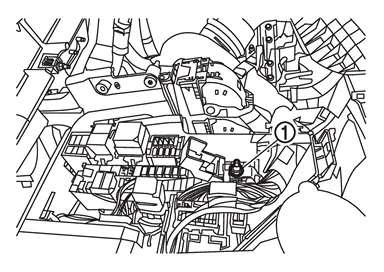

: Positive terminal for connecting jumper cable
(Jumper cable negative terminal is used for connecting to the engine assembly.)
METHODS OF PREVENTING OVER-DISCHARGE
The following precautions must be taken to prevent over-discharging a battery.
-
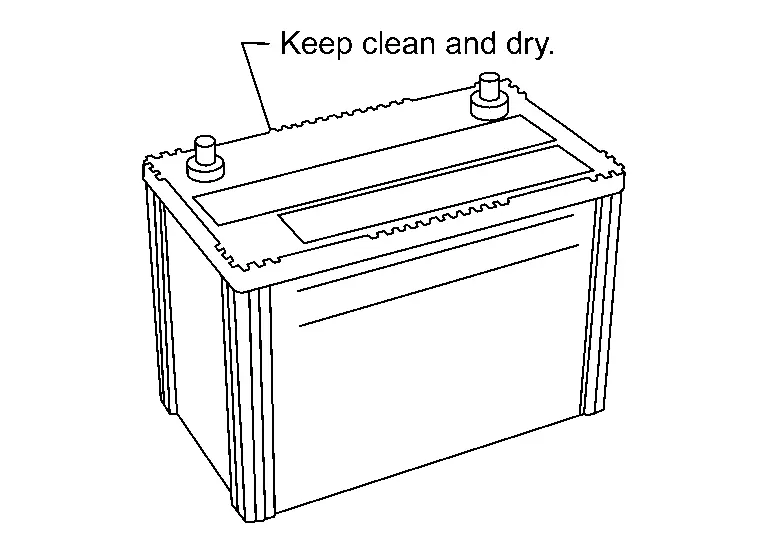
The battery surface (particularly its top) should always be kept clean and dry.
-
The terminal connections should be clean and tight.
-
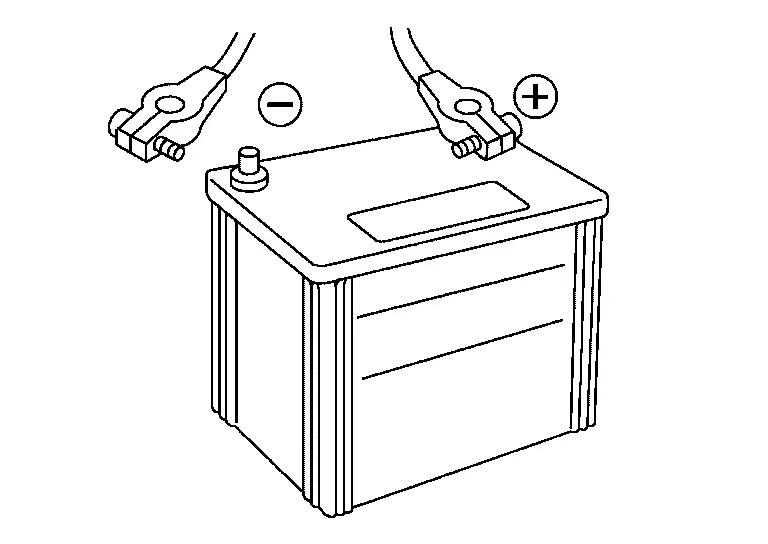
When the vehicle is not going to be used over a long period of time, disconnect the battery cable from the negative terminal. (If the vehicle has an extended storage fuse switch, turn it off.)
Work Flow
BATTERY DIAGNOSIS WITH EXP-800 NI OR GR8-1200 NI
To diagnose and confirm the condition of the battery, use the following special service tools:
-
EXP-800 NI Battery and electrical diagnostic analyzer
-
GR8-1200 NI Multitasking battery and electrical diagnostic station
 NOTE:
NOTE:
Refer to the applicable instruction manual for proper battery diagnosis procedures.
BATTERY DIAGNOSIS WITHOUT EXP-800 NI OR GR8-1200 NI
VISUAL INSPECTION
-
Check battery case for cracks or bends.
-
Check battery terminals for damage.
Are these inspection results normal?
YES>>GO TO 2.
NO>>Replace battery. Refer to Removal and Installation.
CAPACITY TEST
Check battery voltage.
Is the voltage 12.35 V or more?
YES >>GO TO 3.
NO>>GO TO 4.
LOAD TEST
-
Check battery type and determine the specified current using the table.
Type Current (A) L4–EFB 760 -
Read load tester voltage when specified discharging current flows through battery for 15 seconds.
NOTE:
Follow tool manufacturers operating instructions when performing load test.
Is the voltage 10 V or more?
YES >>GO TO 5.
NO>>Replace battery. Refer to Removal and Installation.
CHARGE
Charge battery, following the instructions below:
-
Constant current charging may damage batteries. Therefore, charge battery by constant voltage charge mode with the maximum voltage set at 15 V.
-
Charge at least 6 hours or until the charge current becomes 4 amps or less.
>>
GO TO 3.
CHECK BATTERY
With CONSULT
-
Ignition switch ON.
-
Select “DATA MONITOR� in “IPDM E/R� using CONSULT
-
Check that “Battery discharge count� indication.
Monitor item Indication Battery discharge count Less than 65,000
Is the inspection result normal?
YES>>INSPECTION END.
NO>>Replace battery. Refer to Removal and Installation.
Other materials
Door Does Not Lock/unlock with One Touch Sensor and Intelligent Key
Description
All doors do not lock/unlock using one touch sensor and Intelligent Key.SYMPTOM TABLE (BOTH INTELLIGENT KEYS HAVE THE SAME SYMPTOMS) Door lock operation (remote keyless entry) Door lock operation (one touch sensor or request switch of front/rear/back door) or trunk/back door open operat ...
Rear Pillar Speaker
Exploded View
Rear pillar speaker
Bracket
: vehicle front
Removal & Installation
REMOVALRemove the luggage side lower finisher. Refer to Removal and Installation.
Remove rear pillar speaker mounting screws , and then remove rear pillar speaker .
Remove bracket mounting bolts , an ...
Steering Assist Switch
Removal & Installation
REMOVALRemove instrument pad A. Refer to Removal and Installation.
Remove mounting screws , and remove switch panel from instrument pad A .
Unhook the pawls to remove the switch from the switch panel . 
INSTALLATIONInstallation is in the reverse order of removal. ...