
Nissan Armada 2025-2026 Service and Repair Manual: Disassembly and Assembly
CAUTION:
DISASSEMBLY
Remove armrest (LH seat).Disengage fixing pawls using a remover tool (A), and then remove armrest hinge cover RH.
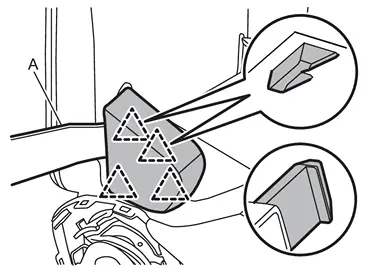
 | : Pawl |
 and armrest hinge mounting nuts
  .
.
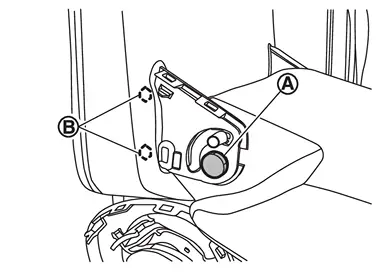
 from armrest hinge
  .
.
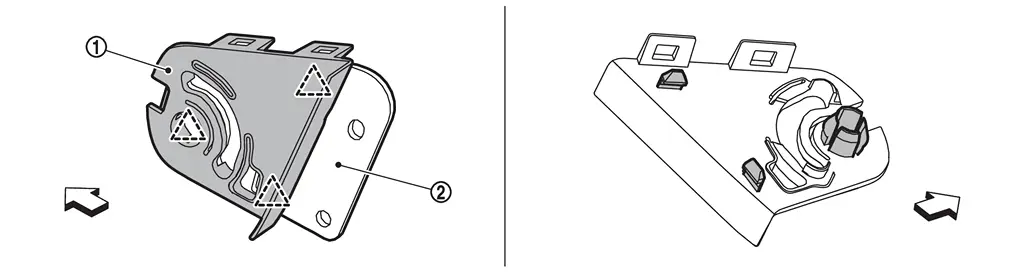
| : Pawl |
 | : Vehicle front |
Disengage fixing pawls using a remover tool (A), and then remove armrest hinge cover LH (LH seat).
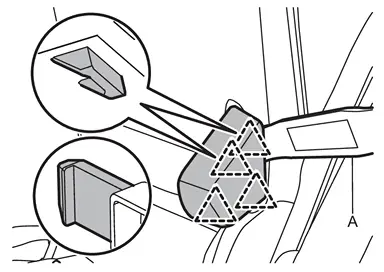
| : Pawl |
Disengage fixing pawls, and then remove armrest hinge bracket LH (LH seat).
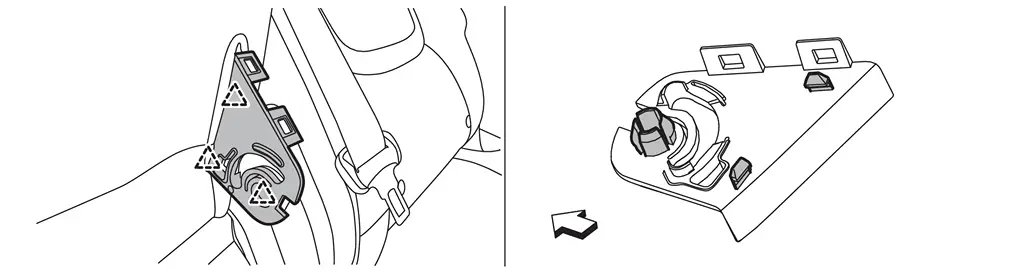
| : Pawl |
| : Vehicle front |
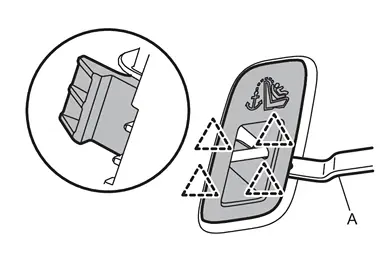
| : Pawl |
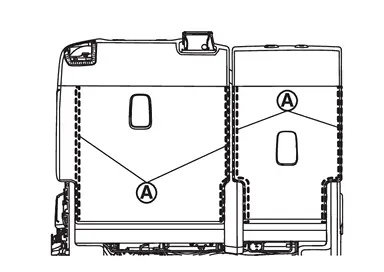
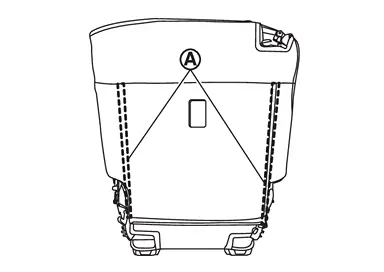
Disengage seatback trim fixing retainer(s) .
LH seat
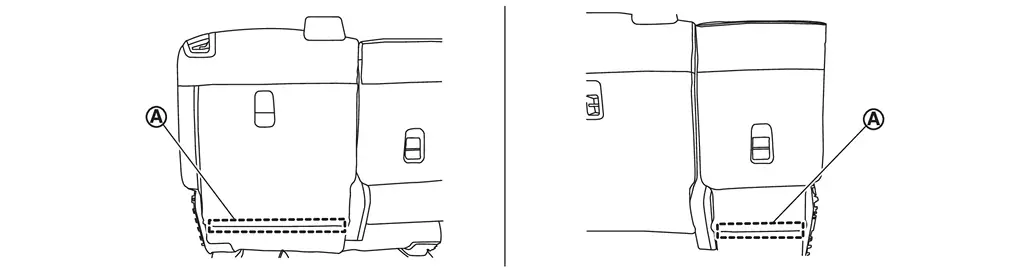
RH seat
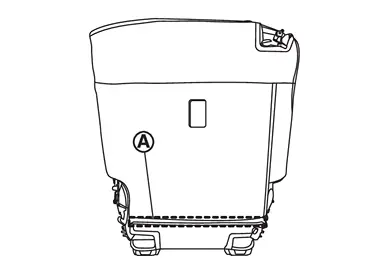
Remove seatback lever unit.Apply protective tape (A) to prevent damage.
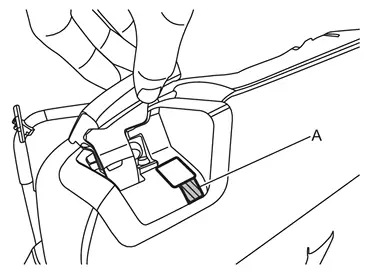
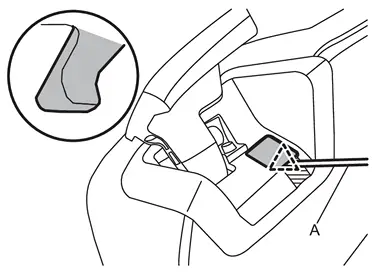
| : Pawl |
.
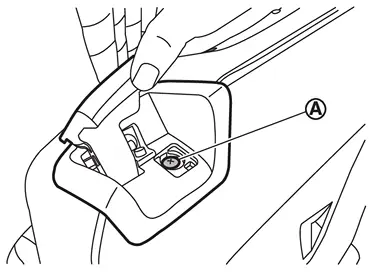
Remove seat belt retractor cover (LH seat).Disengage fixing pawls using a remover tool (A), and then remove seat belt retractor cover cap.
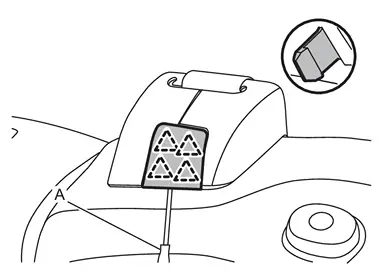
| : Pawl |
.
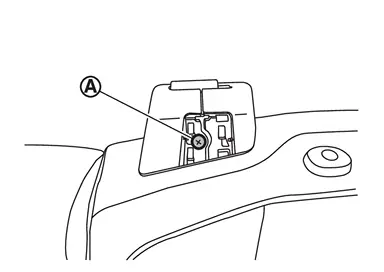
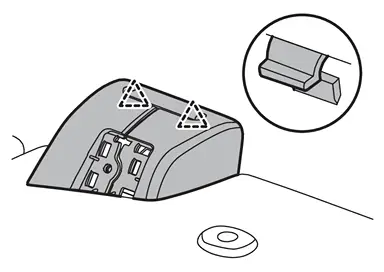
| : Pawl |
Open seatback trim fixing fastener(s) .
LH seat
RH seat
CAUTION:
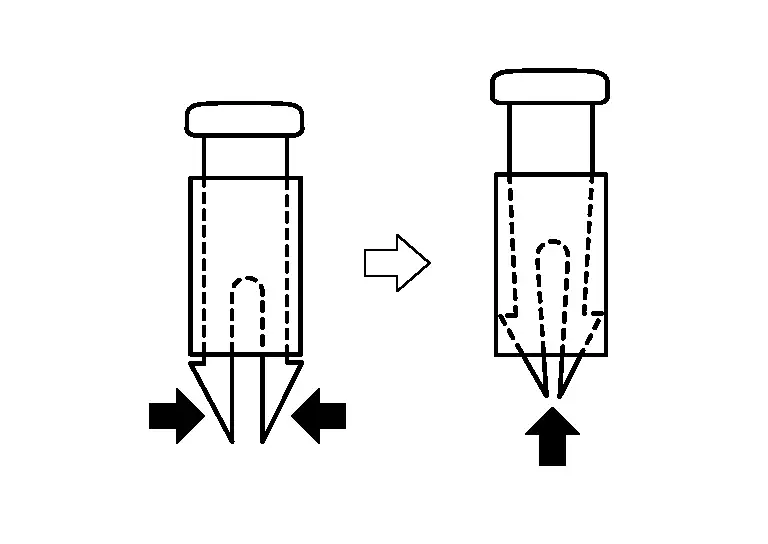
Remove center seatback trim assembly (LH seat).Disengage fixing clips and metal clip, and then remove center seatback panel.
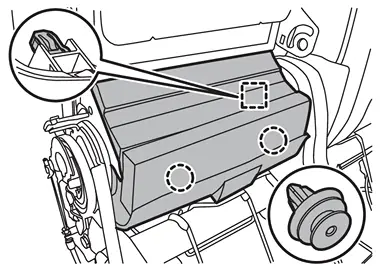
 | : Clip |
 | : Metal clip |
Disengage harness fixing clips of seat cushion, and then disconnect harness connectors.
CAUTION:
Before performing removal operation, check the installation position of harness connectors and harness fixing clip.
Remove seatback trim and pad as a set from seat frame assembly.
LH seat
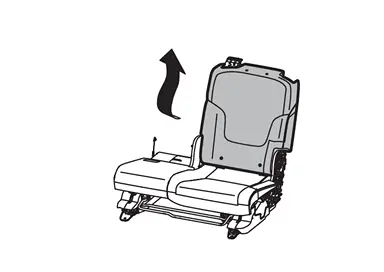
RH seat
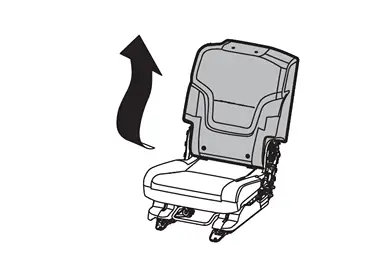
Remove hog rings, and then separate seatback trim and pad.
CAUTION:
Never disassemble seatback pad and seatback heater (if equipped).
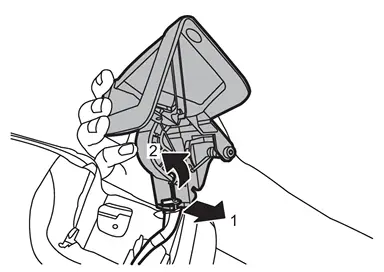
Remove center seatback frame (LH seat).Disconnect seatback lever cable fixing portions according to numerical order 1→2 indicated by arrows as shown in the figure.
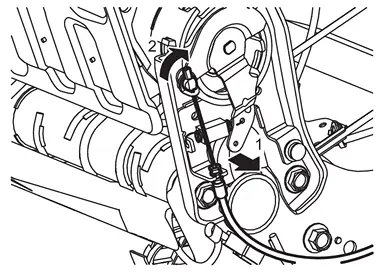
, and then remove center seatback frame.
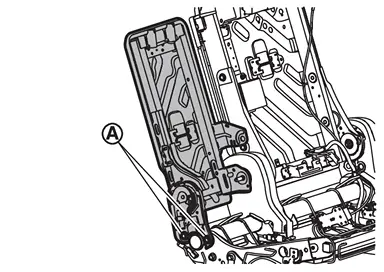
Remove center seatback hinge cover RH (LH seat).Apply protective tape (A) to prevent damage.
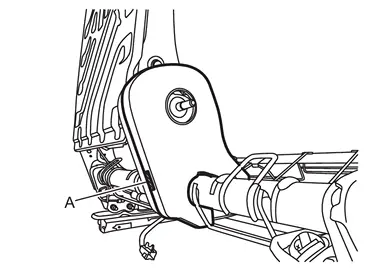
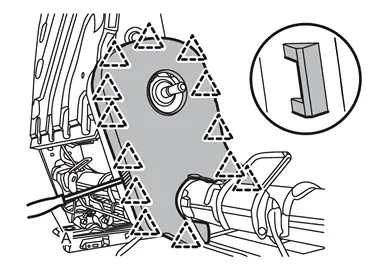
| : Pawl |
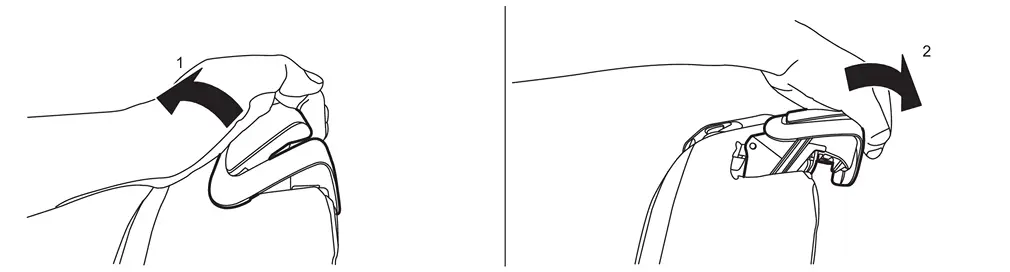
Remove center seatback hinge cover LH according to indicated by arrow as shown in the figure (LH seat).
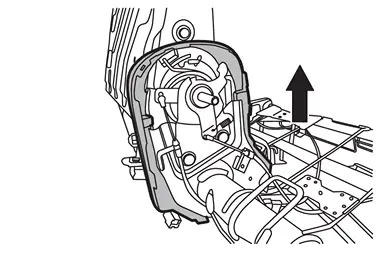
Remove the following parts after removing seatback trim and pad from seat frame assembly.
Center seat belt guide.
Seat belt guide cap.
Seatback lever unit escutcheon.
ASSEMBLY
CAUTION:
Never reuse hog ring after disassembly, using new hog ring.
Always install hog ring in position.
Use new hog ring if removed or crimped unsuccessfully.
Be installed harnesses and harness fixing clips in position.
 Second Seatback
...

Other materials:
Removal & Installation
REMOVAL
Remove the luggage side lower finisher. Refer to Removal and Installation.
Remove rear pillar speaker mounting screws , and then remove rear pillar speaker .
Remove bracket mounting bolts , and then remove bracket .
INSTALLATION
Installation is the reverse order of removal. ...
Exploded View
Rear door panel Grommet Rear door striker TORX bolt Rear door protector Rear door check link Rear door hinge (lower) Rear door hinge (upper) Rear door weather-strip Rear door parting seal lower 2 Rear door parting seal lower 1 Rear door parting seal front clip Rear door parting seal fr ...
Exploded View
Ball seat Axle housing Bushing Baffle Back plate Hub bolt Wheel hub and bearing assembly Disc rotor Wheel hub lock nut Cotter pin Tightening must be done following the installation procedure. Refer to Removal and Installation. : Vehicle front : N·m (kg-m, ft-lb) : Always replace after ...

0.0065