
Nissan Armada 2025-2026 Service and Repair Manual: Door Hemming
(a) Grind the edge of the door panel using 3M Cubitron II Abrasive Fibre Disc #33415 (grade 60+) or equivalent.
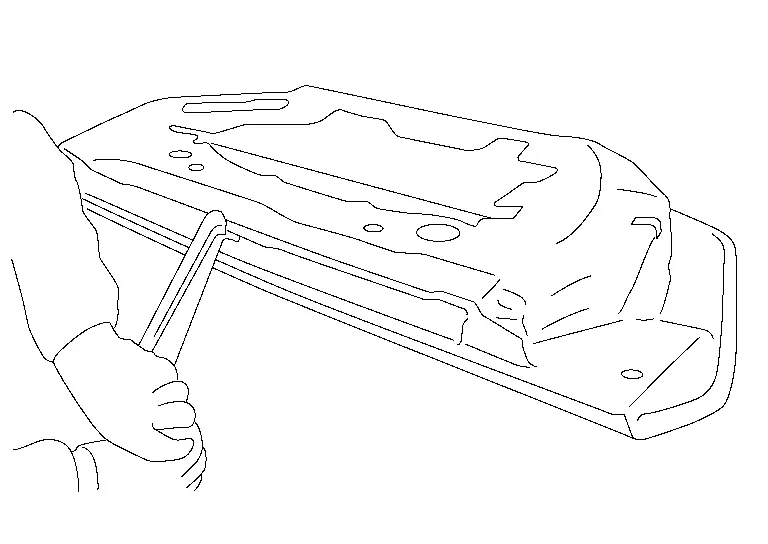
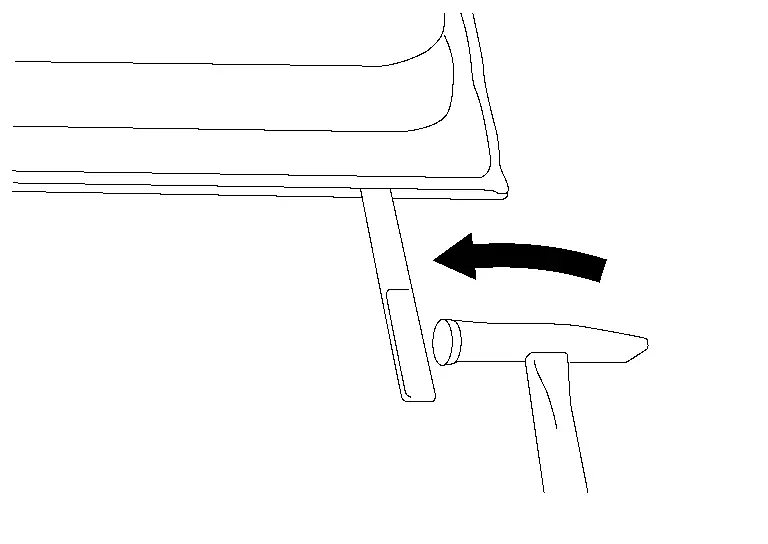
(b) Insert the tip of a sharp-edged tool, such as a chisel, into the clearance at door outer panel. Use a hammer to tap the tool inserted into the clearance from the side to separate the door inner panel and door outer panel.
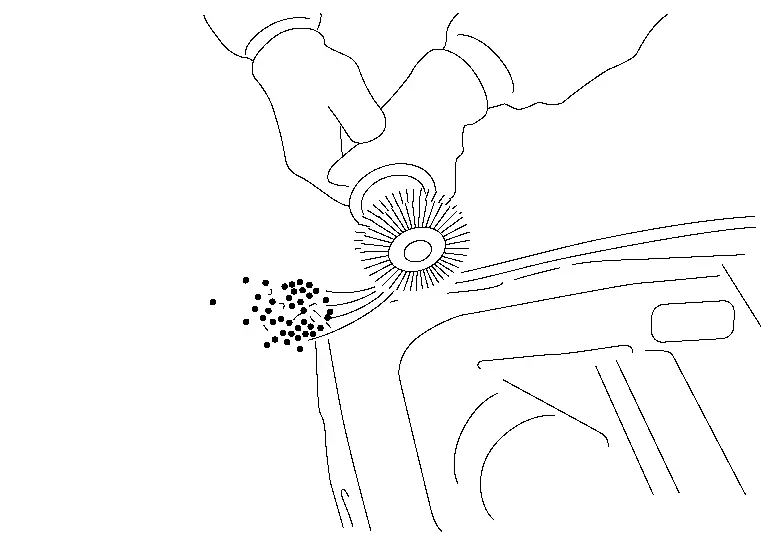
(c) Remove the adhesive adhering to the door inner panel flange area surface.
(d) Adjust the position where the new door outer panel and door inner panel overlap. Once these are positioned correctly, fix them with clamps to prevent them from being displaced.
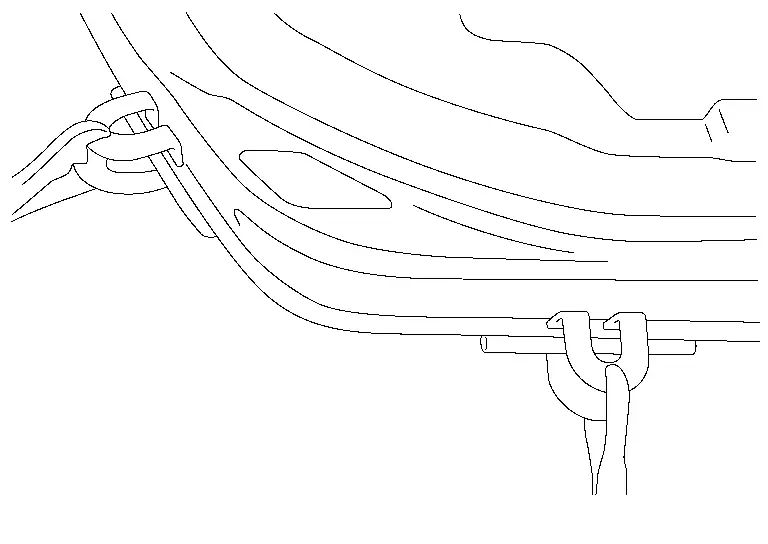
Apply new adhesive to both door outer panel and door inner panel.
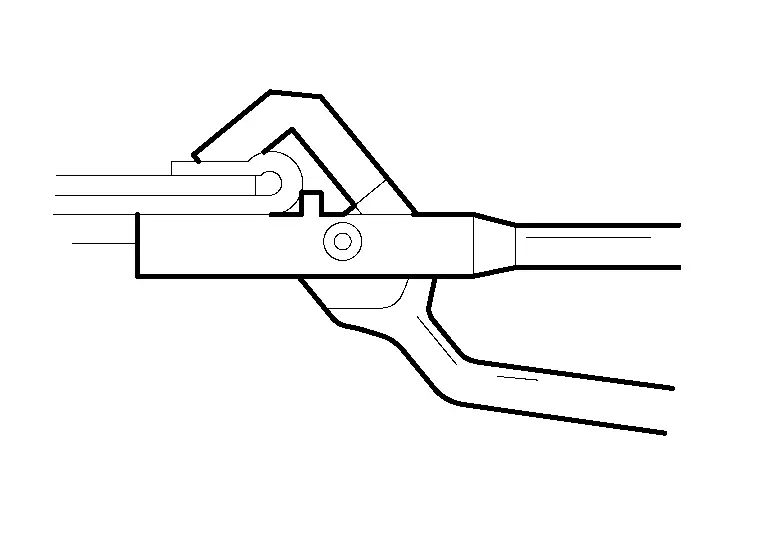
(e) Hold the dolly on the corners of the flange at door outer panel. Tap the dolly with a hammer to bend the door outer panel flange area gradually.
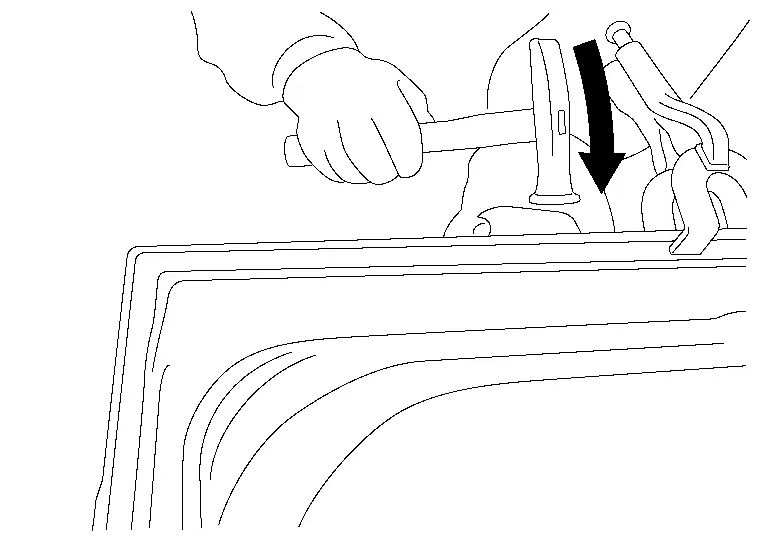
(f) Bend with hammer until the angle of the whole circumference of the door outer panel flange area becomes approximately 45°.
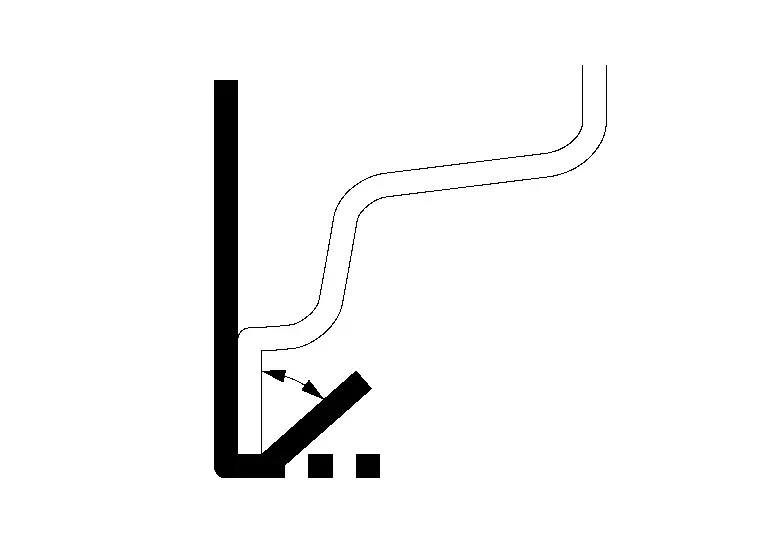
(g) Check that the position of the door outer panel and door inner panel is not displaced while tapping it with a hammer to bend it until the angle of whole circumference of the door outer panel flange area becomes approximately 15°.
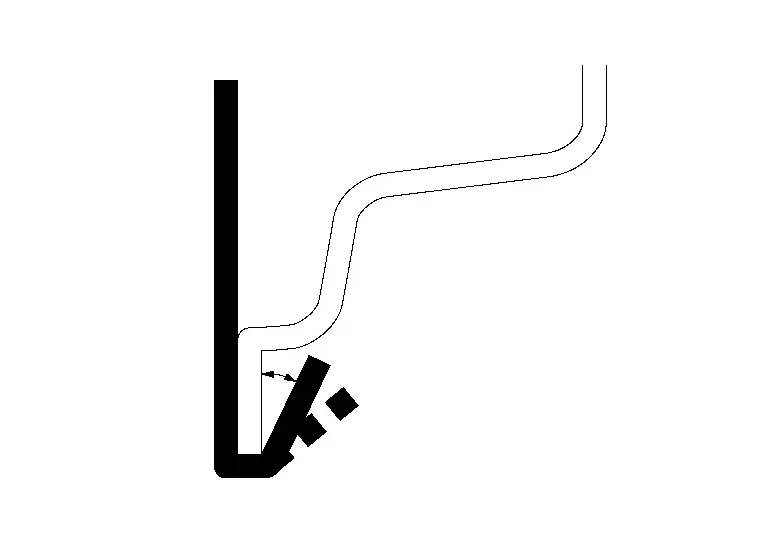
(h) Check that the position of the door outer panel and door inner panel is not displaced while taping it with a hammer to bend it until the angle of the whole circumference of the door outer panel flange area becomes approximately 0°.
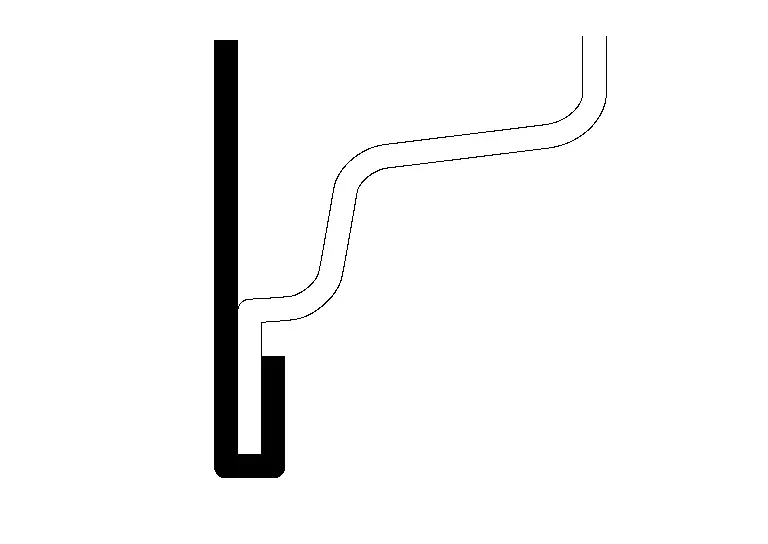
(i) Use the hemming tool [SST: KV991-10000] to adjust the shape of the whole circumference of the door outer panel flange area.
(j) Seal up the area around the hemmed end of the flange.
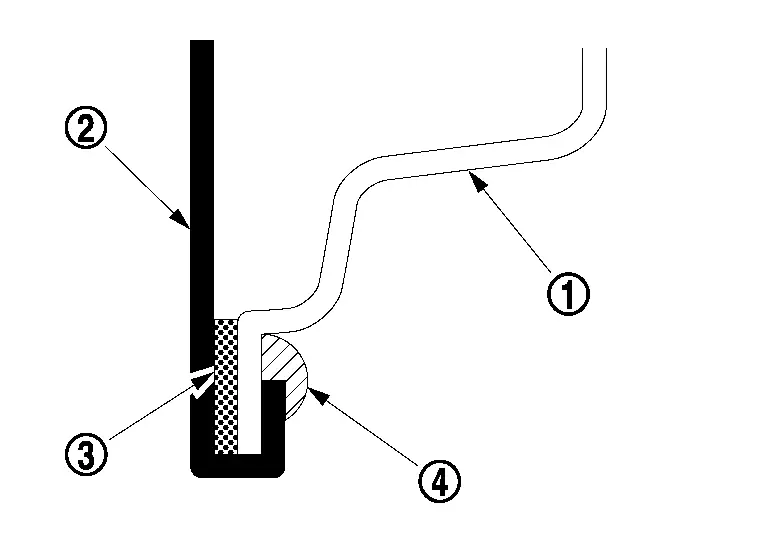
 | Door inner panel |
 | Door outer panel |
 | Adhesive |
 | Sealant |
 Replacement of Panel
Panel replacement work includes replacement of the front fenders and hood which are installed by bolts, and replacement of rear fenders and the roof which are welded. This section explains panel repla ...
 Adjustment Fitting of Front Fender
Fitting adjustment means adjustment of clearance or gradient of the hood, door, front fender, etc. with respect to its adjacent part, and adjustment of gradient at the press line.
Adjustment of front ...
Other materials:
Removal and Installation
WARNING:
REMOVAL
Remove front bumper fascia. Refer to Removal and Installation.
Disconnect the harness connector from the distance sensor.
Mounting the distance sensor bracket Remove the bolts and remove the distance sensor bracket from the front bumper reinforcement.
Remove the distance sensor m ...
Inspection
WARNING:
FLUID LEAKAGE
FLUID LEVEL
CAUTION:
Never start engine while checking fluid level.
Install filler plug on transfer and then tighten to the specified torque.
CAUTION:
Never reuse filler plug.
Specified torque : 37.5 N·m (3.8 kg-m, 28 ft-lb) ...
Exploded View
Drain plug Drain plug washer Oil pan (lower) Comply with the installation procedure when tightening. Refer to Removal and Installation. : N·m (kg-m, ft-lb) : N·m (kg-m, in-lb) : Always replace after every disassembly. : Sealing point ...

0.0055