Disassembly and Assembly
DISASSEMBLY
Remove inside and outside seat cushion finisher outer. Refer to Disassembly and Assembly.
Disengage seatback board fixing retainer  .
.
-
With 4way power seat system
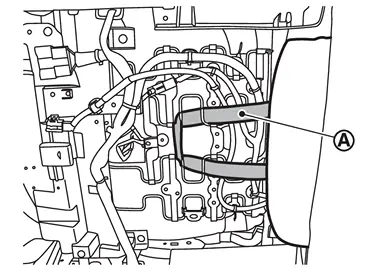
-
With 8way power seat system
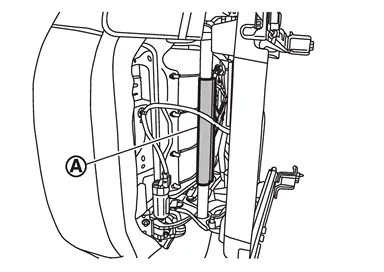
Disengage seat cushion trim fixing retainers .
-
With 4way power seat system
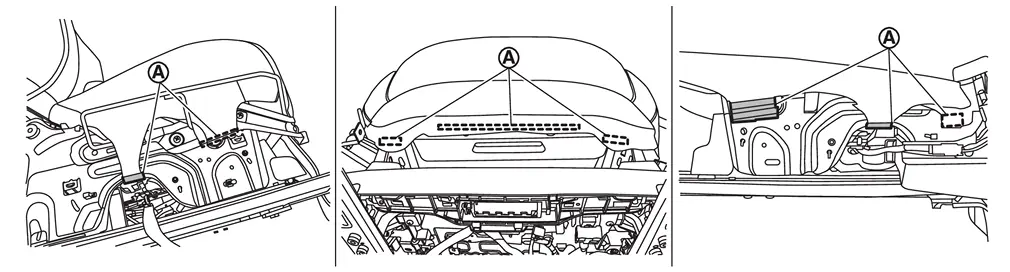
-
With 8way power seat system
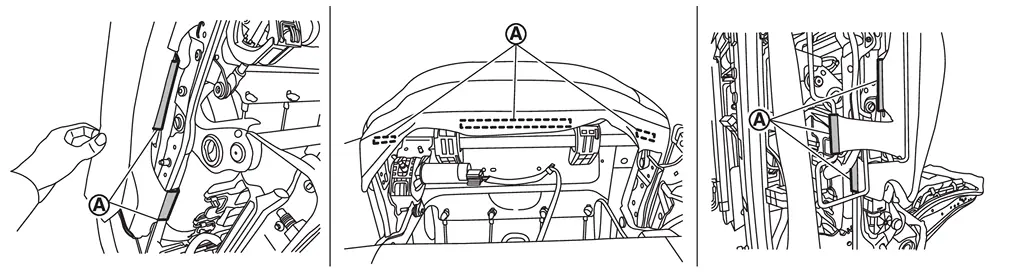
Disengage seat cushion trim fixing retainers .
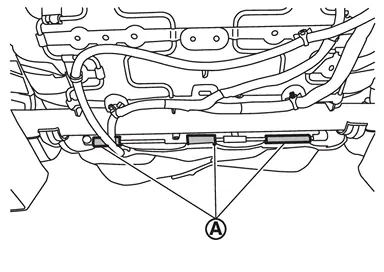
Disengage harness fixing clip of seat cushion, and then disconnect harness connector.
CAUTION:
Before performing removal operation, check the installation position of harness connector and harness fixing clip.
Remove seat cushion trim and pad as a set from seat frame assembly.
Remove hog rings, and then separate seat cushion trim and pad.
CAUTION:
-
Before removing hog rings, check its position because it should be installation in position.
-
Never disassemble seat cushion pad and seat cushion heater (if equipped).
-
Never disassemble seat cushion pad
 and seat cushion bellows (if equipped).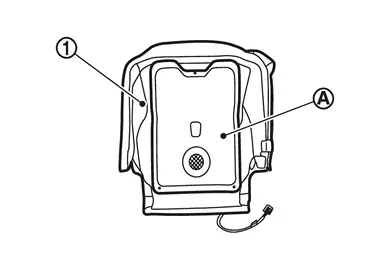
Remove the following parts after removing seat cushion trim and pad from seat frame assembly.
-
Seat cushion blower motor (if equipped). Refer to Removal and Installation.
-
Seat cushion suspension.
-
Seat cushion trim bracket.
Remove occupant detection system control unit (passenger seat).Disconnect harness connector from occupant detection system control unit. Remove fixing screws, and then remove occupant detection system control unit.
Remove driver seat control unit (if equipped). Refer to Removal and Installation.
Remove passenger seat control unit (if equipped). Refer to Removal and Installation.
Remove seat cushion harness bracket.Disengage harness fixing clips from seat cushion harness bracket.
CAUTION:
Before performing removal operation, check the installation position of harness connectors and harness fixing clips.
Remove fixing screws, and then remove seat cushion harness bracket.ASSEMBLY
Note the following items, and then assemble in the reverse order of disassembly.
CAUTION:
-
If occupant detection system control unit of passenger seat is replaced, perform the zero point reset operations. Refer to Description.
-
If seat frame assembly is replaced, perform the zero point reset. Refer to Description.
-
Always install hog ring in position.
-
Never reuse hog ring after disassembly, using new hog ring.
-
Use new hog ring if removed or crimped unsuccessfully.
-
Be installed harnesses and harness fixing clips in position.
-
If harnesses clip be broken, replace with new clip and it install in position where marked before removing clip.
Other materials
Spark Plug
Exploded View
Bank 1 side
Ignition coil
Spark plug
Rocker cover
Rocker cover gasket
Blow-by hose 1 (bank 1)
Clamp
Blow-by hose 2 (bank 1)
Intake camshaft position sensor
Exhaust camshaft position sensor
Crankcase pressure sensor
Comply ...
Low Tire Pressure Location Indicator Continues Displaying
Description
The low tire pressure location indicator continues displaying though low tire pressure warning lamp turns/stays OFF.
Diagnosis Procedure
CHECK TIRE PRESSURE
Ignition switch ON.
CAUTION:
Never start the engine.
Check the tire pressure for all wheels and adjust to the specified value. ...
Normal Operating Condition
Description
SHIPPING MODE
Shipping mode inhibits battery power consumption during transportation or storage of the vehicle. Vehicle is set to shipping mode before being shipped from the factory.
When ignition switch is OFF, BCM operates shipping mode.
For shipping mode cancel operation, refer t ...