Exploded View
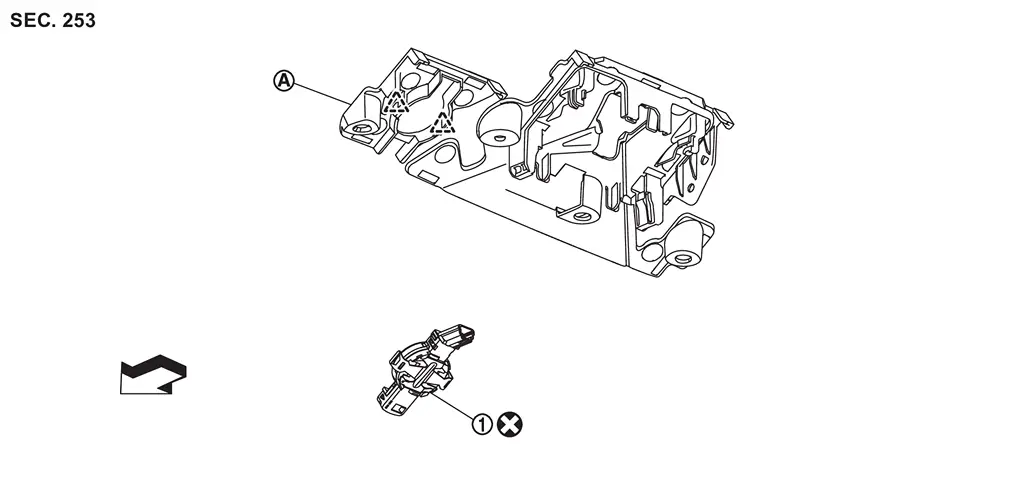
 |
Light & rain sensor | ||||
 |
Bracket | ||||
 |
: Pawl | ||||
| : vehicle front | |||||
 |
: Always replace after every disassembly. | ||||
Removal and Installation
REMOVAL
Remove cover. Refer to Removal and Installation.
Disconnect light & rain sensor harness connector.
Disengage light & rain sensor fixing pawls, and then peel off light & rain sensor.
INSTALLATION
Note the following items, and then install in the reverse order of removal.
CAUTION:
-
Never reuse light & rain sensor. Always replace it with a new one when it is removed.
-
Never use light & rain sensor that is dropped.
-
Before installation, wipe off silicon pad remaining on windshield glass surface and clean sensor installation portion of windshield glass.
-
Just before installation, remove sensor protective cover. Never touch silicon pad
after removal of sensor protective cover. And when installing light & rain sensor, never allow silicon pad to touch bracket and other parts.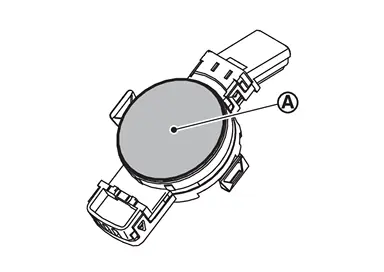
-
Install light & rain sensor so that connector faces vehicle upward.
-
Compress lock spring portions
vertically to windshield glass surface and fully engage both ends of lock spring.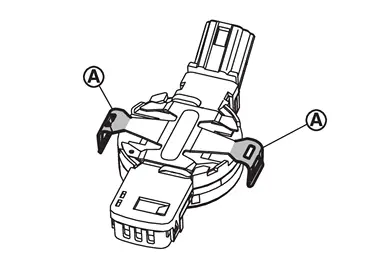
-
After installation, perform check light & rain sensor. Refer to Inspection.
Inspection
CAUTION:
Clean windshield glass and front wiper refill so that windshield glass may not be damaged by dust, etc.
Push ignition switch to ON position and set combination switch to AUTO.
Spray water mist toward light & rain sensor.
If front wiper does not operate, perform diagnosis of light & rain sensor. Refer to Component Function Check.
Other materials
Precautions on supplemental restraint system
This section describes the Supplemental Restraint System (SRS) in the Nissan
Armada and provides essential safety information regarding its operation. The Nissan
Armada is equipped with multiple advanced protection systems designed to work together
with seat belts to reduce the risk of injury ...
Automatic Back Door Anti-Pinch Function Does Not Operate
Diagnosis Procedure
CHECK DTC WITH AUTOMATIC BACK DOOR CONTROL UNIT
Check that DTC is not detected with automatic back door control unit.
Is the inspection result normal?
YES>>
GO TO 2.
NO>>
Refer to DTC Index.
CHECK TOUCH SENSOR LH
Check touch sensor LH.
Refer to DTC Diagnosis Procedu ...
Inverter Unit
Exploded View
Bracket LH
Inverter unit
Bracket RH
:N·m (kg-m, in-lb)
Removal and Installation
REMOVALRemove luggage side lower finisher LH. Refer to Removal and Installation.
Disconnect inverter unit harness connector.
Remove inverter unit mounting nuts.
Remove the bracket from the i ...