
Nissan Armada 2025-2026 Service and Repair Manual: Preparation for Service Panel Installation
After removing the damaged panel, two operations are needed. Preparation for service panel installation and finishing of the panel mounting portion of the body.
(1) FINISHING BODY
(a) Grind clean around the area where the spot-welded panel has been removed. Thoroughly remove rust and other contamination from the mating surface.
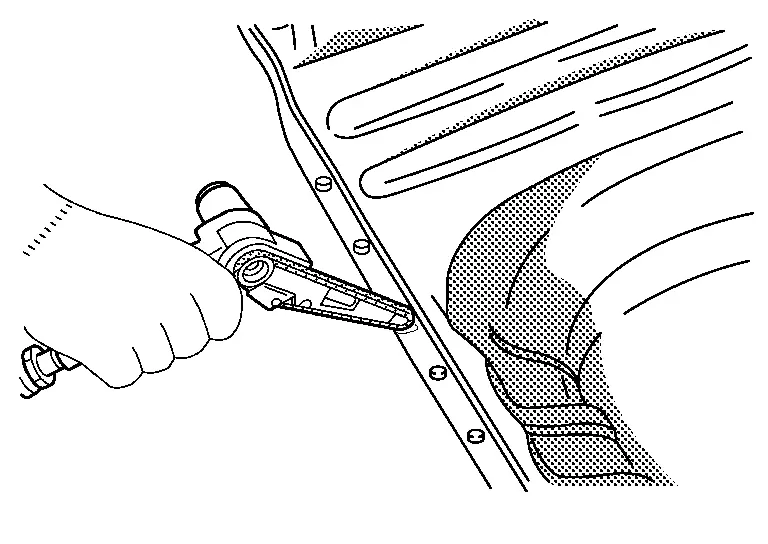
Also, remove paint from the portion to be welded.
Any brazing metal should be thoroughly removed, otherwise welding will be impaired.
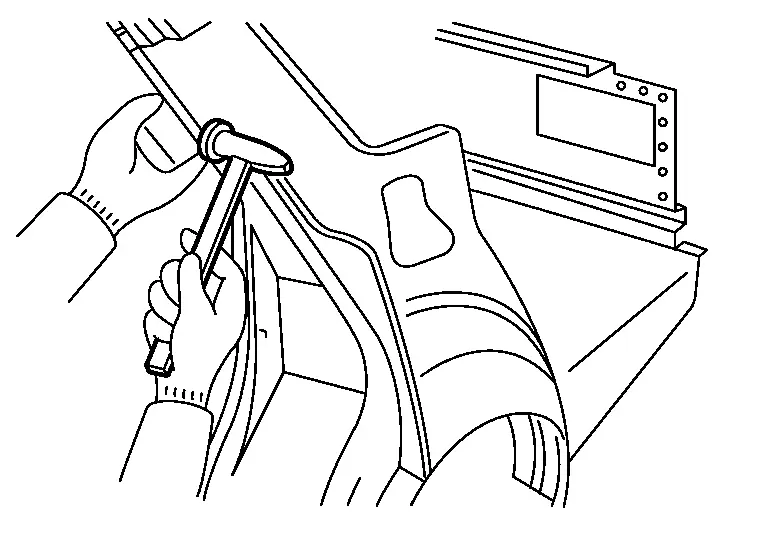
(b) Irregularities on the panel mating surface prevent the panel from being welded correctly. Using a hammer and dolly, correct the shape of the mating surface.
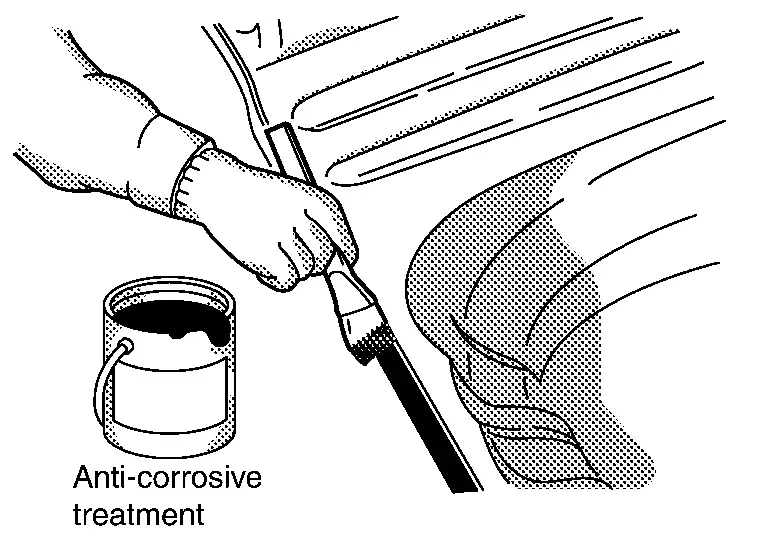
(c) Apply weld through primer to flanges or areas where welding will be performed. Apply 3M 5917 Weld- Thru II (or equivalent) and follow product directions for MAG welding in places that cannot be painted in the subsequent painting process.
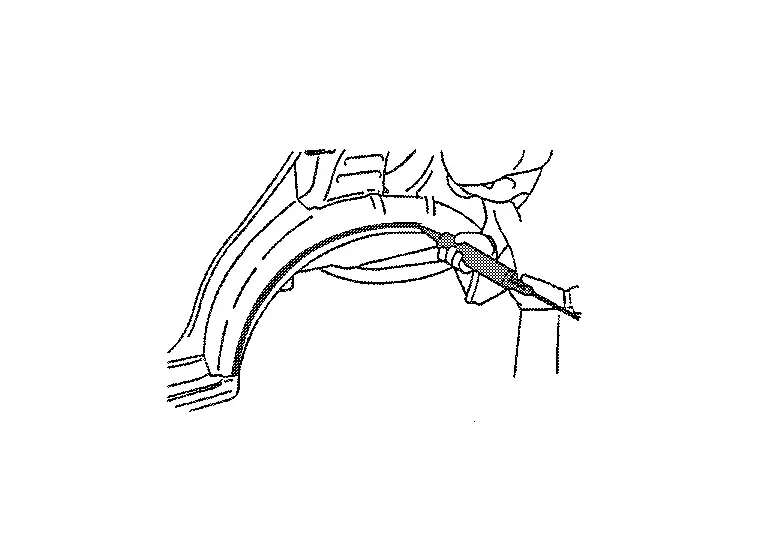
(d) If it is impossible to apply sealer after welding the service panel, sealer should be applied before welding.
(2) PREPARATION FOR SERVICE PANEL INSTALLATION
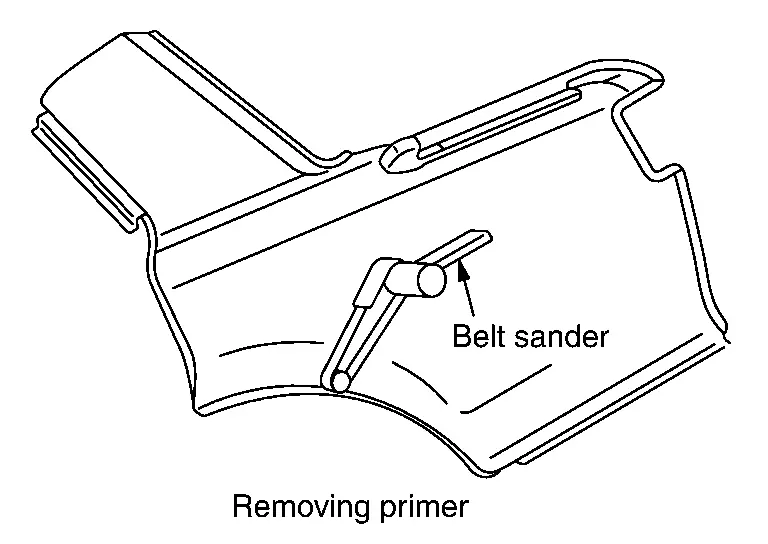
(a) The service panel is coated with primer. Remove the primer and apply spot sealer at the portions to be welded. Do not allow the spot sealer to be forced out of the mating surface of the panel.
(b) Drill the service panel for plug welding, if necessary.
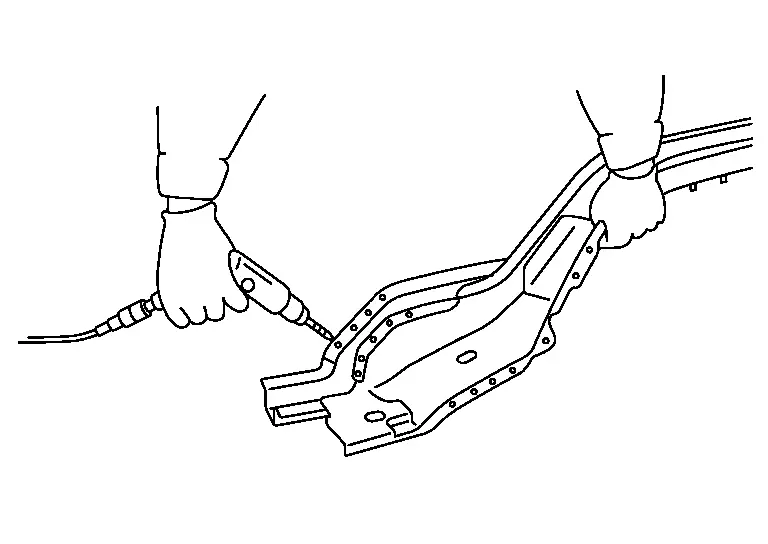
Refer to the Body Repair Manual of applicable model for the number of holes to be drilled for plug welding. The number of holes must be the same as the number of original spot welds. The drill holes must be spaced equally. Drill hole diameter must be changed according to panel thickness to maintain welding strength.
| Panel thickness | Plug hole dia. |
|---|---|
| Below 1.0 mm (0.039 in) | Below 5 mm (0.20 in) |
1.0 mm - 2.4 mm (0.039 in - 0.094 in) | 6.5 mm - 10 mm (0.256 in - 0.394 in) |
| Over 2.4 mm (0.094 in) | Over 10 mm (0.39 in) |
(3) UNDERSTANDING SERVICE PARTS
This is important in judging when the panel should be replaced, or in determining conditions for efficient operation.
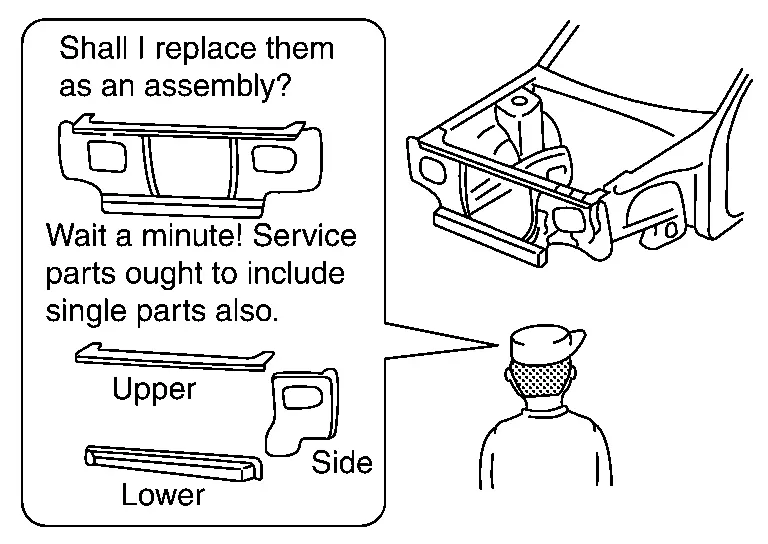
Service parts should be prepared with reference to the Parts Catalog for each model.
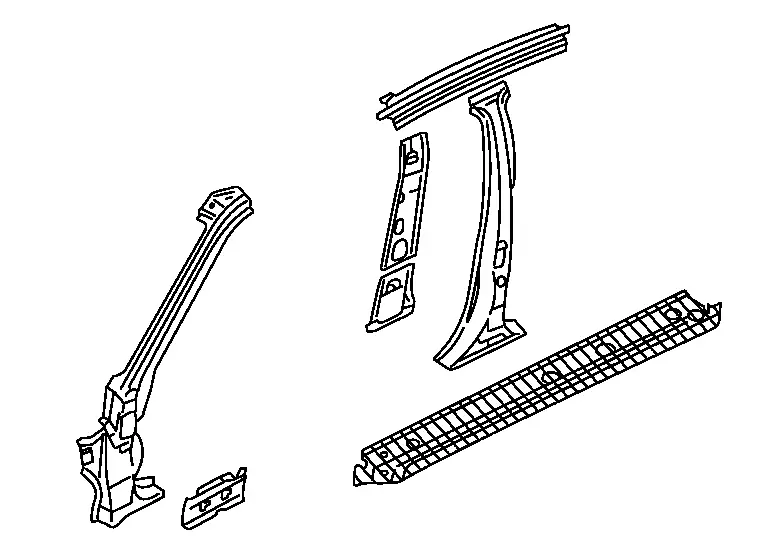
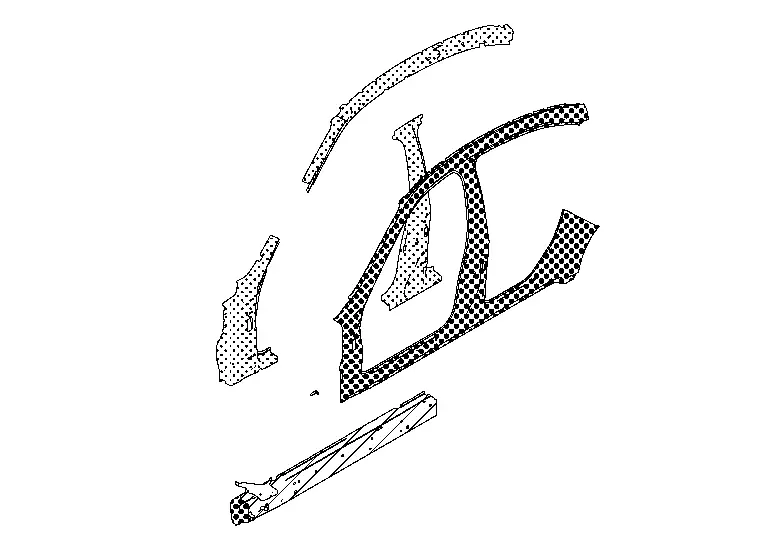
The integral type outer body side panel consists of two types of service panels. These service panels need to be cut for use depending on the location and degree of the damage.
| Separate type outer body side panel | Integral type outer body side panel |
|---|---|
|
|
 Welding Method for Stud Bolt and Nut
When stud bolts and weld nuts are not welded on the part acquired for repair, and are supplied as separate parts, use the following method to perform welding.
(1) FLANGE BOLT
Remove paint, rust, or o ...
 Anti-corrosive Treatment
Anti-corrosive treatment may be performed on three different occasions (before welding, before painting, and after painting). This section explains anti-corrosive treatment for the latter two occasion ...
Other materials:
Inspection
For front seat belt illustration. Refer to Exploded View.
For second seat belt illustration. Refer to Exploded View.
For third seat belt illustration. Refer to Exploded View.
CAUTION:
After any collision, inspect all seat belt assemblies, including retractors and other attached hardwares (I.e. ancho ...
Removal and Installation
REMOVAL
CAUTION:
Before removing, take a short memo/photo to remember door harness and cable layout.
Rear Door Inner Frame Front
Remove pull handle bracket. Refer to Removal and Installation.
Apply protective tapes (A) on the part to protect it from damage.
Disengage fixing clips by using removal ...
How to park with predictive course lines
Basic information
WARNING
If the Nissan Armada is equipped with tires of a different size than
standard, the predictive course lines may become inaccurate.
On slippery or snow-covered roads, the Nissan Armada predictive course
lines may not correspond precisely to the actual path of the ...

0.0057