Special Service Tools
|
Tool number (TechMate No.) Tool name | Description | |
|---|---|---|
|
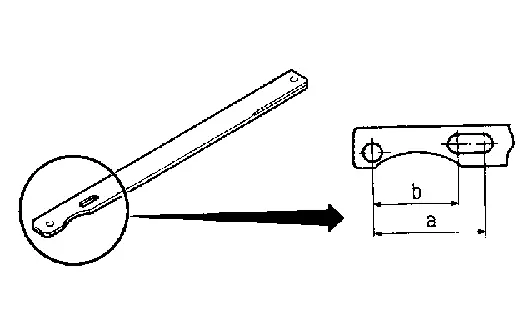
KV40104001 (NI-53385) Hub lock nut wrench a: 85 mm (3.35 in) b: 65 mm (2.56 in) |
|
Removing and Installing wheel hub lock nut. |
|
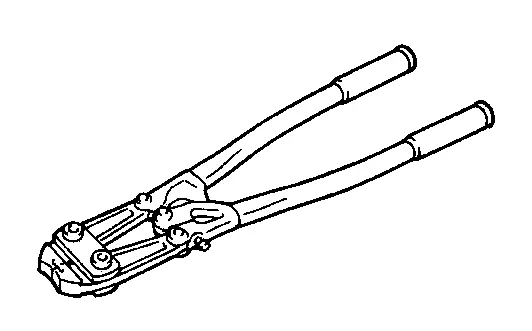
KV40107300 (NI-51751) Boot band crimping tool |
|
Installing boot band |
|
KV38108000 ( - ) Protector a: 47 mm (1.85 in) dia. b: 20 mm (0.79 in) |
|
Installing drive shaft |
|
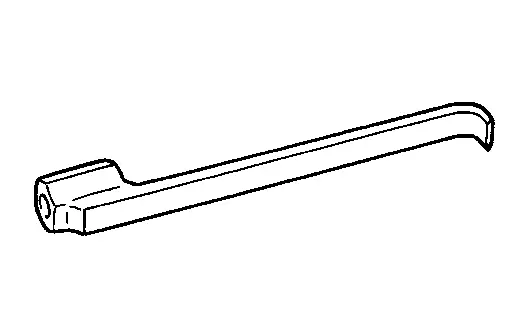
KV40107500 ( — ) Drive shaft attachment |
|
Removing drive shaft |
|
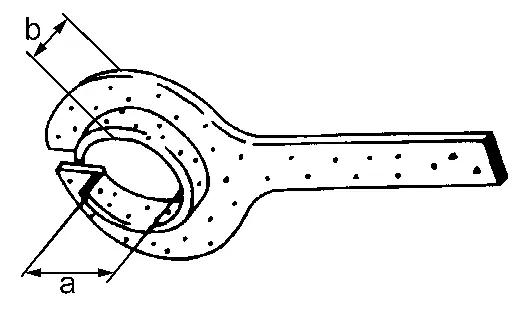
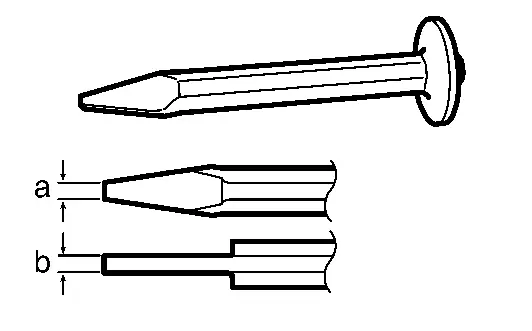
KV40108700 ( — ) Lock nut crimp punch a: 5 mm (0.20 in) b: 7 mm (0.28 in) |
|
Installing wheel hub lock nut |
|
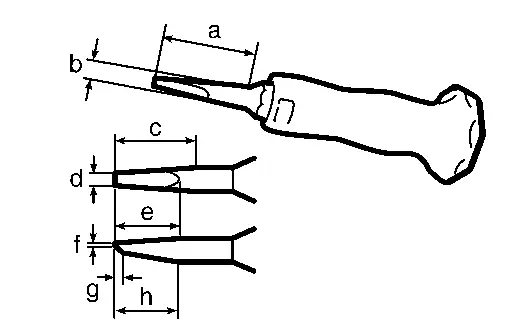
KV40108800 (NI-52982) Lock nut chisel a: 44.5 mm (1.752 in) b: 10 mm (0.39 in) dia. c: 31 mm (1.22 in) d: 4.5 mm (0.177 in) e: 26 mm (1.02 in) f: 0.4 mm (0.016 in) g: 4 mm (0.16 in) h: 24 mm (0.94 in) |
|
Removing wheel hub lock nut |
Commercial Service Tools
| Tool name | Description | |
|---|---|---|
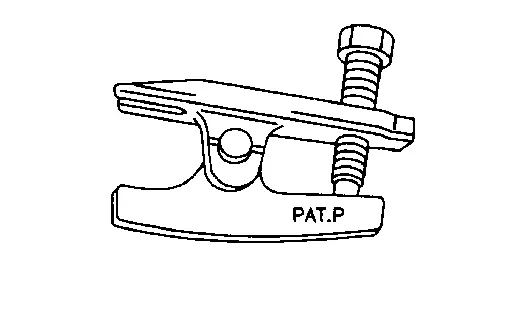
| Ball joint remover |
|
|
| Drive shaft puller |
|
Removing drive shaft joint sub assembly |
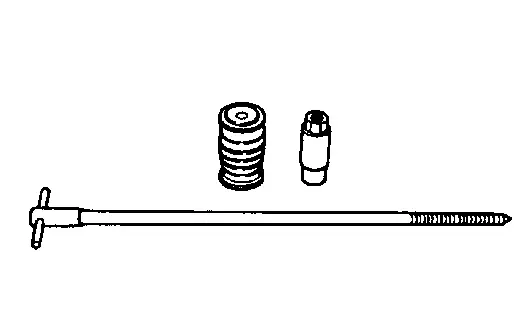
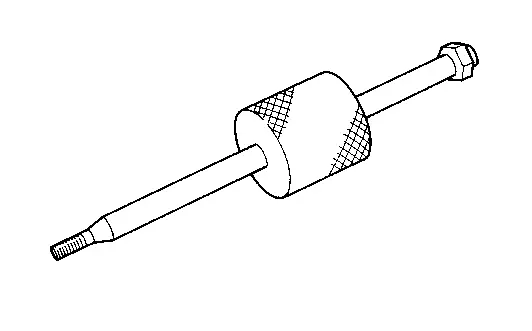
| Sliding hammer |
|
Removing drive shaft |
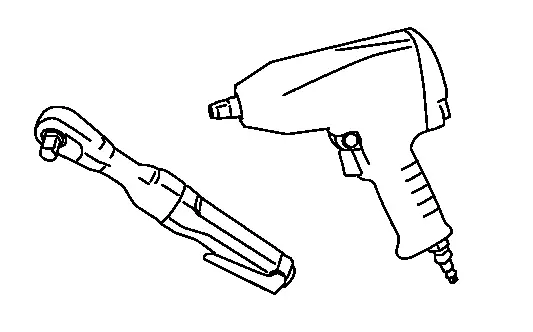
| Power tool |
|
Loosening bolts and nuts |
Lubricant or/and Sealant
| Name | Description |
|---|---|
| Fill NISSAN Genuine grease or equivalent |
|
| Apply paste [service parts (440037S000)] |
|
Other materials
Horn
To sound the horn in the Nissan Armada, press firmly on the center pad area of
the steering wheel.
The horn is an essential safety feature used to alert other road users and prevent
potential hazards.
WARNING
Do not attempt to disassemble or modify the horn system in the Nissan Armada,
...
Brake fluid
Basic information
For detailed specifications regarding brake fluid for your Nissan Armada, refer
to the section "Capacities and recommended fluids/lubricants" in the official documentation.
Maintaining the correct brake fluid condition in the Nissan Armada is essential
for ensuring ...
Bcm
Removal and Installation
CAUTION:
When replacing the BCM, always replace it with a new one. The functions controlled by the BCM does not operate properly in case of reuse of the BCM from another vehicle.
Be sure to perform the following items must be performed when replacing BCM.
Writing vehic ...