Trouble Diagnosis For Unusual Pressure
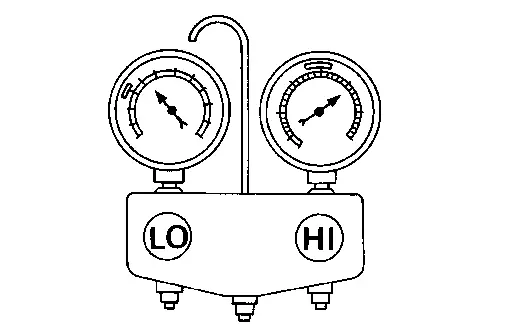
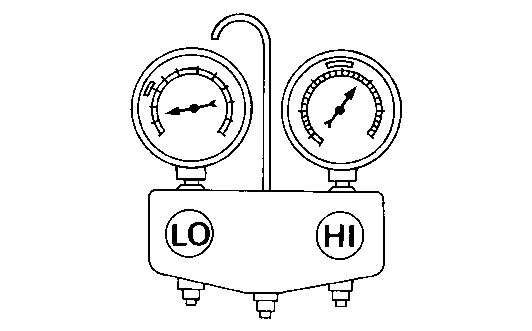
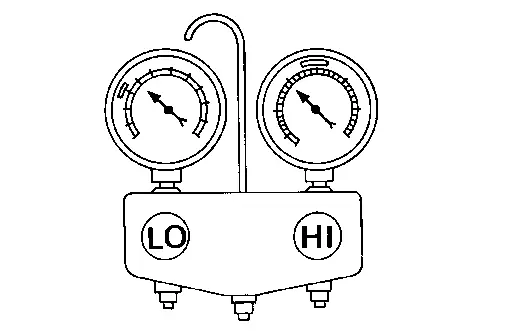
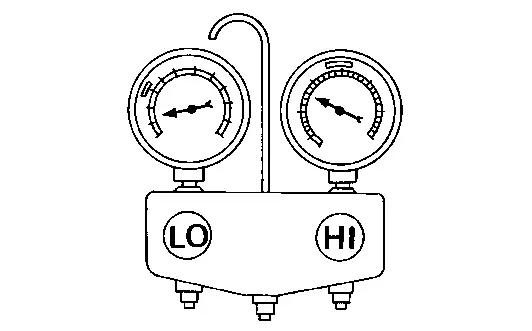
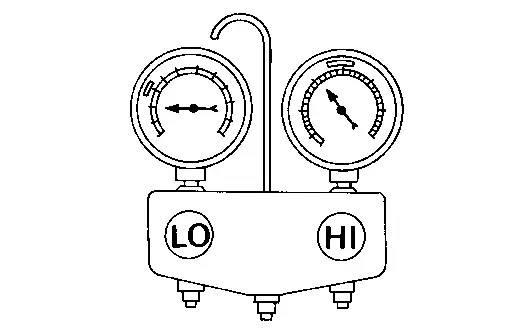
Diagnose using a manifold gauge whenever system’s high and/or low side pressure(s) is/are unusual. The marker above the gauge scale in the following tables indicates the standard (usual) pressure range. Refer to above table (Ambient air temperature-to-operating pressure table) since the standard (usual) pressure, however, differs from vehicle to vehicle.
Symptom Table
| Gauge indication | Refrigerant cycle | Probable cause | Corrective action |
|---|---|---|---|
|
Both high- and low-pressure sides are too high.
|
The pressure returns to normal soon after sprinkling water on condenser. | Overfilled refrigerant. | Collect all refrigerant, evacuate refrigerant cycle again, and then refill it with the specified amount of refrigerant. |
| Air flow to condenser is insufficient. |
Insufficient condenser cooling performance.
|
|
|
| When A/C compressor is stopped, a high-pressure reading quickly drops by approximately 196 kPa (2 kg/cm2, 28 psi). It then gradually decreases. | Air mixed in refrigerant cycle. | Collect all refrigerant, evacuate refrigerant cycle again, and then refill it with the specified amount of refrigerant. | |
|
Expansion valve opened too much (excessive flow of refrigerant). |
Replace expansion valve.
|
|
|
High-pressure side is excessively high and low-pressure side is too low.
|
High-pressure pipe and upper side of condenser become hot, however, liquid tank does not become so hot. | Clogged or crushed high-pressure pipe located between A/C compressor and condenser. | Repair or replace the malfunctioning parts. |
|
High-pressure side is too low and low-pressure side is too high.
|
|
Malfunction in A/C compressor system (insufficient A/C compressor pressure operation).
|
Replace A/C compressor. Refer to Removal and Installation. |
|
Both high- and low-pressure sides are too low.
|
|
Clogged expansion valve.
|
Eliminate foreign material from expansion valve, or replace it.
|
|
Malfunction in inner liquid tank (clogged strainer). | Replace condenser & liquid tank. Refer to Removal and Installation. | |
| Evaporator becomes frosted. | Clogged or crushed low-pressure pipe. | Repair or replace malfunctioning parts. | |
| Malfunction in intake air temperature sensor. | Check intake sensor system. Refer to Diagnosis Procedure. | ||
| There is a small temperature difference between the high and low pressure pipes for refrigerant cycle. |
|
|
|
|
Low-pressure side sometimes becomes negative.
|
|
|
|
| Hunting in high-pressure side. | There is no temperature difference between high- and low-pressure sides. | Malfunctioning variable valve in A/C compressor. |
|
Other materials
Radiator
Exploded View
Radiator drain cock
O-ring
Mounting rubber (upper)
Collar
Mounting rubber (lower)
Engine coolant temperature sensor 2
Radiator
Clamp
Radiator hose (lower)
Clamp
Reservoir tank tube
Reservoir tank bracket
Reservoir tank
Reservoir tank support ...
Condenser
Exploded View
Radiator
Condenser outlet pipe
O-ring
Condenser & liquid tank assembly
Condenser seal
Refrigerant pressure sensor
Condenser inlet pipe
: Pawl
: Always replace after every disassembly.
: N·m (kg-m, in-lb)
, , : Indicate ...
Insufficient Cooling
Front Air Conditioner
Description
Symptom
Insufficient cooling
No cool air comes out. (Air flow volume is normal.)
Diagnosis Procedure
NOTE:
Perform self-diagnoses with CONSULT before performing symptom diagnosis. If any DTC is detected, perform the corresponding diagnosis.CHECK MAGNET CLUTCH ...