
Nissan Armada 2025-2026 Service and Repair Manual: Removal and Installation
CAUTION:
Clean windshield glass and front wiper refill so that windshield glass may not be damaged by dust, etc.
REMOVAL
Operate front wiper to the auto stop position. Refer to System Description.
Fully open hood assembly.
Remove front wiper arm cap.
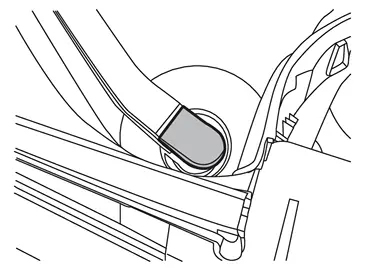
Remove front wiper arm mounting nut.
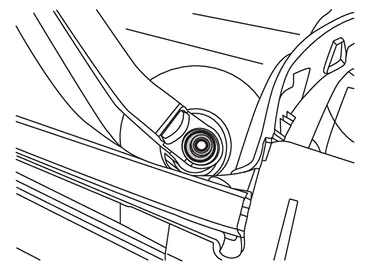
Remove front wiper arm.
INSTALLATION
Note the following items, and then install in the reverse order of removal.
CAUTION:
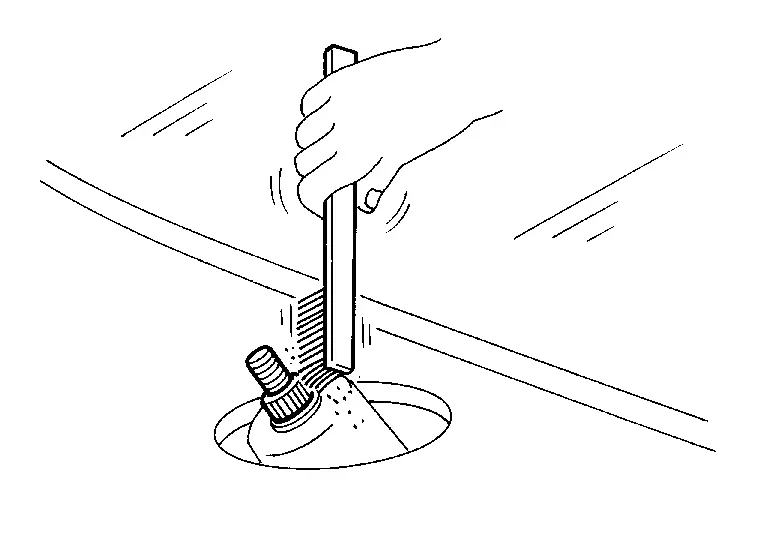
Clean front wiper arm installation location as shown in the figure, and then fully insert front wiper arm to prevent nut from being loosened by shakiness.
Before installation, operate front wiper to the auto stop position.
When installation, install so that it is within the specified position. And after installation, operate front wiper, and then check that front wiper blades stop at the specified position. Refer to Adjustment.
 Front Wiper Arm
...
 Adjustment
WIPER BLADE POSITION ADJUSTMENT
Adjust clearance between the end of cowl top cover/front fender cover RH and the top of front wiper blade center.
Windshield glass Front wiper blade RH Front wiper ...
Other materials:
Diagnosis Procedure
COMBINATION SWITCH INSPECTION
Check combination switch. Refer to Symptom Table.
Is the inspection result normal?
YES>>
GO TO 2.
NO>>
Repair or replace the malfunctioning part.
CHECK LOW BEAM REQUEST SIGNAL
With CONSULT
Select “Low beam request� in “Data Monitor� mode of “ ...
ROAD WHEEL TIRE : Exploded View
Tire Air valve Wheel : For non-reusable parts, refer to the TPMS configuration diagram.
Refer to TIRE PRESSURE SENSOR : Exploded View. : N·m (kg-m, ft-lb) ...
Exploded View
Sub harness Knock sensor Cylinder block Oil gallery cover Gasket Plug O-ring Rear oil seal Oil jet Main bearing (upper) Crankshaft Thrust bearing Main bearing (lower) Plug Gasket Lower cylinder block Baffle plate Top ring Second ring Oil ring Piston Piston pin Snap ring Conn ...

0.0067