
Nissan Armada 2025-2026 Service and Repair Manual: Removal and Installation
REMOVAL
Remove combination meter. Refer to Removal and Installation.
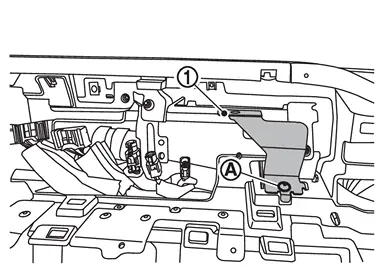
Remove mounting screw  , and remove bracket
  .
.
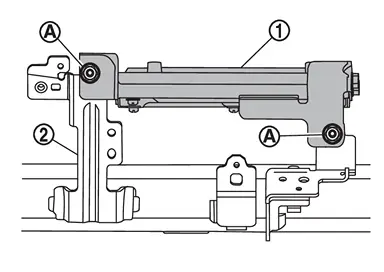
Remove mounting nuts , and remove ADAS control unit 2 from steering member  .
.
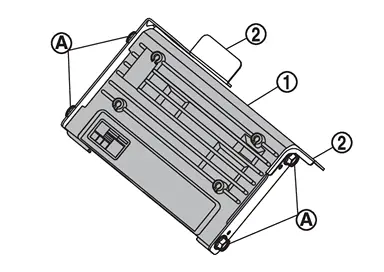
Disconnect ADAS control unit 2 connector.
Remove mounting nuts , and remove ADAS control unit 2 from brackets .
INSTALLATION
Note the following, and install in the reverse order of removal.
CAUTION:
Be sure to perform “ADDITIONAL SERVICE WHEN REPLACING ADAS CONTROL UNIT 2� when replacing ADAS control unit 2. Refer to Work Procedure.
 Exploded View
ADAS control unit 2 ADAS control unit 2 bracket : N·m(kg-m�in-lb) ...

Other materials:
Exploded View
Front bumper fascia Grommet Front grille upper Front grille Front emblem Front camera : Clip : Pawl : Indicate that the part is connected at points with same symbol in actual vehicle. ...
Disassembly and Assembly
DISASSEMBLY
Remove seatback trim and pad. Refer to Disassembly and Assembly.
Disengage seat cushion trim fixing retainers .
LH seat
: Vehicle front
RH seat
Disengage seat cushion trim fixing retainers .
LH seat
RH seat
Disengage seat cushion trim fixing retainers (LH seat).
: Vehicle ...
Inspection
INSPECTION AFTER REMOVAL
Appearance
Propeller Shaft Runout
Propeller shaft runout : Refer to Propeller Shaft Tube.
Journal Axial Play
Journal axial play : Refer to Journal.
Joint Flex Torque
Joint flex torque : Refer to Journal.
Center Bearing
Check center bearing for noise and damage. ...

0.0053