Exploded View
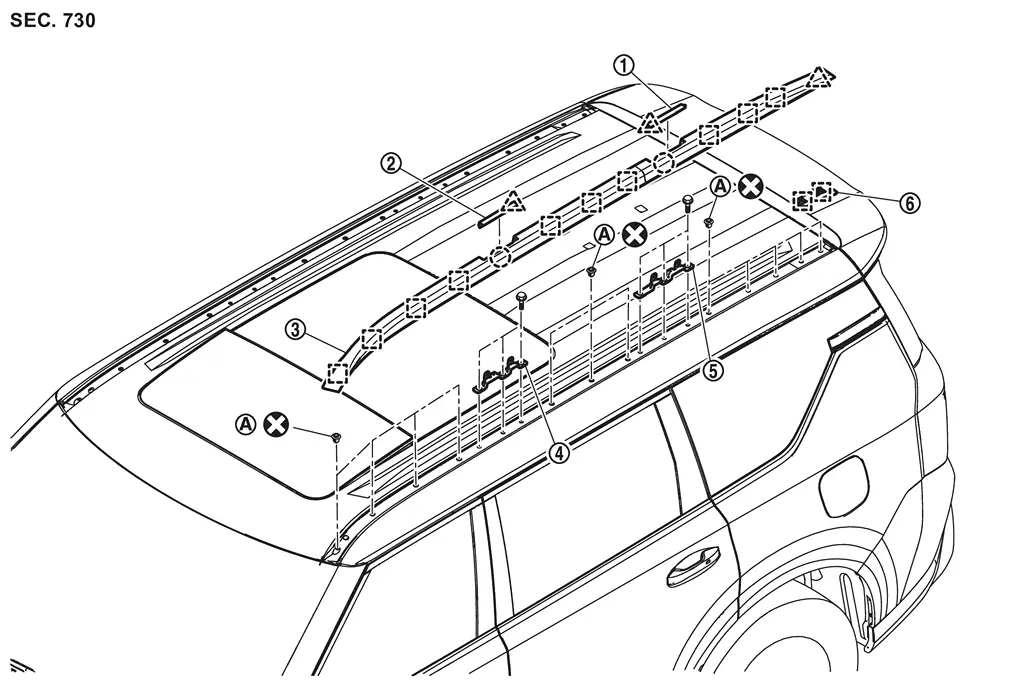
 |
Roof rail cover rear |  |
Roof rail cover front |  |
Roof rail |
 |
Roof rail bracket front |  |
Roof rail bracket center |  |
Roof rail bracket rear |
 |
: Rivet | ||||
 |
: Clip | ||||
 |
: Pawl | ||||
 |
: Metal clip | ||||
 |
: Always replace after every disassembly | ||||
Removal and Installation
REMOVAL
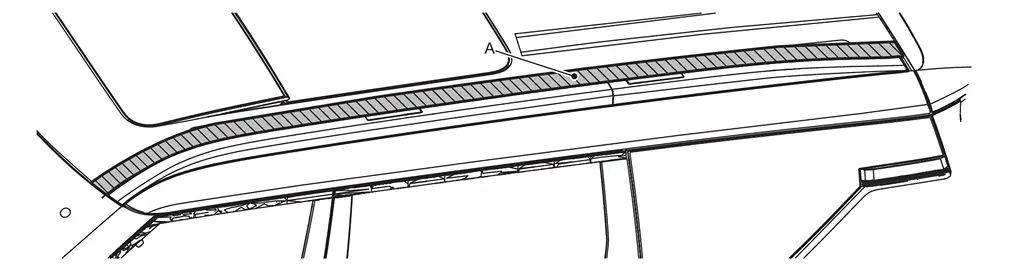
Apply protective tape (A) on the part to protect it from damage.
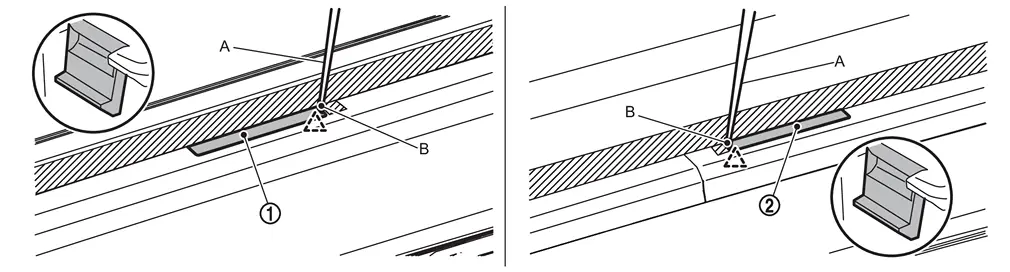
Disengage fixing pawls using remover tool (A), and then remove roof rail cover front and roof rail cover rear .
CAUTION:
Use a remover tool wrapped in tape (B).
|
: Pawl |
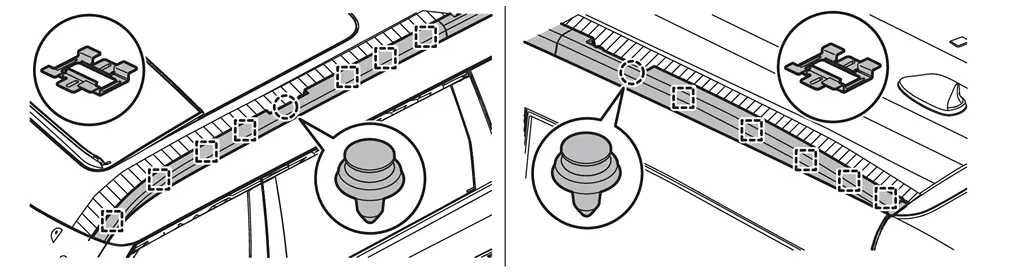
Disengage fixing clips and metal clips, and then remove roof rail assembly.
|
: Clip |
|
: Metal clip |
Disengage fixing pawl, and then remove roof rail bracket rear from roof rail.
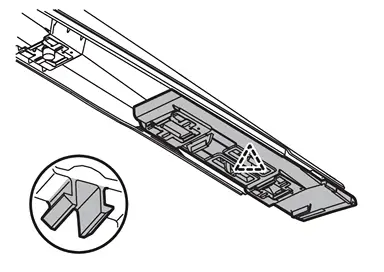
|
: Pawl |
Remove mounting bolts , and then remove roof rail bracket front and roof rail bracket center.
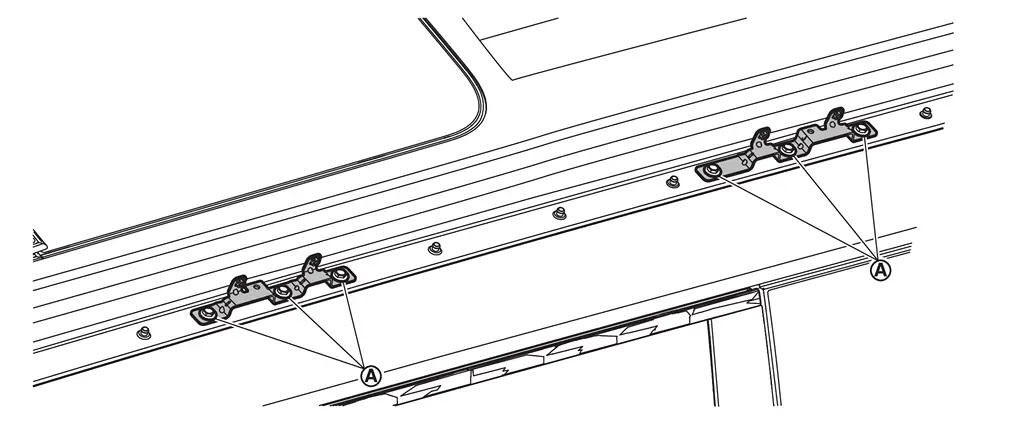
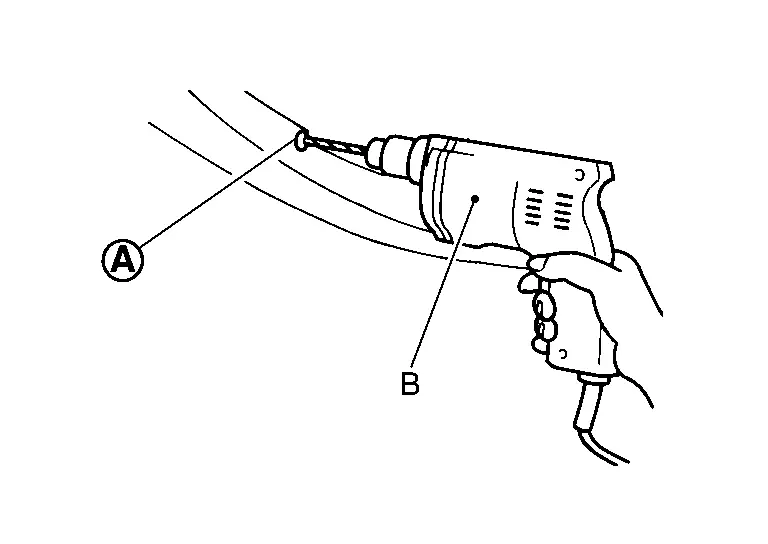
Remove rivet from roof panel.
 NOTE:
NOTE:
Grind rivet with a drill (B) [bit of φ4.7 − φ4.9 mm (φ0.185 − φ0.193 in)].
INSTALLATION
Note the following items, and then install in the reverse order of removal.
CAUTION:
-
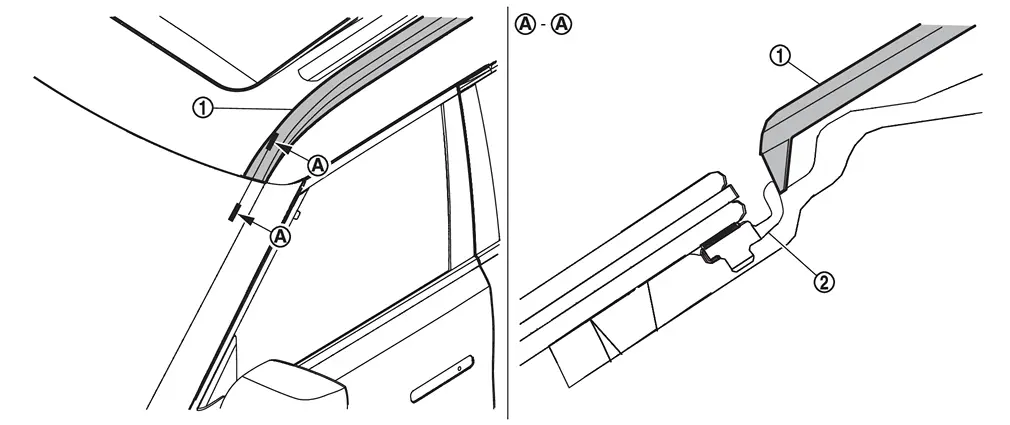
Always replace rivet with a new one, if roof rail is removed.
-
Front edge of the roof rail
must be fitted in such a way that it is inserted under windshield molding .
NOTE:
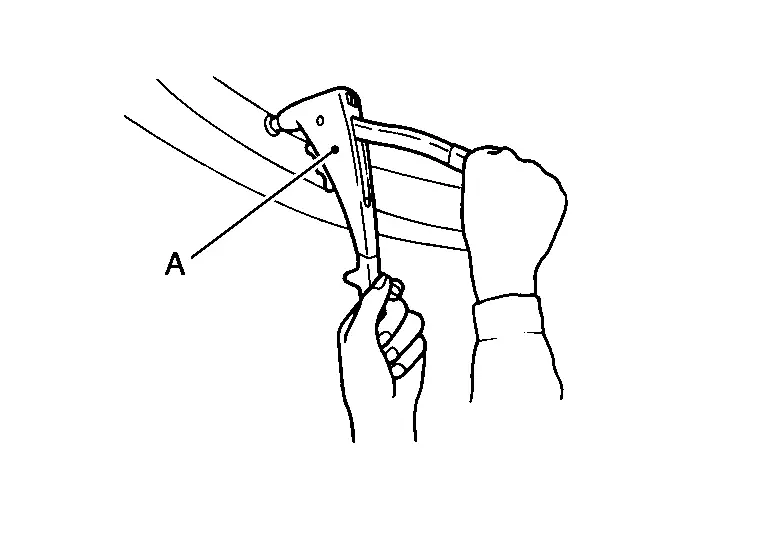
Securely crimp rivet with a hand riveter (A).
Other materials
HomeLink Universal Transceiver
Basic information
The HomeLink Universal Transceiver in the Nissan Armada offers a practical and
streamlined solution by combining the functions of up to three separate handheld
remote controls into one integrated system.
With the Nissan Armada HomeLink system, you can conveniently operate a w ...
Capacities and recommended fluids/ lubricants
Basic information
The values listed below represent approximate service capacities for
the Nissan Armada and are intended as a general reference for maintenance planning.
Actual refill quantities for your Nissan Armada may vary slightly depending
on operating conditions and servicing procedu ...
Additional Service When Replacing Control Valve & Tcm
Description
WARNING:
Jacking up or lift up the vehicle may the vehicle height to go down which cause a personal injury and/or damage to the air suspension component parts. Refer to Precaution for when Jacking and Lifting Up the vehicle with Electronic Air Suspension System.
When replacing the ...