Disassembly and Assembly
DISASSEMBLY
CAUTION:
When disassemble, always use a remover tool that is made of plastic to prevent damage.
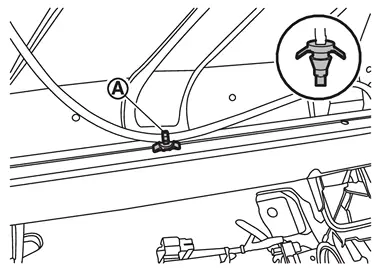
Disengage fixing pawls using a remover tool (A), and then remove tether anchor finisher.
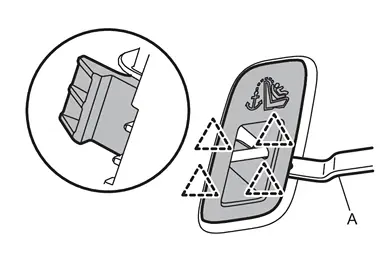
 |
: Pawl |
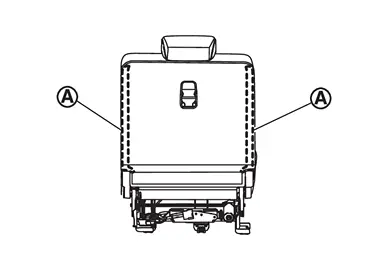
Disengage seatback trim fixing dual lock fastener  .
.
-
LH seat
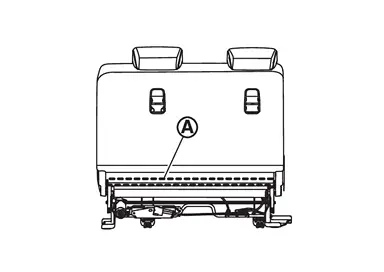
-
RH seat
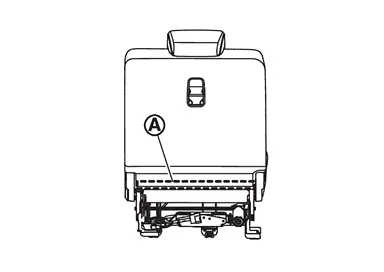
Open seatback trim fixing fasteners .
-
LH seat
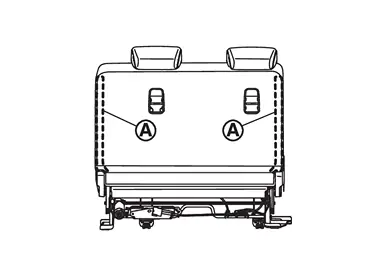
-
RH seat
Disengage seatback trim fixing clips.
-
LH seat
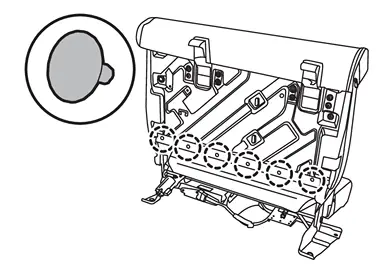

: Clip -
RH seat
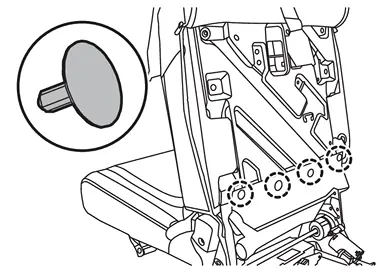
: Clip
Remove seat cushion frame assembly. Refer to Disassembly and Assembly.
Remove snap pin.
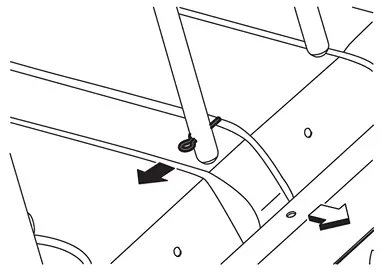
| : vehicle front |
Remove outer and center headrest.
Remove headrest holders by raising it while pinching pawls from the bottom of headrest holders.
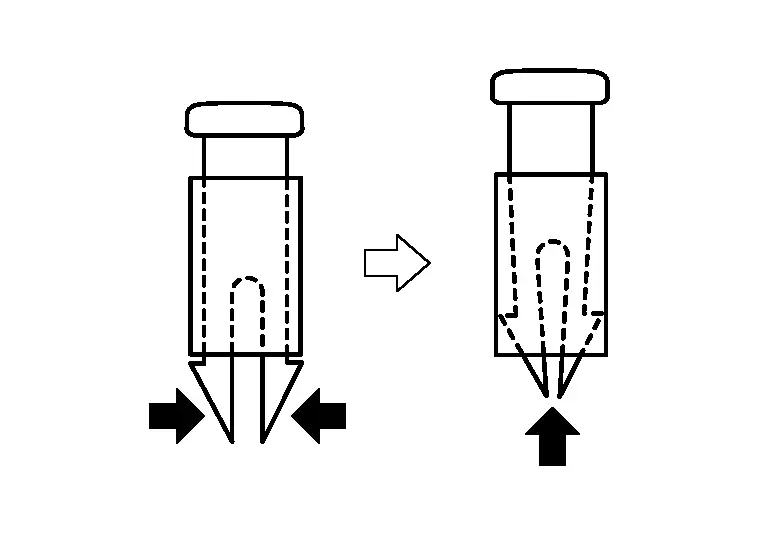
CAUTION:
Before removing headrest holders, check its orientation because it has installation direction (front/rear, left and right).
Remove seatback trim and pad as a set from seatback frame assembly.
Remove hog rings, and then separate seatback trim and pad.
CAUTION:
Before removing hog rings, check its position because it should be installation in position.
Remove reclining cable (manual seat).Remove fixing screw , and then remove reclining strap.
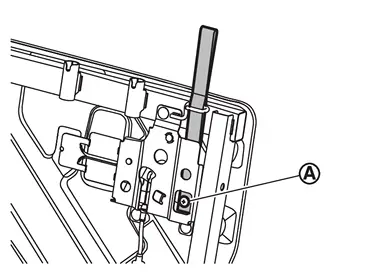
.
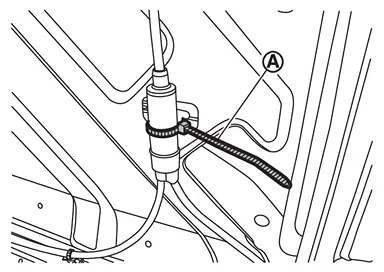
.
-
LH seat
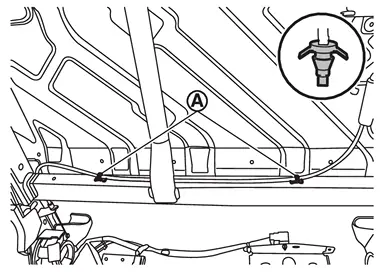
-
RH seat
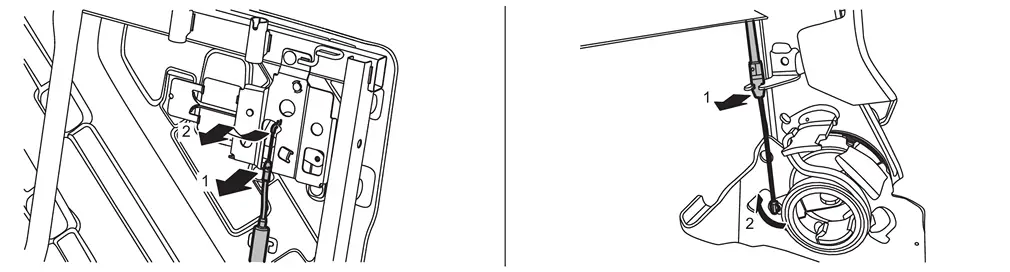
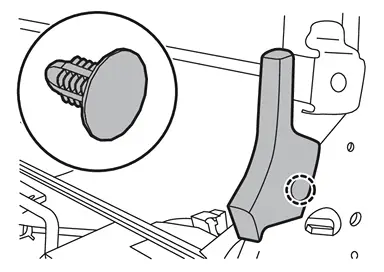
Remove fixing clip, and then remove arm cover (LH and RH).
|
: Clip |
Remove third seat control unit from seatback frame assembly (power seat). Refer to Removal and Installation.
ASSEMBLY
Note the following items, and then install in the reverse order of removal.
CAUTION:
-
Always install hog ring in position.
-
Never reuse hog ring after disassembly, using new hog ring.
-
Use new hog ring if removed or crimped unsuccessfully.
-
Before installing headrest holders, check its orientation because it has installation direction (front/rear, left and right).
-
Be installed harnesses and harness fixing clips in position.
-
If harnesses clip be broken, replace with new clip and it install in position where marked before removing clip.
Other materials
Seat Belt Warning Lamp Does Not Turn on
Diagnosis Procedure
CHECK DTC OF AIR BAG DIAGNOSIS SENSOR UNIT
Check DTC in “Self Diagnosis Result� mode of “AIR BAG� using CONSULT.
Is DTC detected?
YES>>
Perform trouble diagnosis related to the detected DTC. Refer to DTC Index.
NO>>
GO TO 2.
CHECK DTC OF BCM
Check DTC in “ ...
Front Passenger Side Power Window Does Not Operate
When Both Power Window Main Switch and Front Power Window Switch Are Operated
Diagnosis Procedure
CHECK FRONT POWER WINDOW MOTOR (PASSENGER SIDE) POWER SUPPLY AND GROUND CIRCUIT
Check front power window motor (passenger side) power supply and ground circuit. Refer to Diagnosis Procedure.
Is the ...
Squeak and Rattle Trouble Diagnoses
Work Flow
CUSTOMER INTERVIEWInterview the customer if possible, to determine the conditions that exist when the noise occurs. Use the Diagnostic Worksheet during the interview to document the facts and conditions when the noise occurs and any of customer's comments; Refer to Diagnostic Worksheet. Th ...