Exploded View
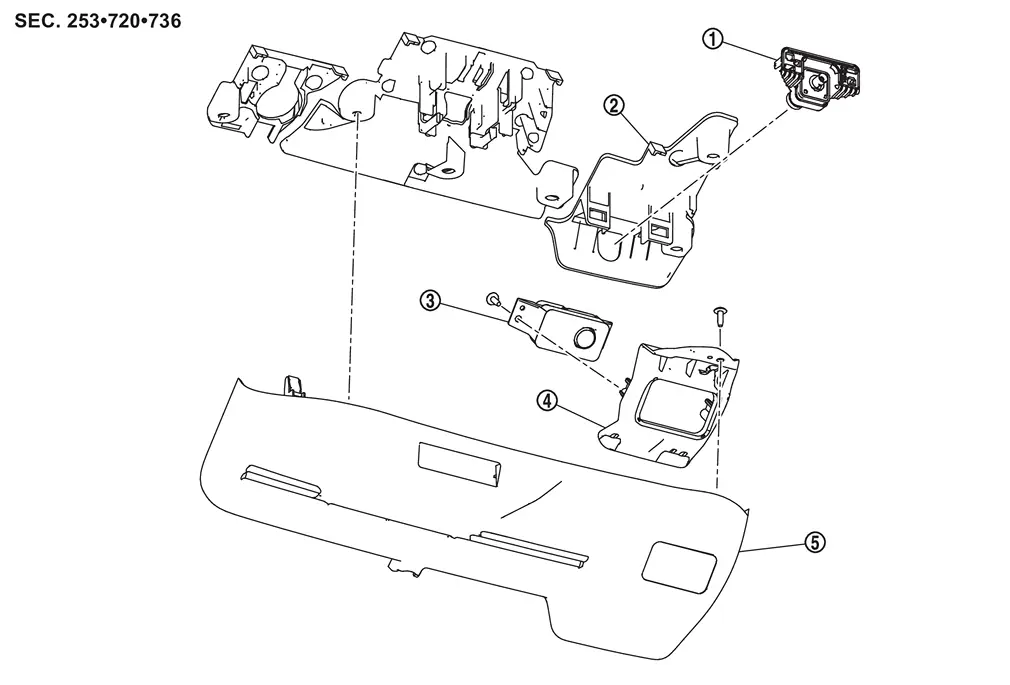
 |
Front camera (driving video recorder) |  |
Bracket |  |
Inside camera (driving video recorder) |
 |
Inside camera bracket |  |
Cover |
Removal and Installation
REMOVAL
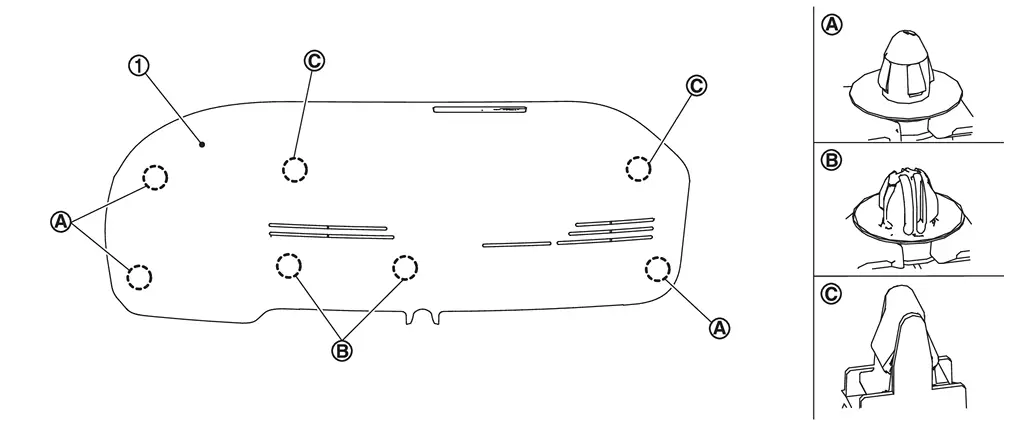
Using a suitable tool, release clips  , and remove cover .
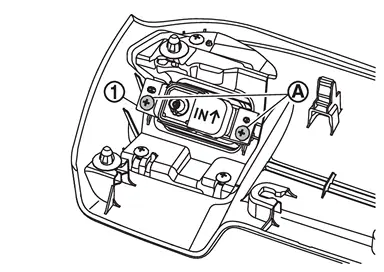
Disconnect inside camera (driving video recorder) harness connector.
Remove mounting screws  , and remove inside camera (driving video recorder) from inside camera bracket.
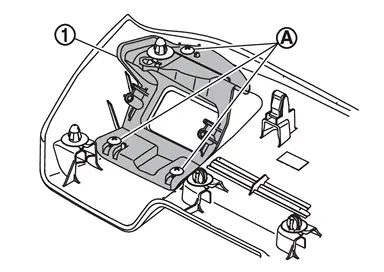
Remove mounting screws , and remove inside camera bracket from cover.
INSTALLATION
Install in the reverse order of removal.
CAUTION:
-
Do not touch or shock the inside camera (driving video recorder) lens area or drop the inside camera (driving video recorder).
-
Make sure that the inside camera (driving video recorder) harness is not twisted after installation.
-
Align the cover clips with the bracket holes and install by hand. Do not use excessive force.
Other materials
Maximum load limits
Maximum trailer loads
Never exceed the maximum allowable trailer load specified in the "Towing load/specification"
section. The total trailer load includes both the trailer itself and any cargo it
carries.
When towing loads of 3,500 lbs (1,587 kg) or more with your Nissan
Armad ...
Remote Engine Start Function Does Not Operate
Description
Engine does not start when operating REMOTE ENGNE START button of Intelligent Key or telematics function of the smartphone. .NOTE:
Check that vehicle is under the condition shown in “Conditions of vehicle� before starting diagnosis, and check each symptom.CONDITIONS OF VEHICLE (OPERA ...
Advanced Ambient Light (rear Door Upper)
Exploded View
Advanced ambient light (rear door upper) is integrated structure with rear door finisher. For exploded view of rear door finisher, refer to Exploded View.
Replacement
CAUTION:
Disconnect the battery negative terminal or remove power circuit fuse when performing the operation for prev ...