Exploded View
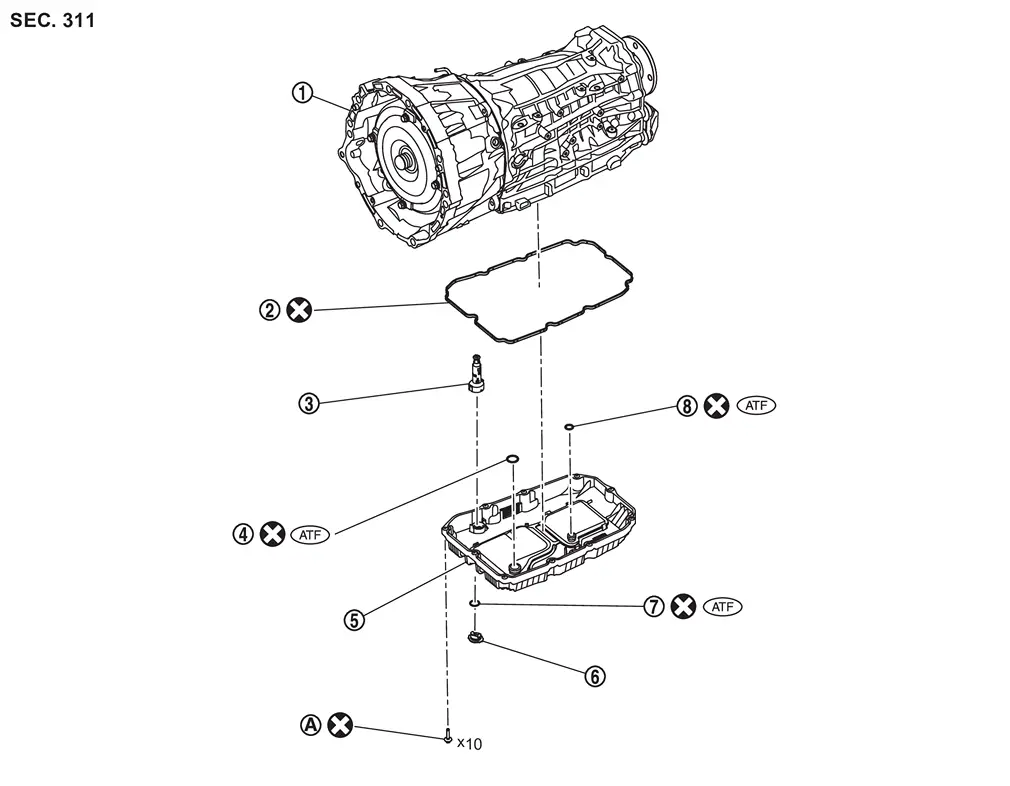
 |
A/T assembly |  |
Oil pan gasket |  |
Overflow tube |
 |
O-ring |  |
Oil pan |  |
Drain plug |
 |
O-ring |  |
O-ring | ||
 |
Refer to Removal and Installation. | ||||
 |
: Always replace after every disassembly. | ||||
 |
: Apply ATF | ||||
Removal and Installation
WARNING:
-
Jacking up or lift up the vehicle may the vehicle height to go down which cause a personal injury and/or damage to the air suspension component parts. Refer to Precaution for when Jacking and Lifting Up the vehicle with Electronic Air Suspension System.
REMOVAL
Disconnect the negative battery terminal. Refer to Removal and Installation.
Drain A/T fluid. Refer to Draining.
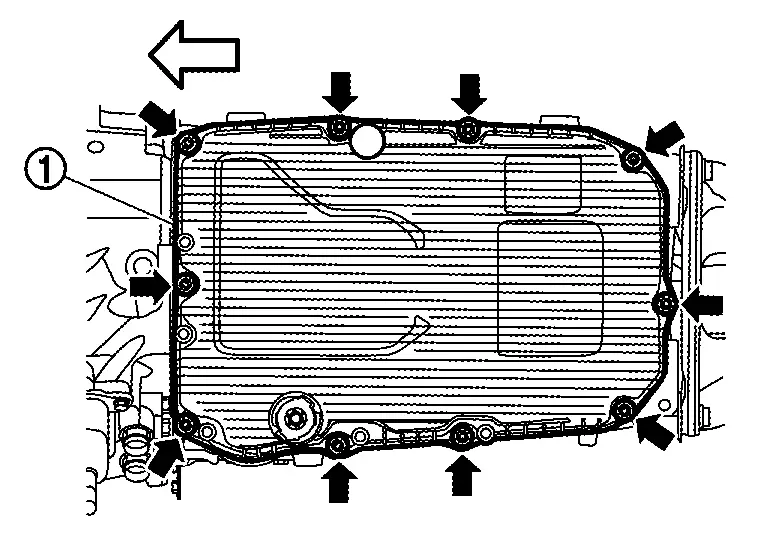
Remove oil pan mounting bolts ( ) and then remove oil pan .
CAUTION:
Never reuse bolts.
 NOTE:
NOTE:
-
To avoid damage to the vehicle, do not remove the magnets from the oil pan.
-
To avoid damage to the vehicle, confirm no contaminated parts go into the strainer opening. The strainer opening is the clean side of the strainer, thus any and all particles will flow into the control valve causing malfunction.
| : Front |
Remove oil pan gasket .
CAUTION:
Never reuse oil pan gasket.
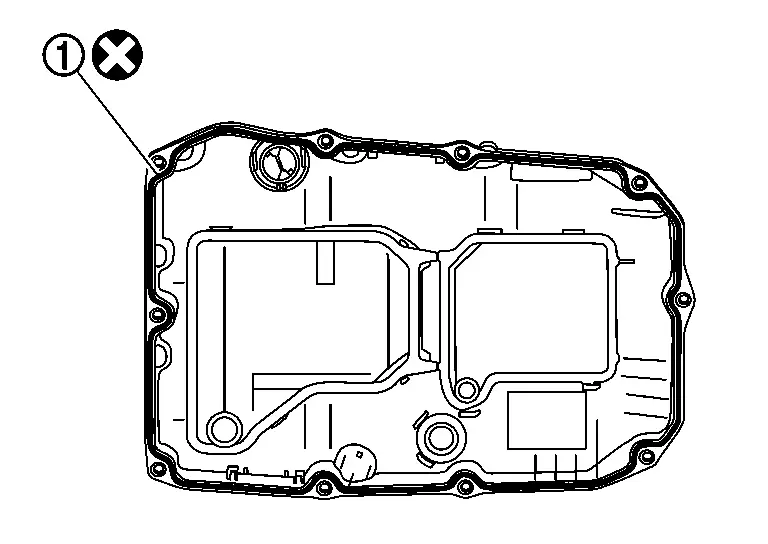
Remove O-rings from oil pan strainer.
CAUTION:
Never reuse O-rings.
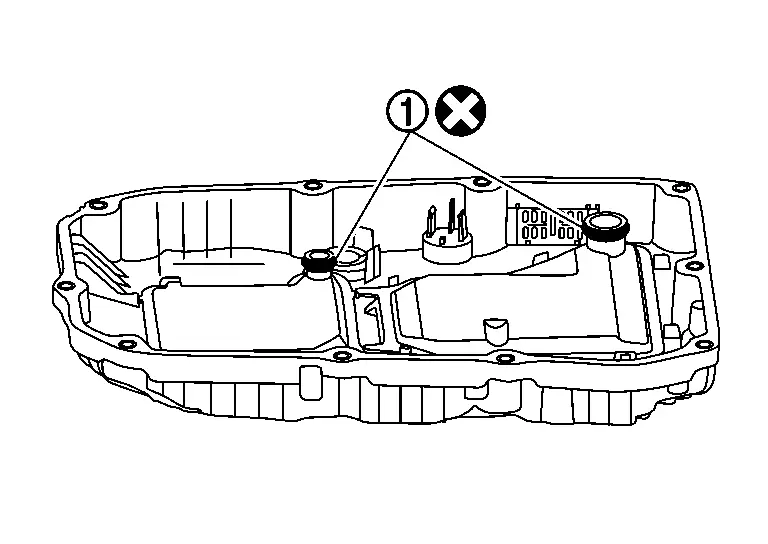
Disengage pawls and remove overflow tube from oil pan.
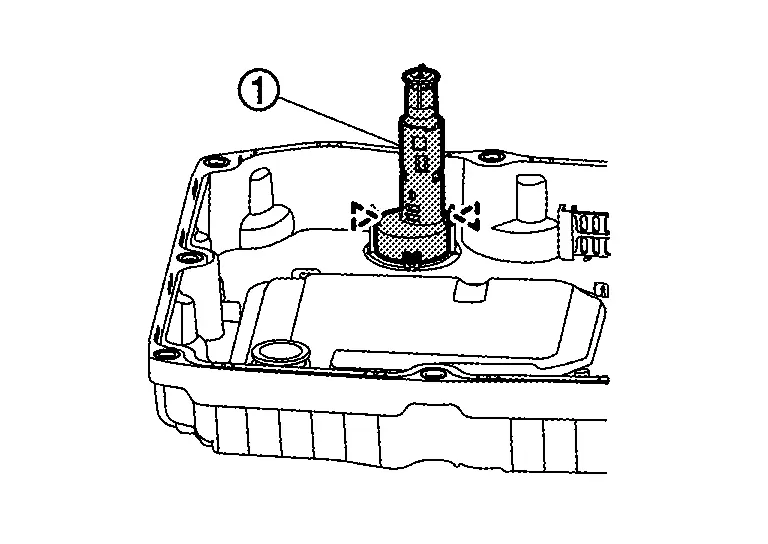
CAUTION:
Remove without damaging claws.
 |
: Pawl |
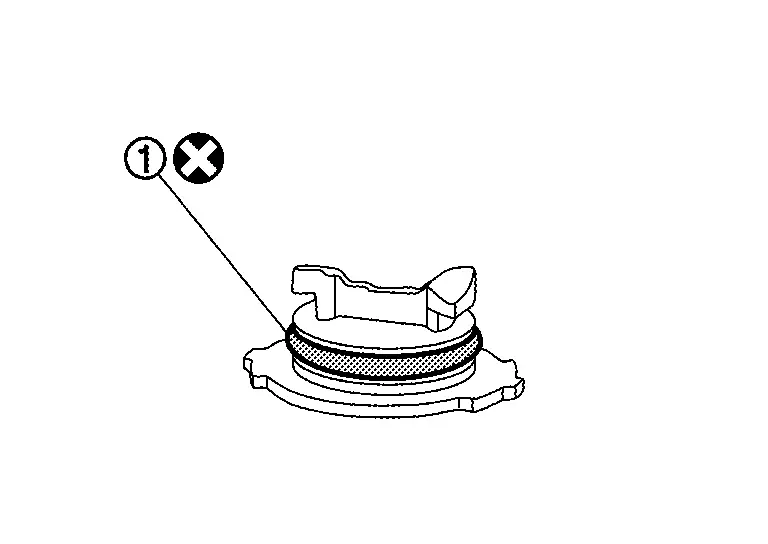
Remove O-ring from drain plug.
CAUTION:
Never reuse O-ring.
INSTALLATION
Note the following, and install in the reverse order of removal.
CAUTION:
-
Never reuse oil pan strainer O-rings.
-
Neverreuse drain plug O-rings.
-
Apply ATF to O-ring of oil pan strainer.
-
Apply ATF to O-ring of drain plug.
-
Clean foreign materials (gear wear particles) that adhere on the inside of the oil pan and on the magnet, and then assembly.
-
Completely remove all moisture, oil and old gasket, etc. from oil pan gasket surface of transmission case and oil pan.
-
Never reuse oil pan gasket.
-
Never reuse oil pan bolts.
-
Align the cut outs
of overflow tube and oil pan when Installing overflow tube to oil pan.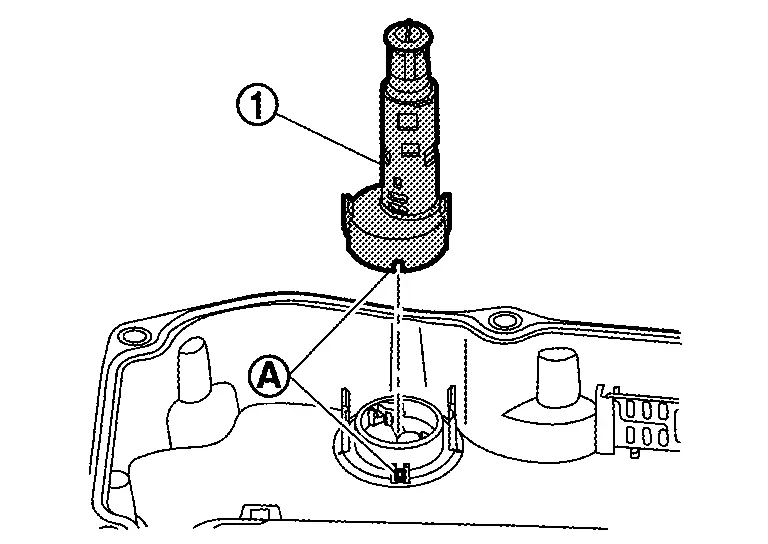
-
Place oil pan gasket alignment tab
in the oil pan alignment hole 
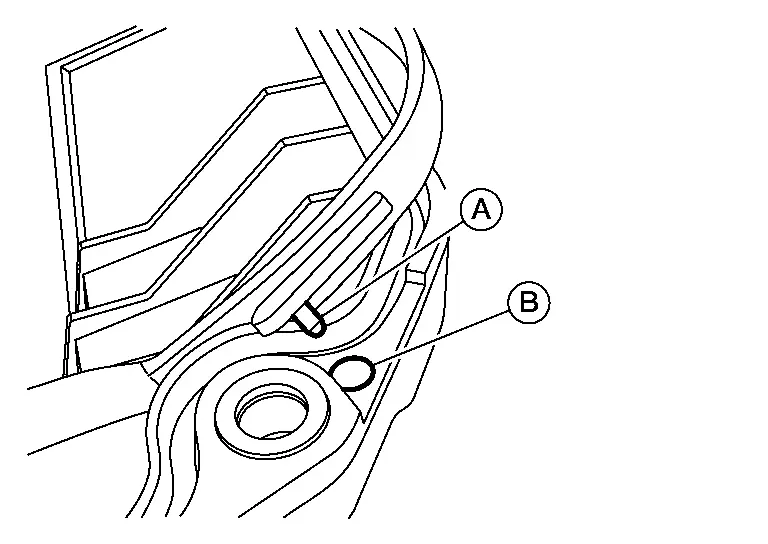
CAUTION:
-
Never reuse oil pan gasket.
NOTE:
-
To avoid damage to the vehicle, never remove the magnets from the oil pan.
-
To avoid damage to the vehicle, confirm no contaminated parts go into the strainer opening. The strainer opening is the clean side of the strainer, thus any and all particles will flow into the control valve causing malfunction.
-
-
Tighten oil pan mounting bolts to specification shown.
Step 1 : Tighten 4.0 N·m (0.41 kg-m, 35 in-lb) Step 2 : Tighten 95° -
Fill with A/T fluid after installation. Refer to Refilling.
Other materials
Diagnosis and Repair Work Flow
Work Flow
DETAILED FLOWINTERVIEW FROM THE CUSTOMER
CAUTION:
Customers are not professional. Never guess easily like “maybe the customer means that...,� or “maybe the customer mentions this symptom�.
>>
GO TO 2.
CHECK SYMPTOM
Reproduce the symptom that is indicated by the customer, b ...
Filament
Inspection and Repair
INSPECTIONWhen measuring voltage, wrap tin foil around the top of the negative probe. Then press the foil against the wire with your finger.
Attach probe circuit tester (in Volt range) to middle portion of each filament.
If a filament is burned out, circuit tester registers ...
Additional Service When Replacing Driving Video Recorder Control Module
Work Procedure
DRIVING VIDEO RECORDER CONTROL MODULE REPLACEMENT
Replace driving video recorder control module. Refer to Removal and Installation.
>>
GO TO 2.
WRITING OF VIN DATA TO DRIVING VIDEO RECORDER CONTROL MODULE
With CONSULT
Ignition switch ON and wait at least 5 seconds.
Select ...